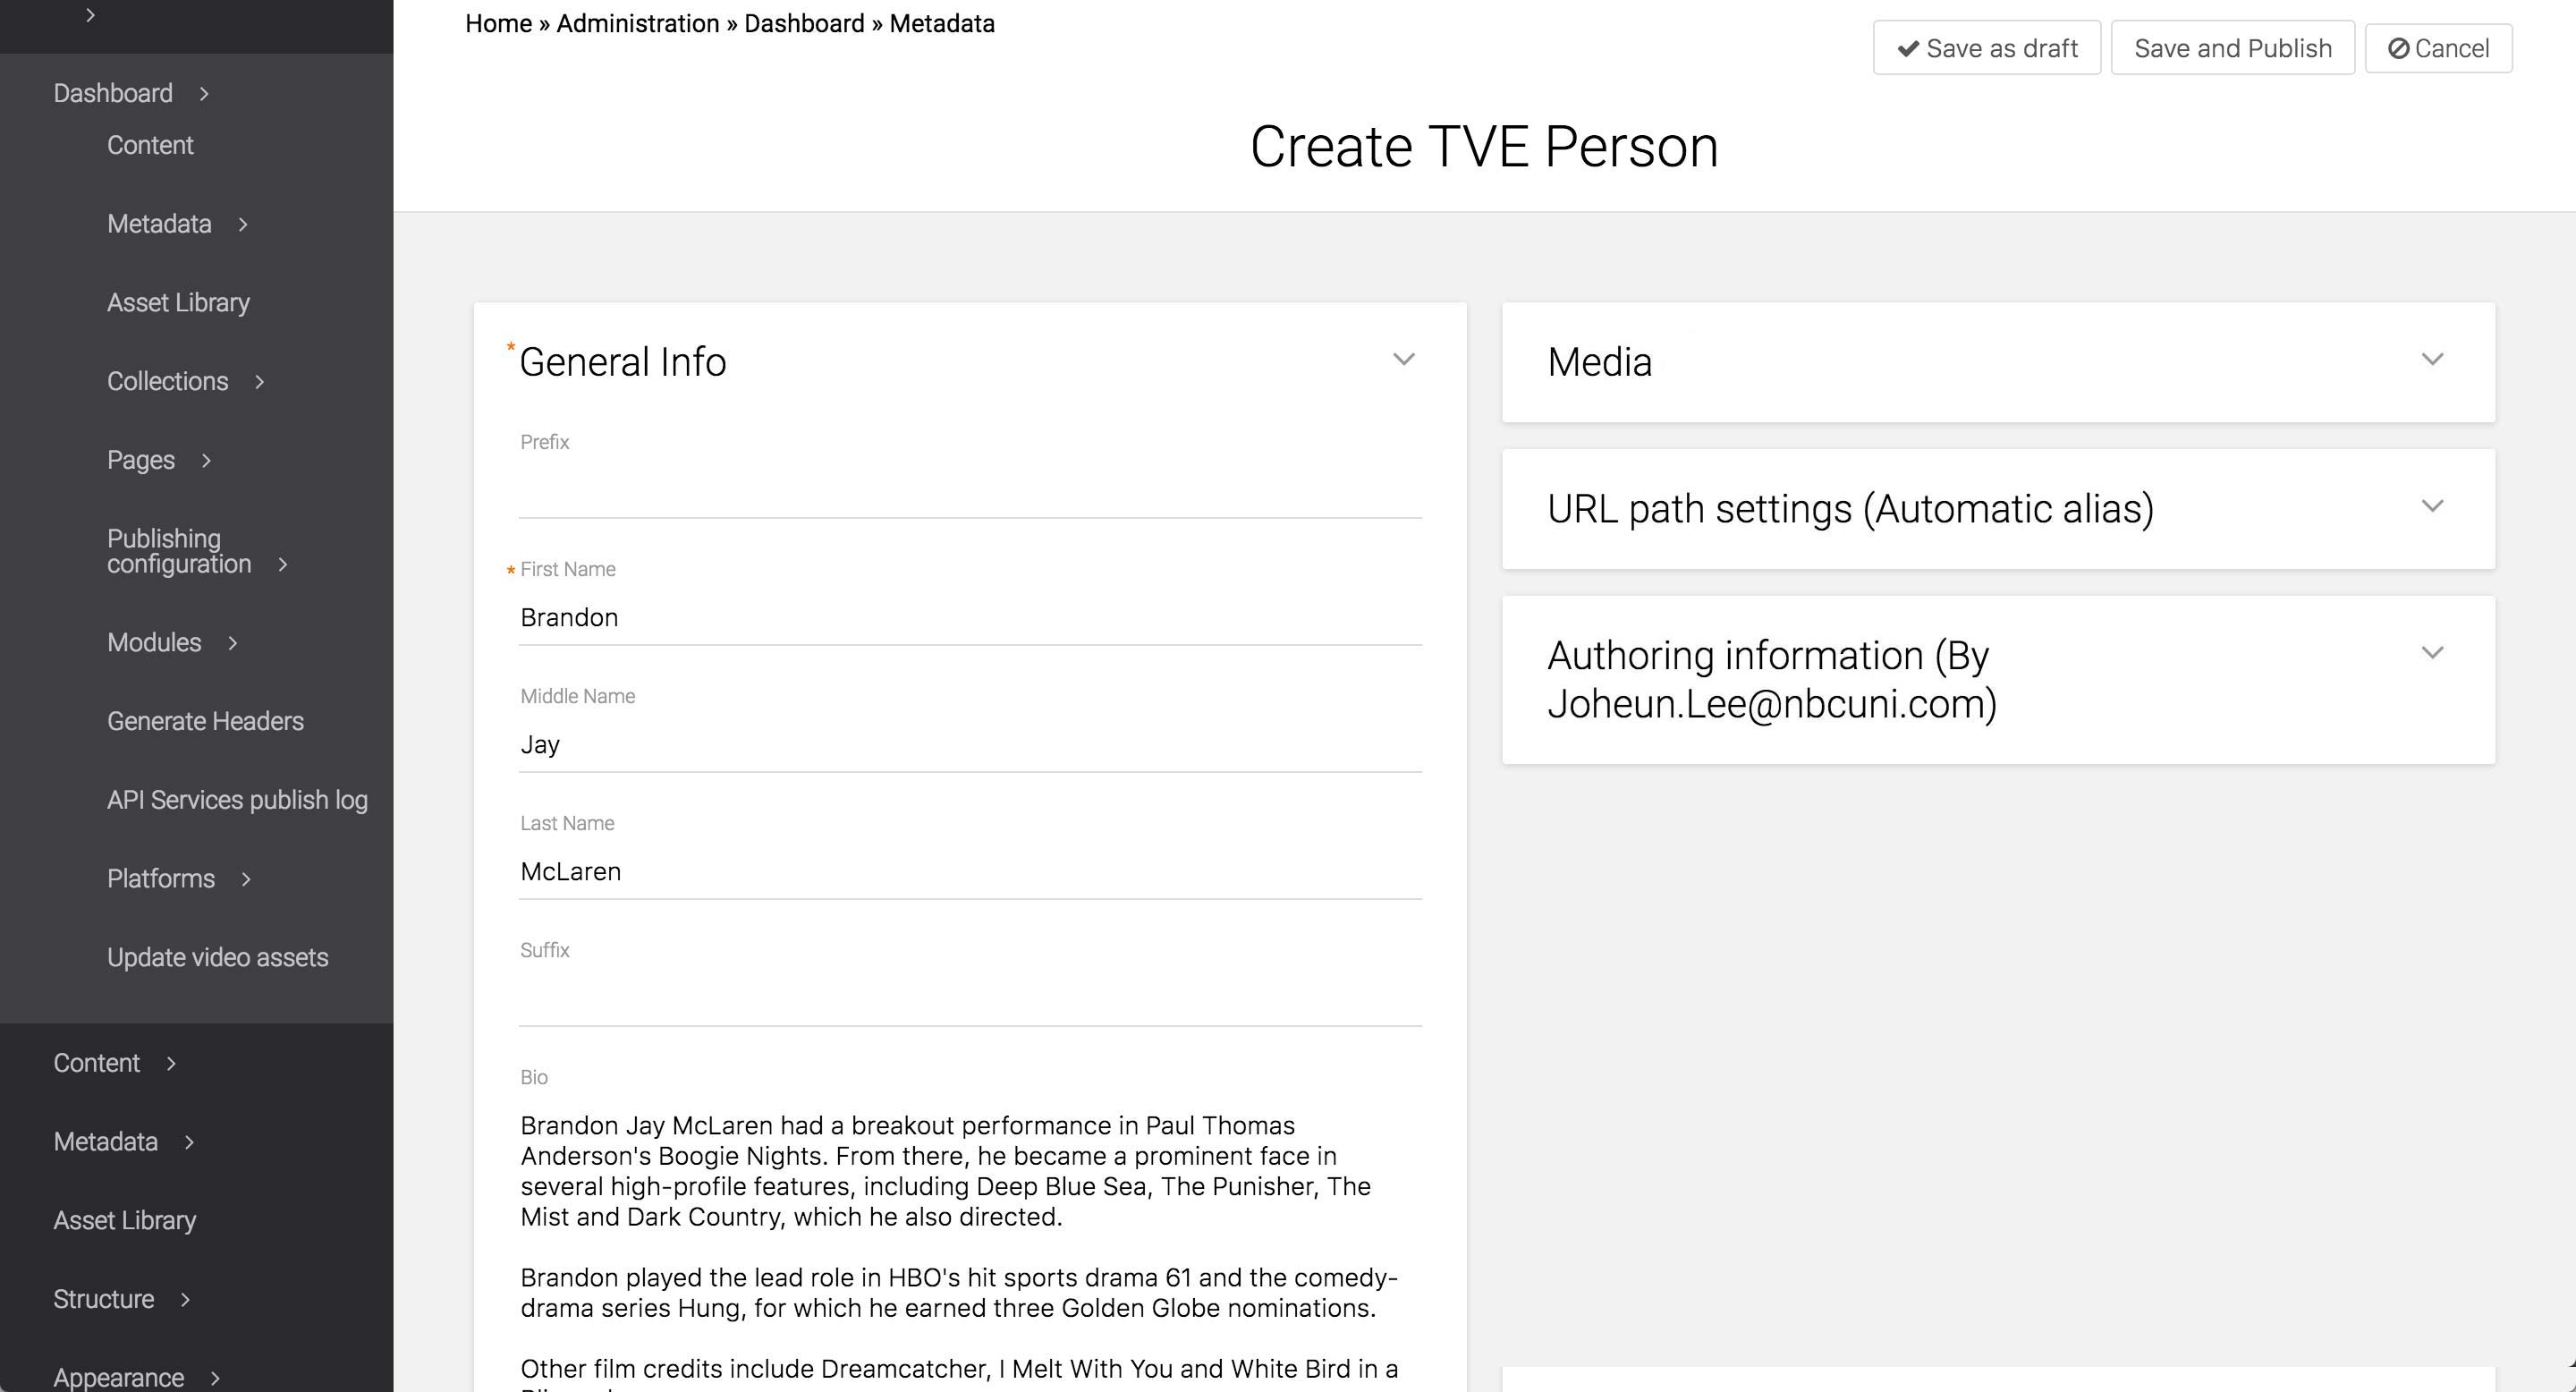
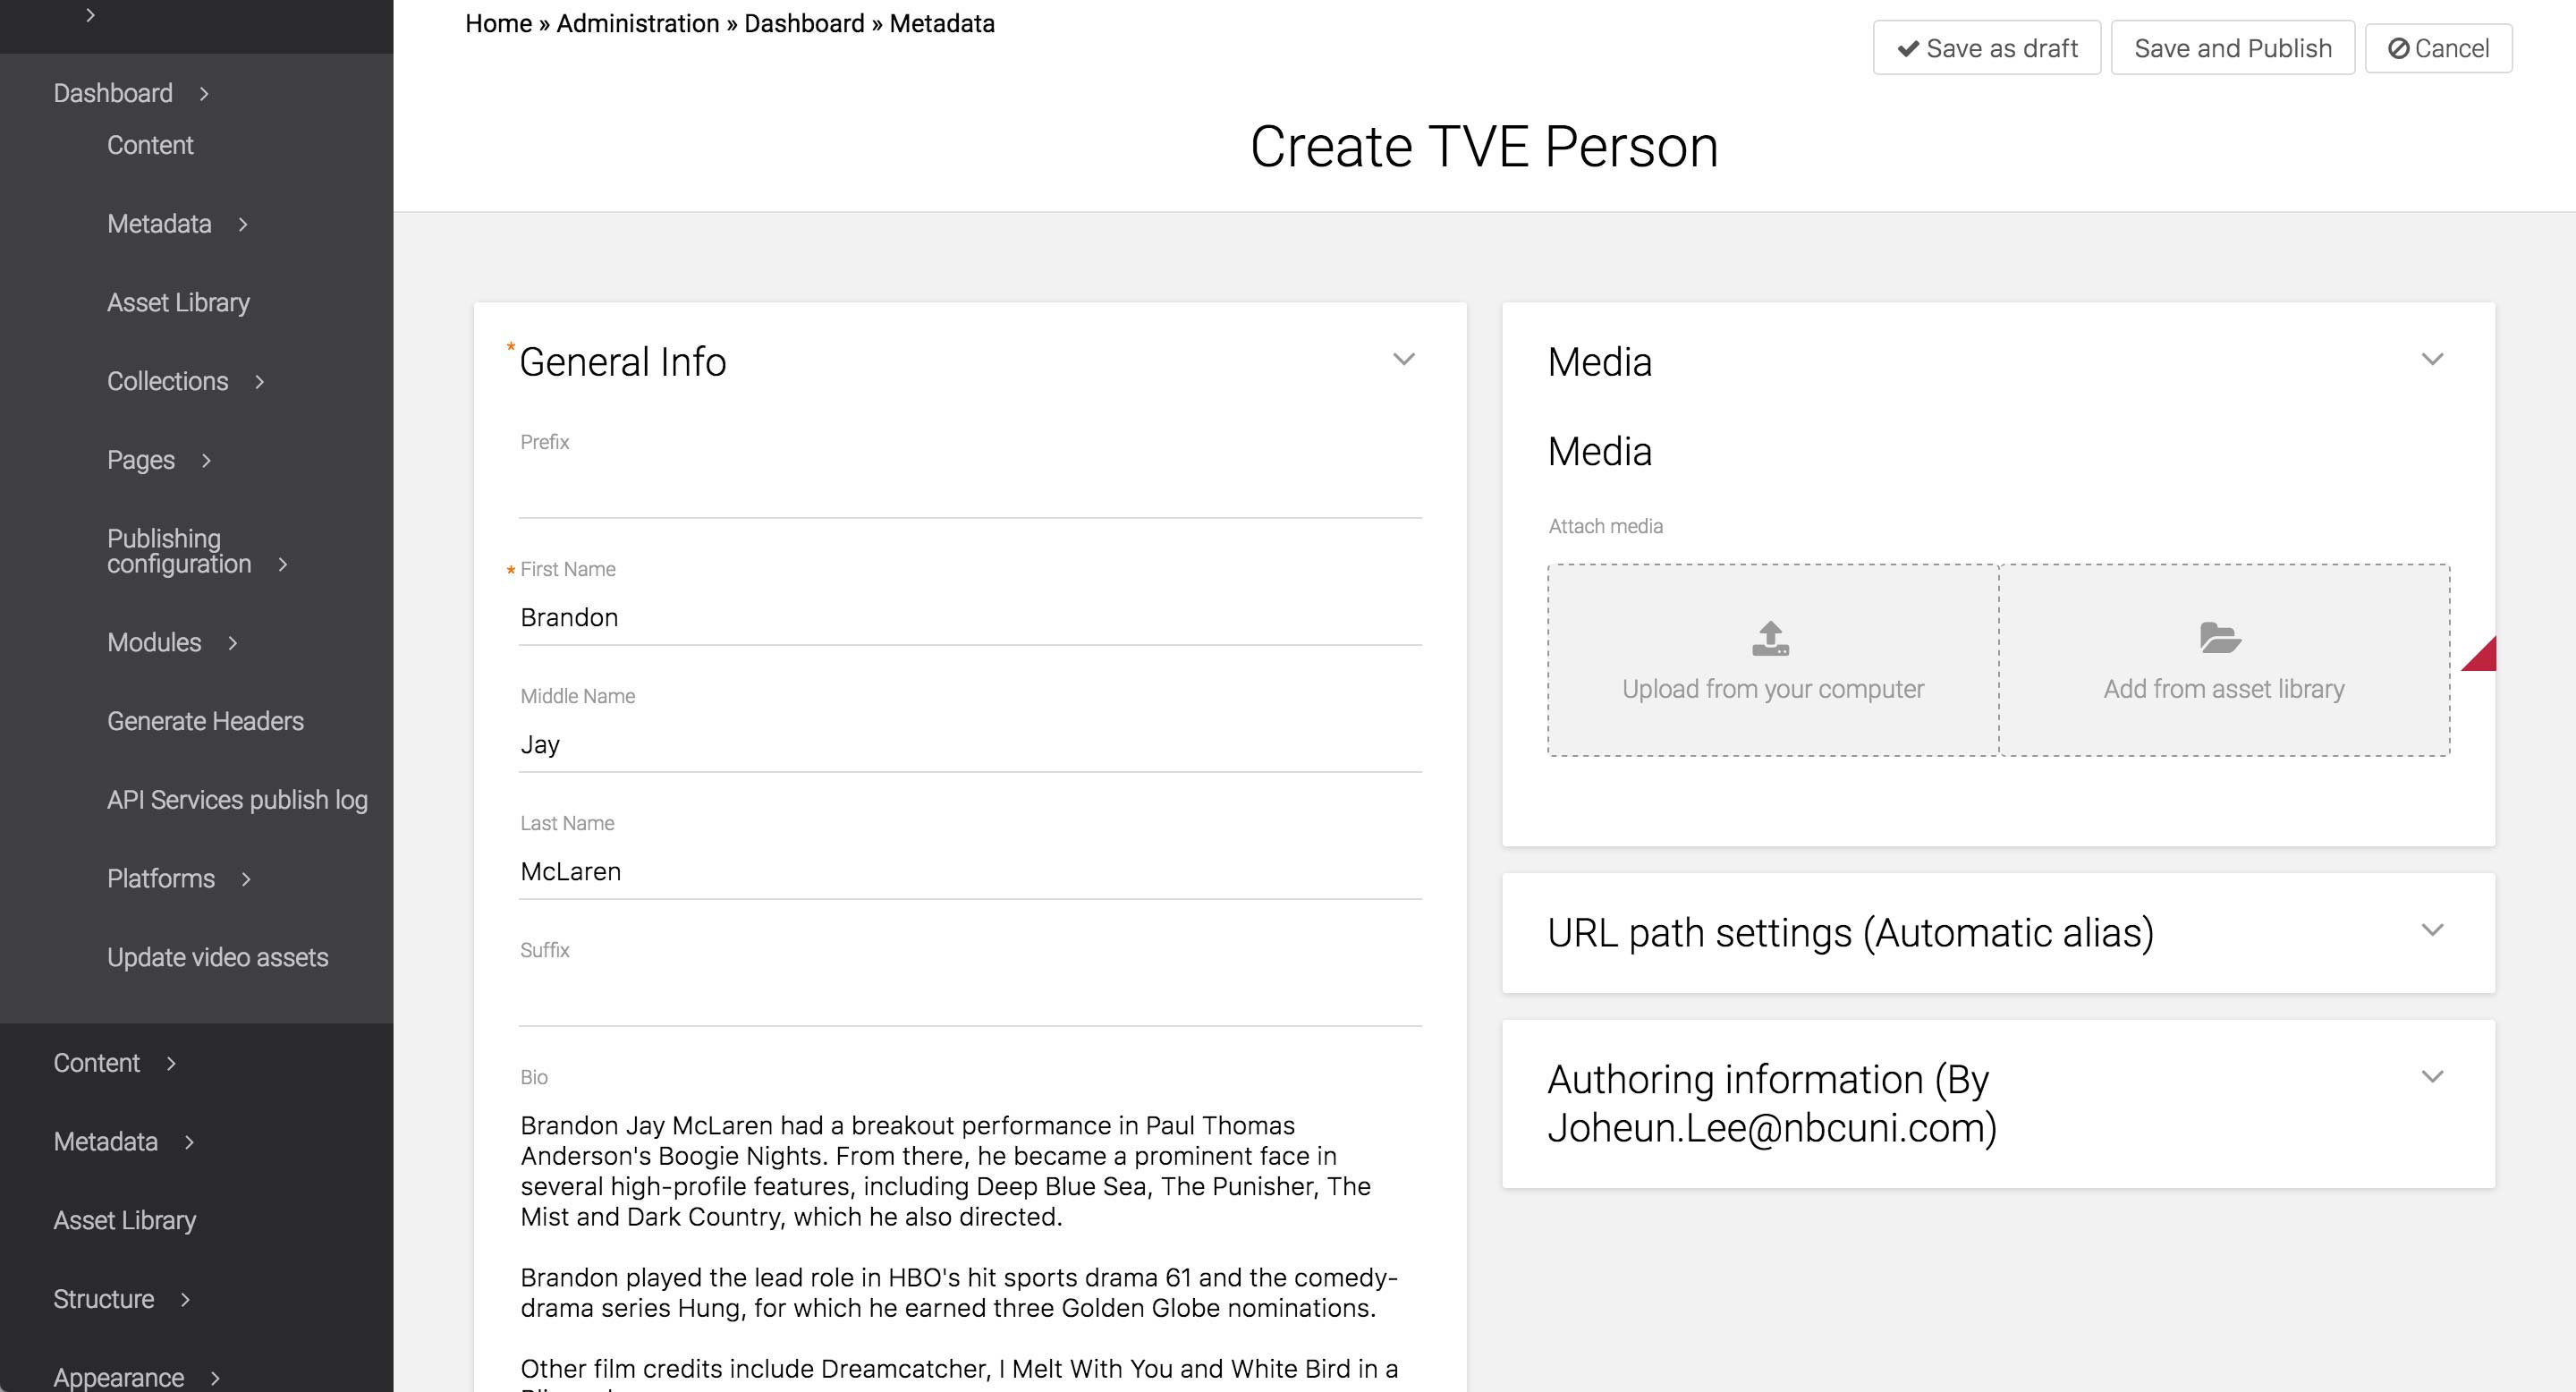
6. Insert images and video
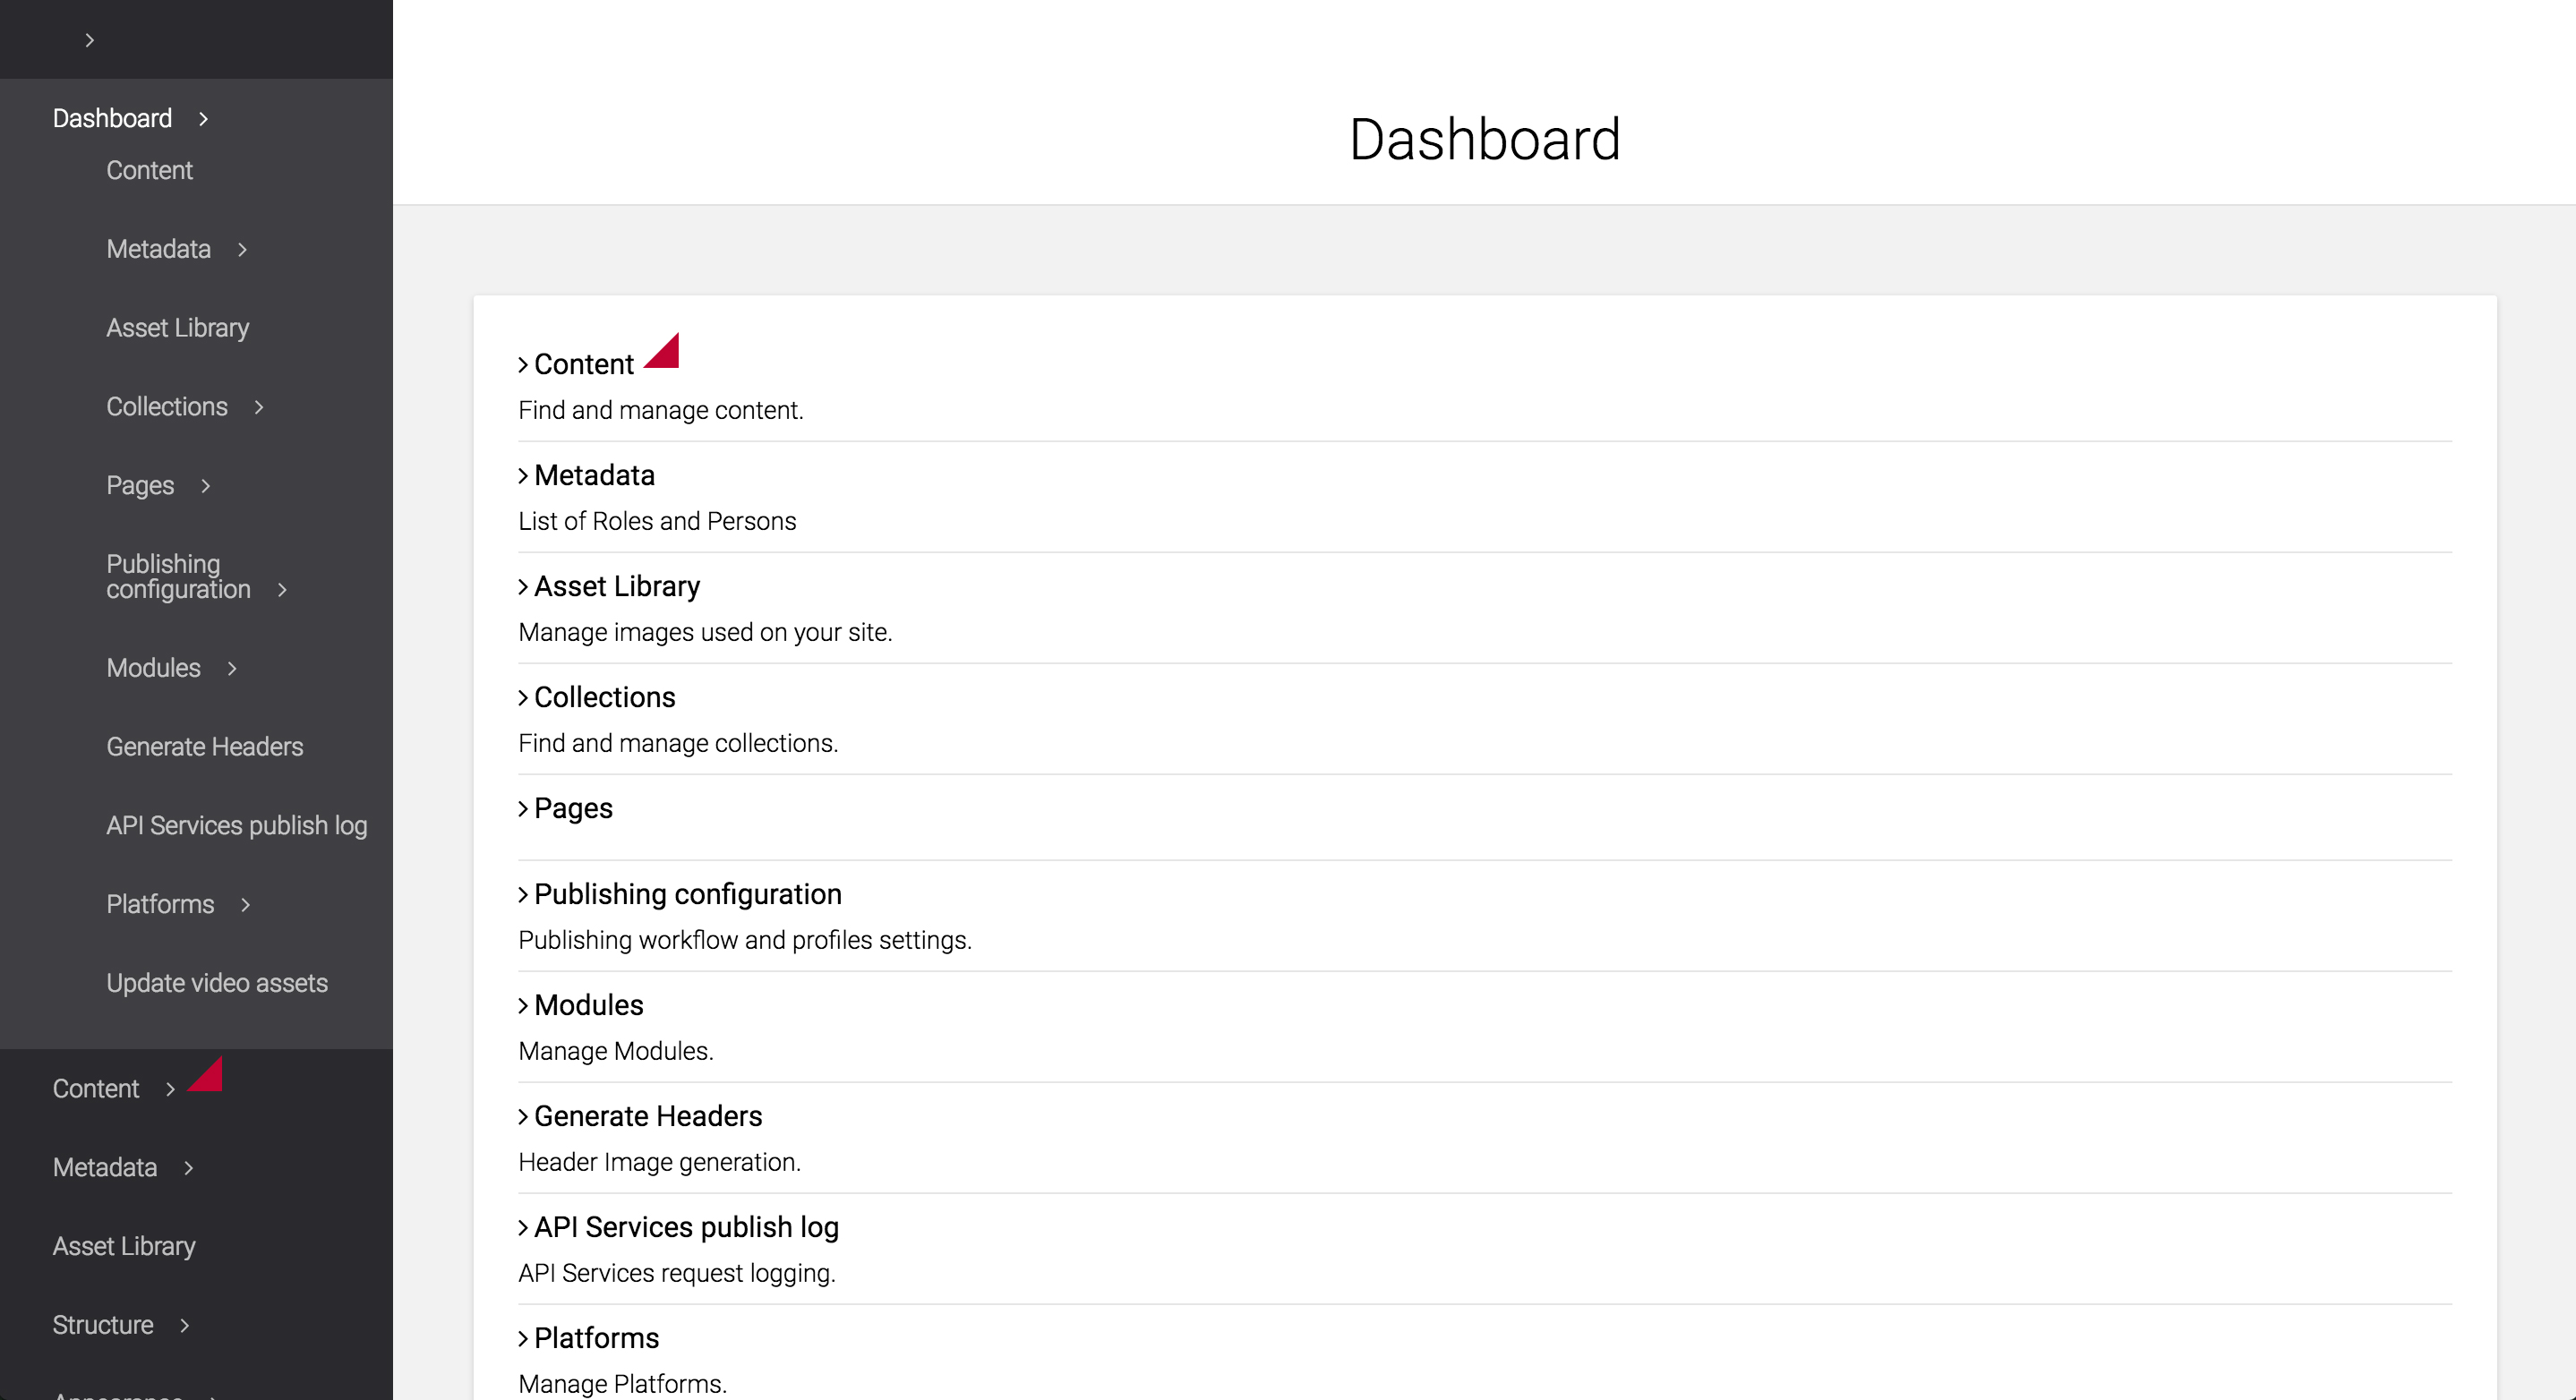
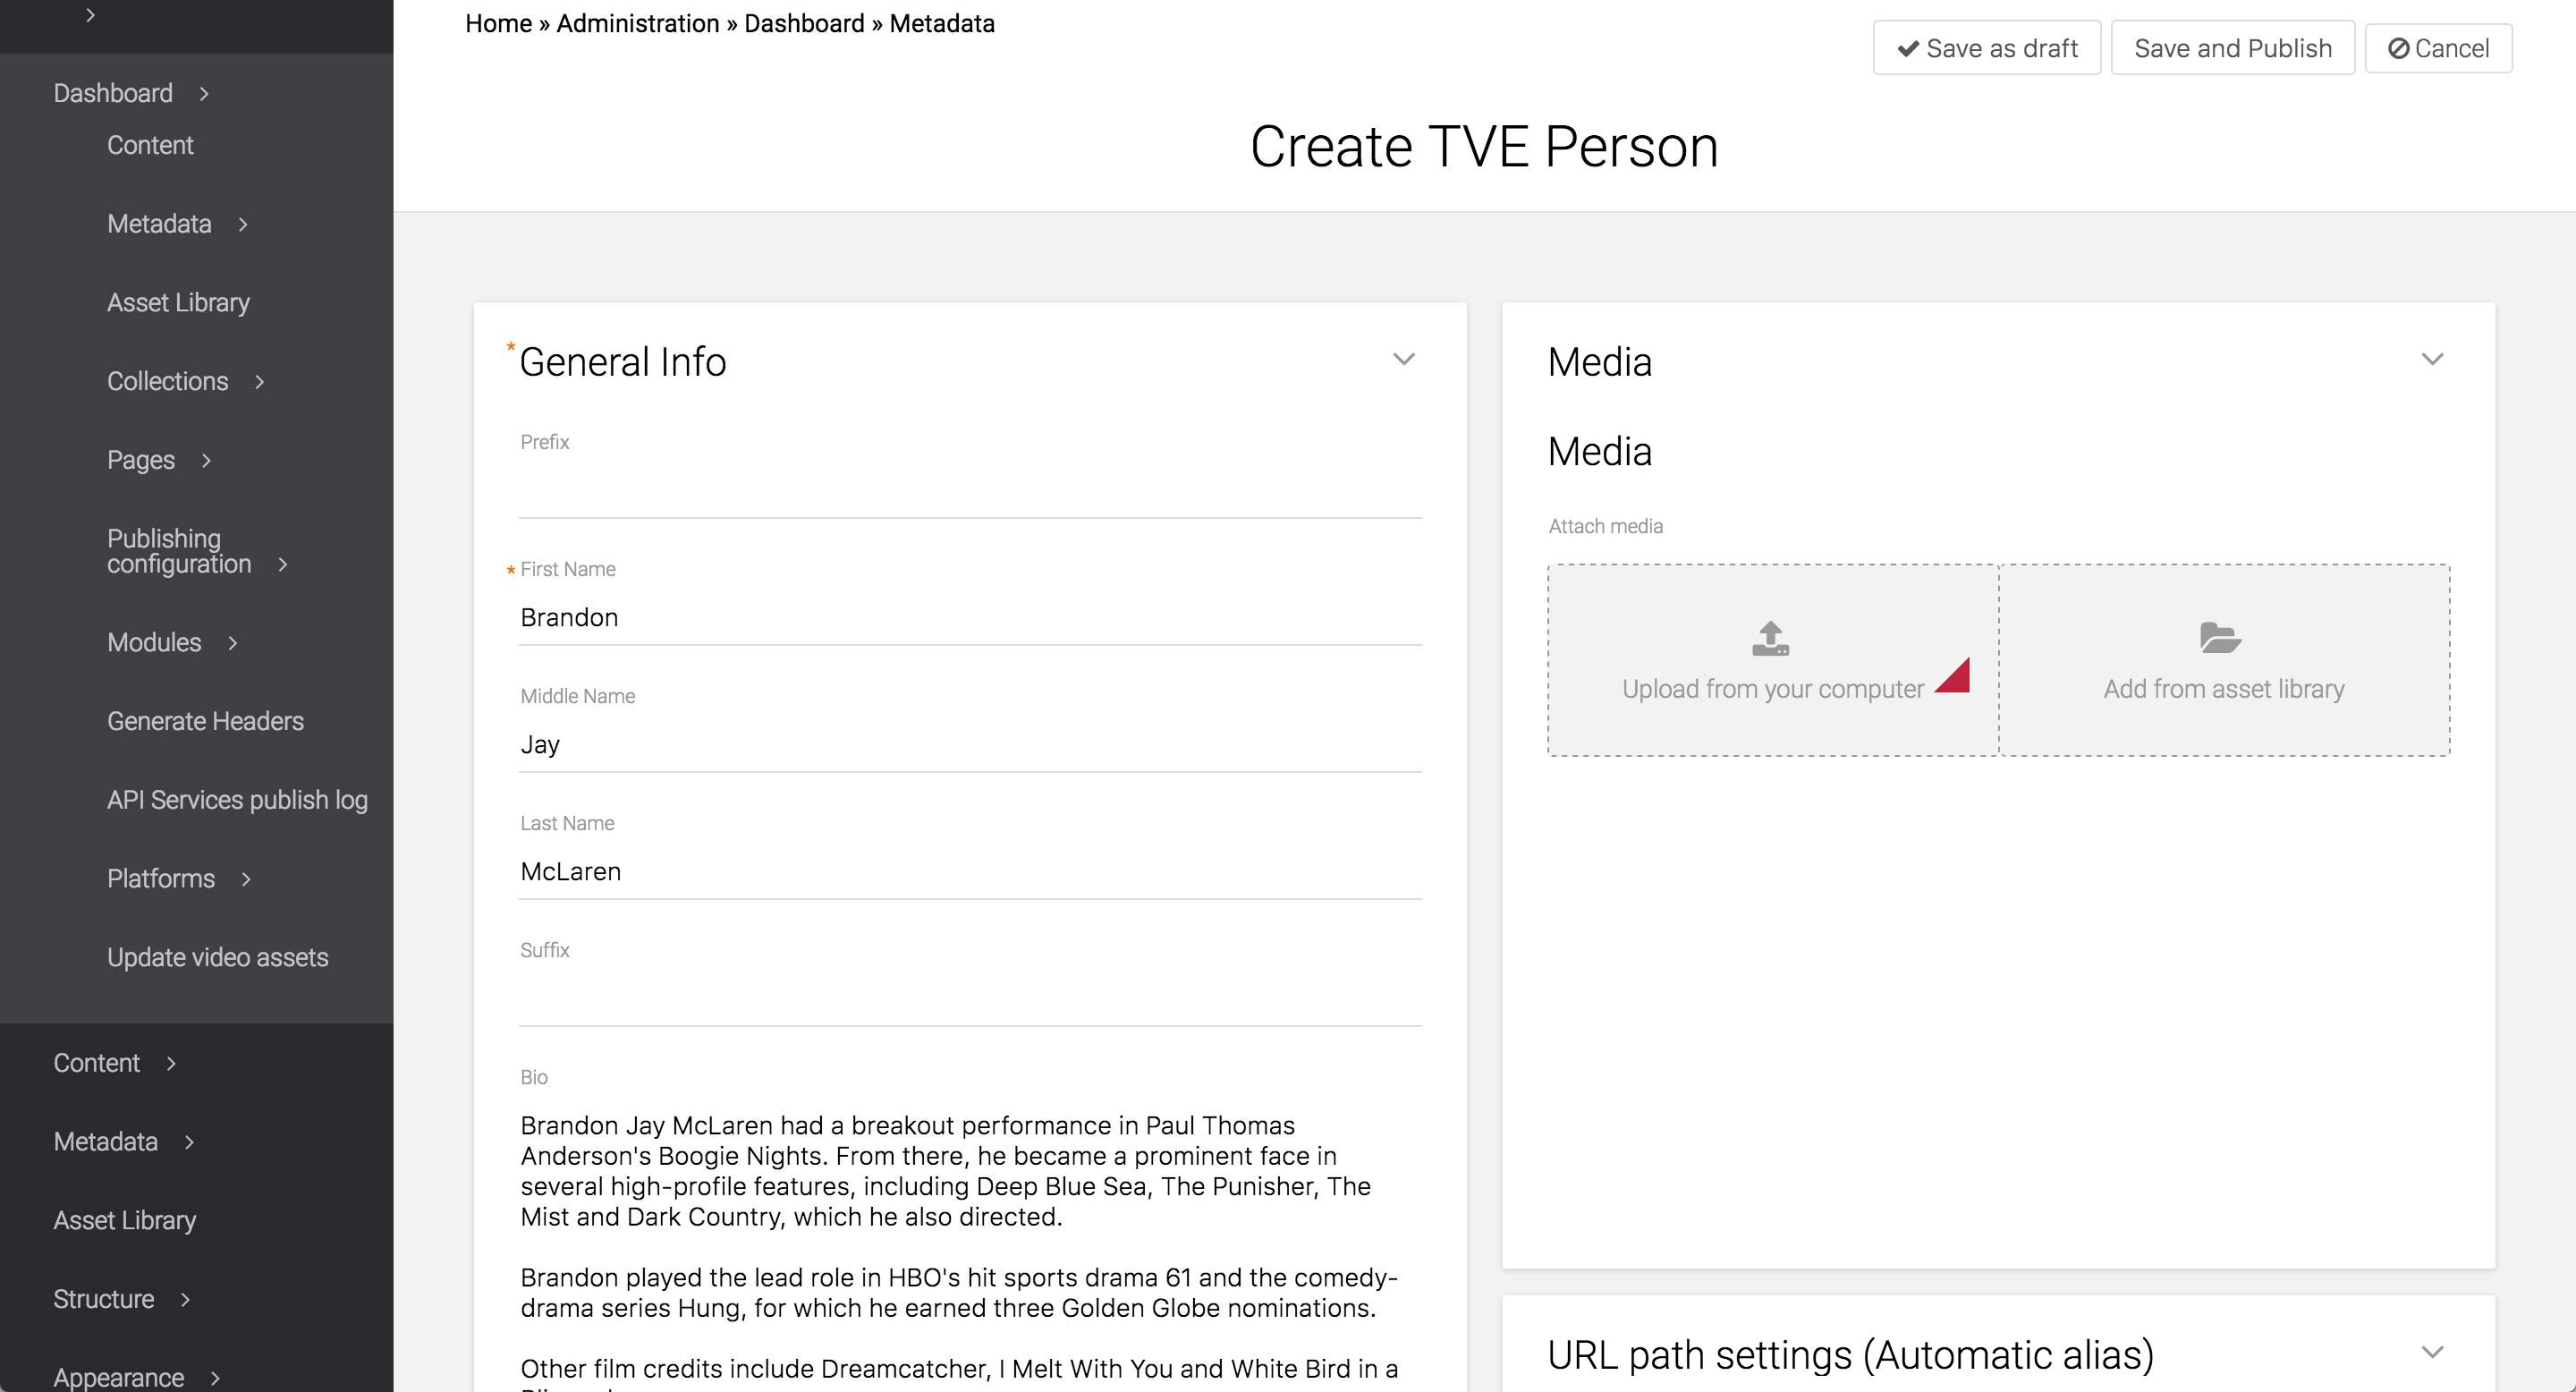
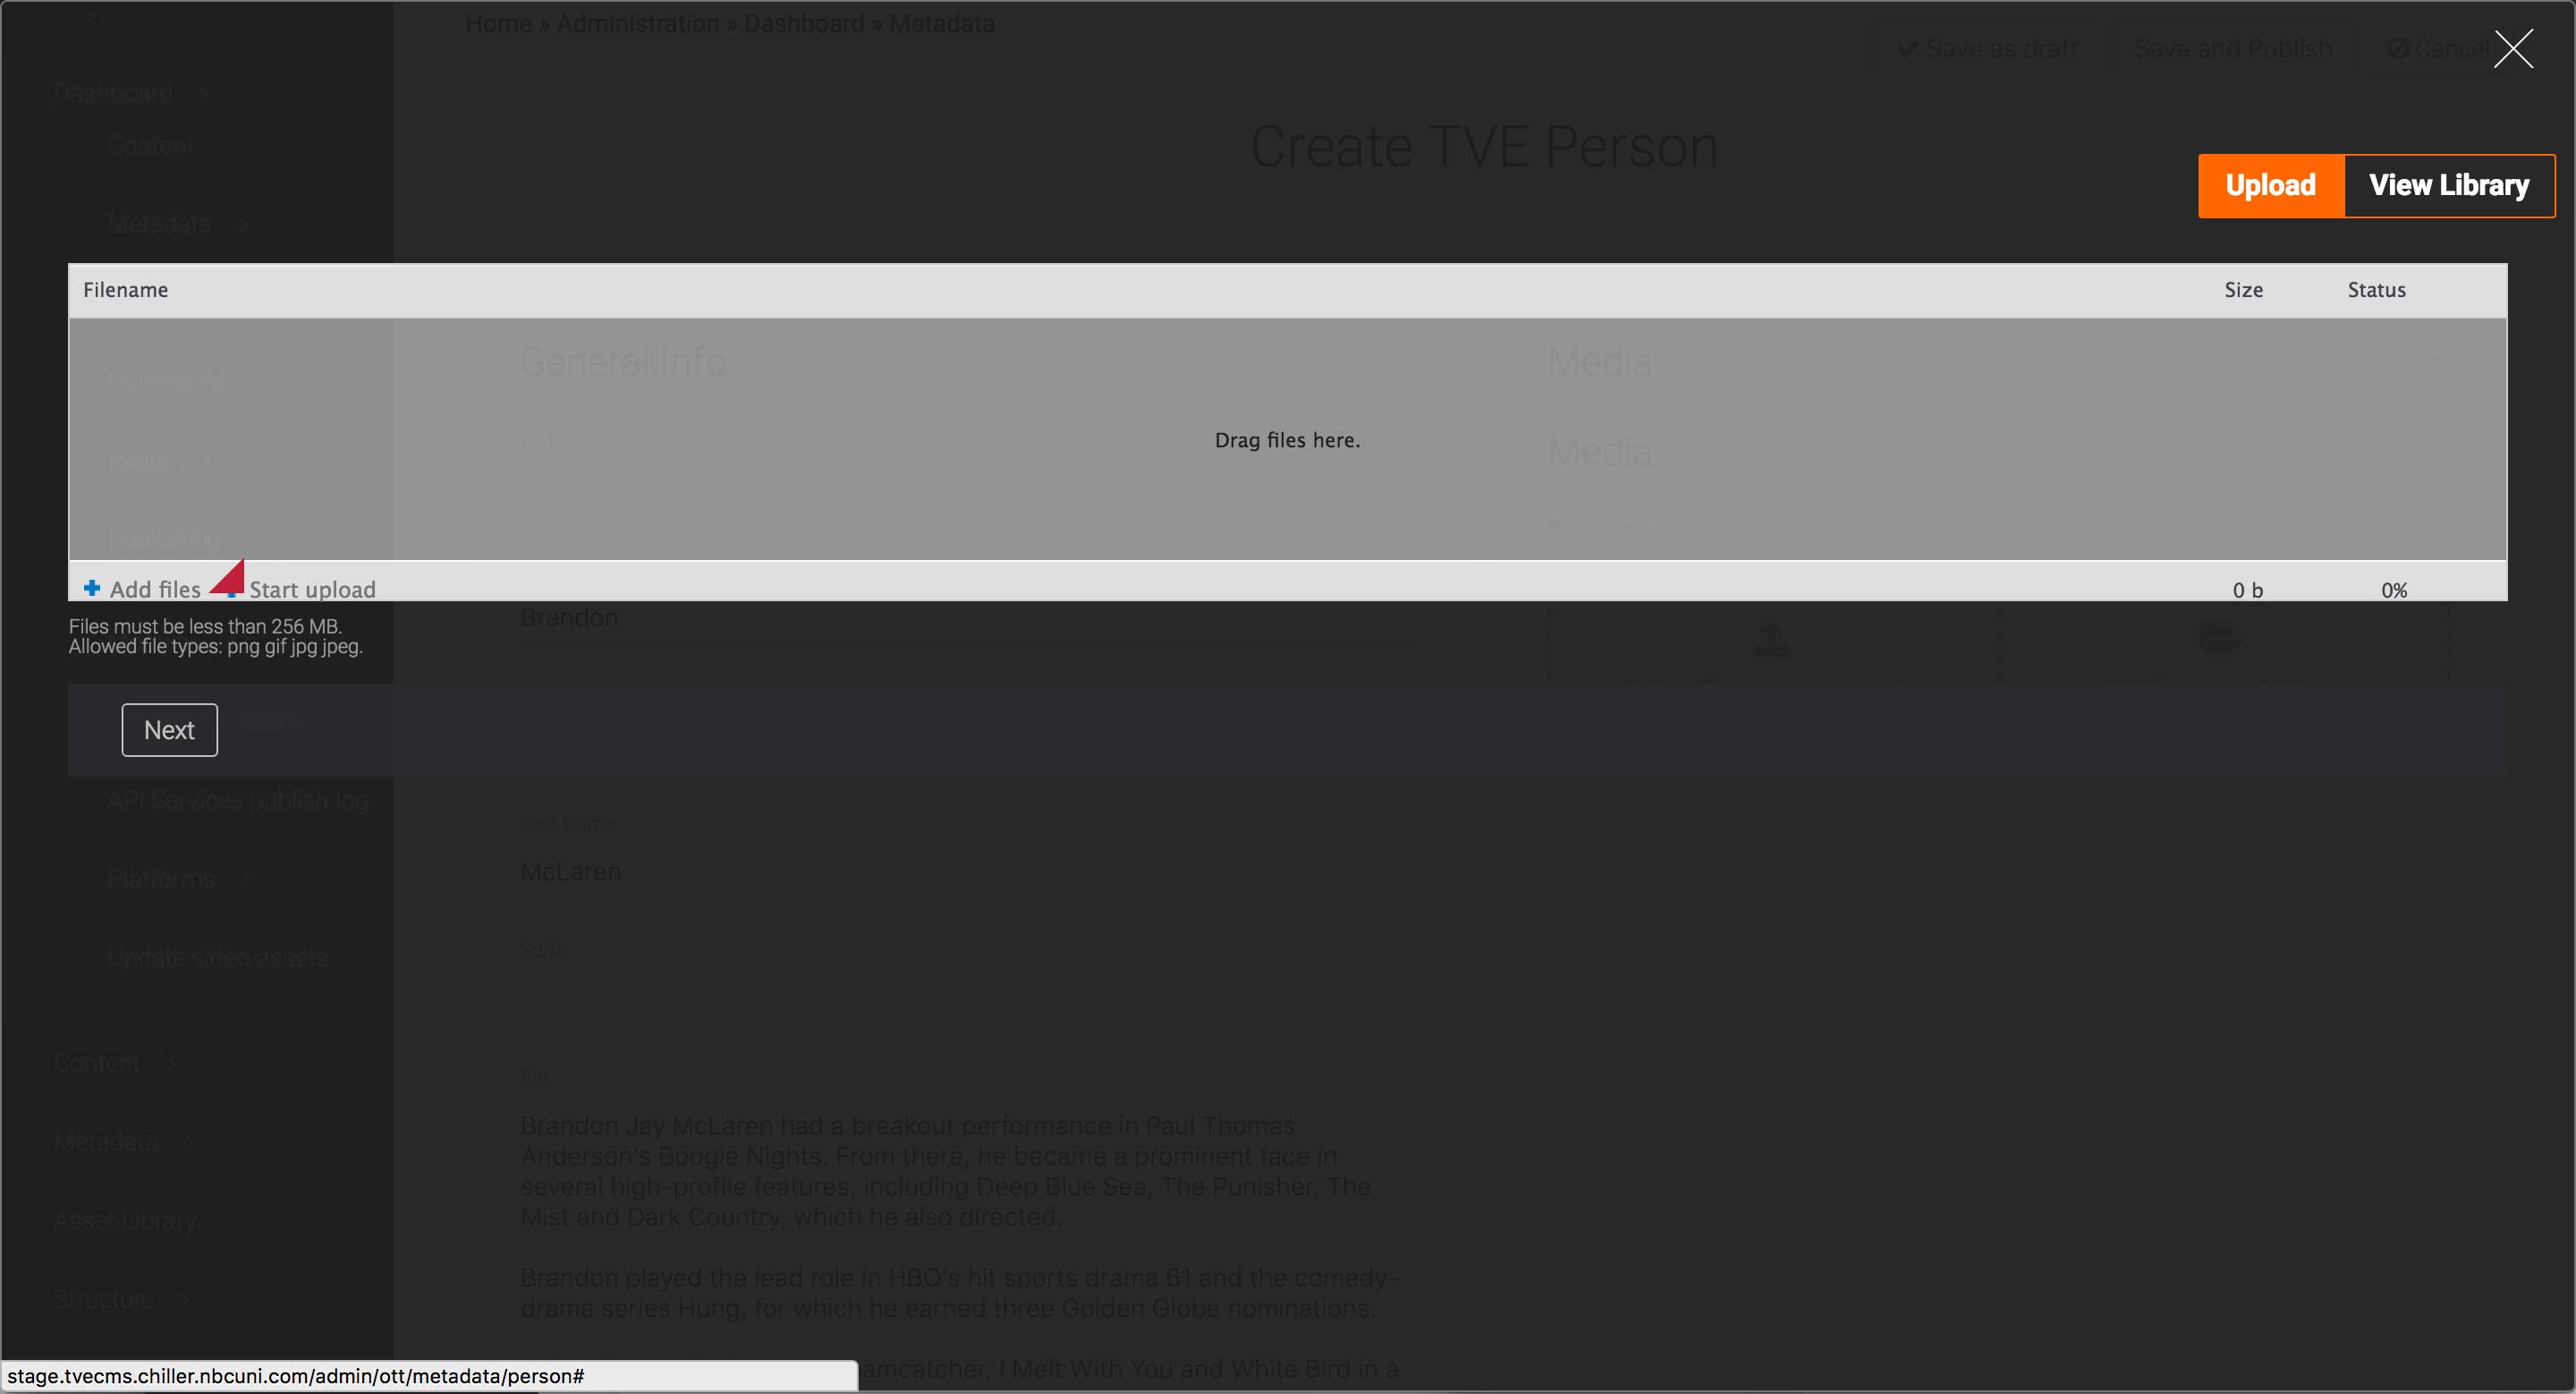
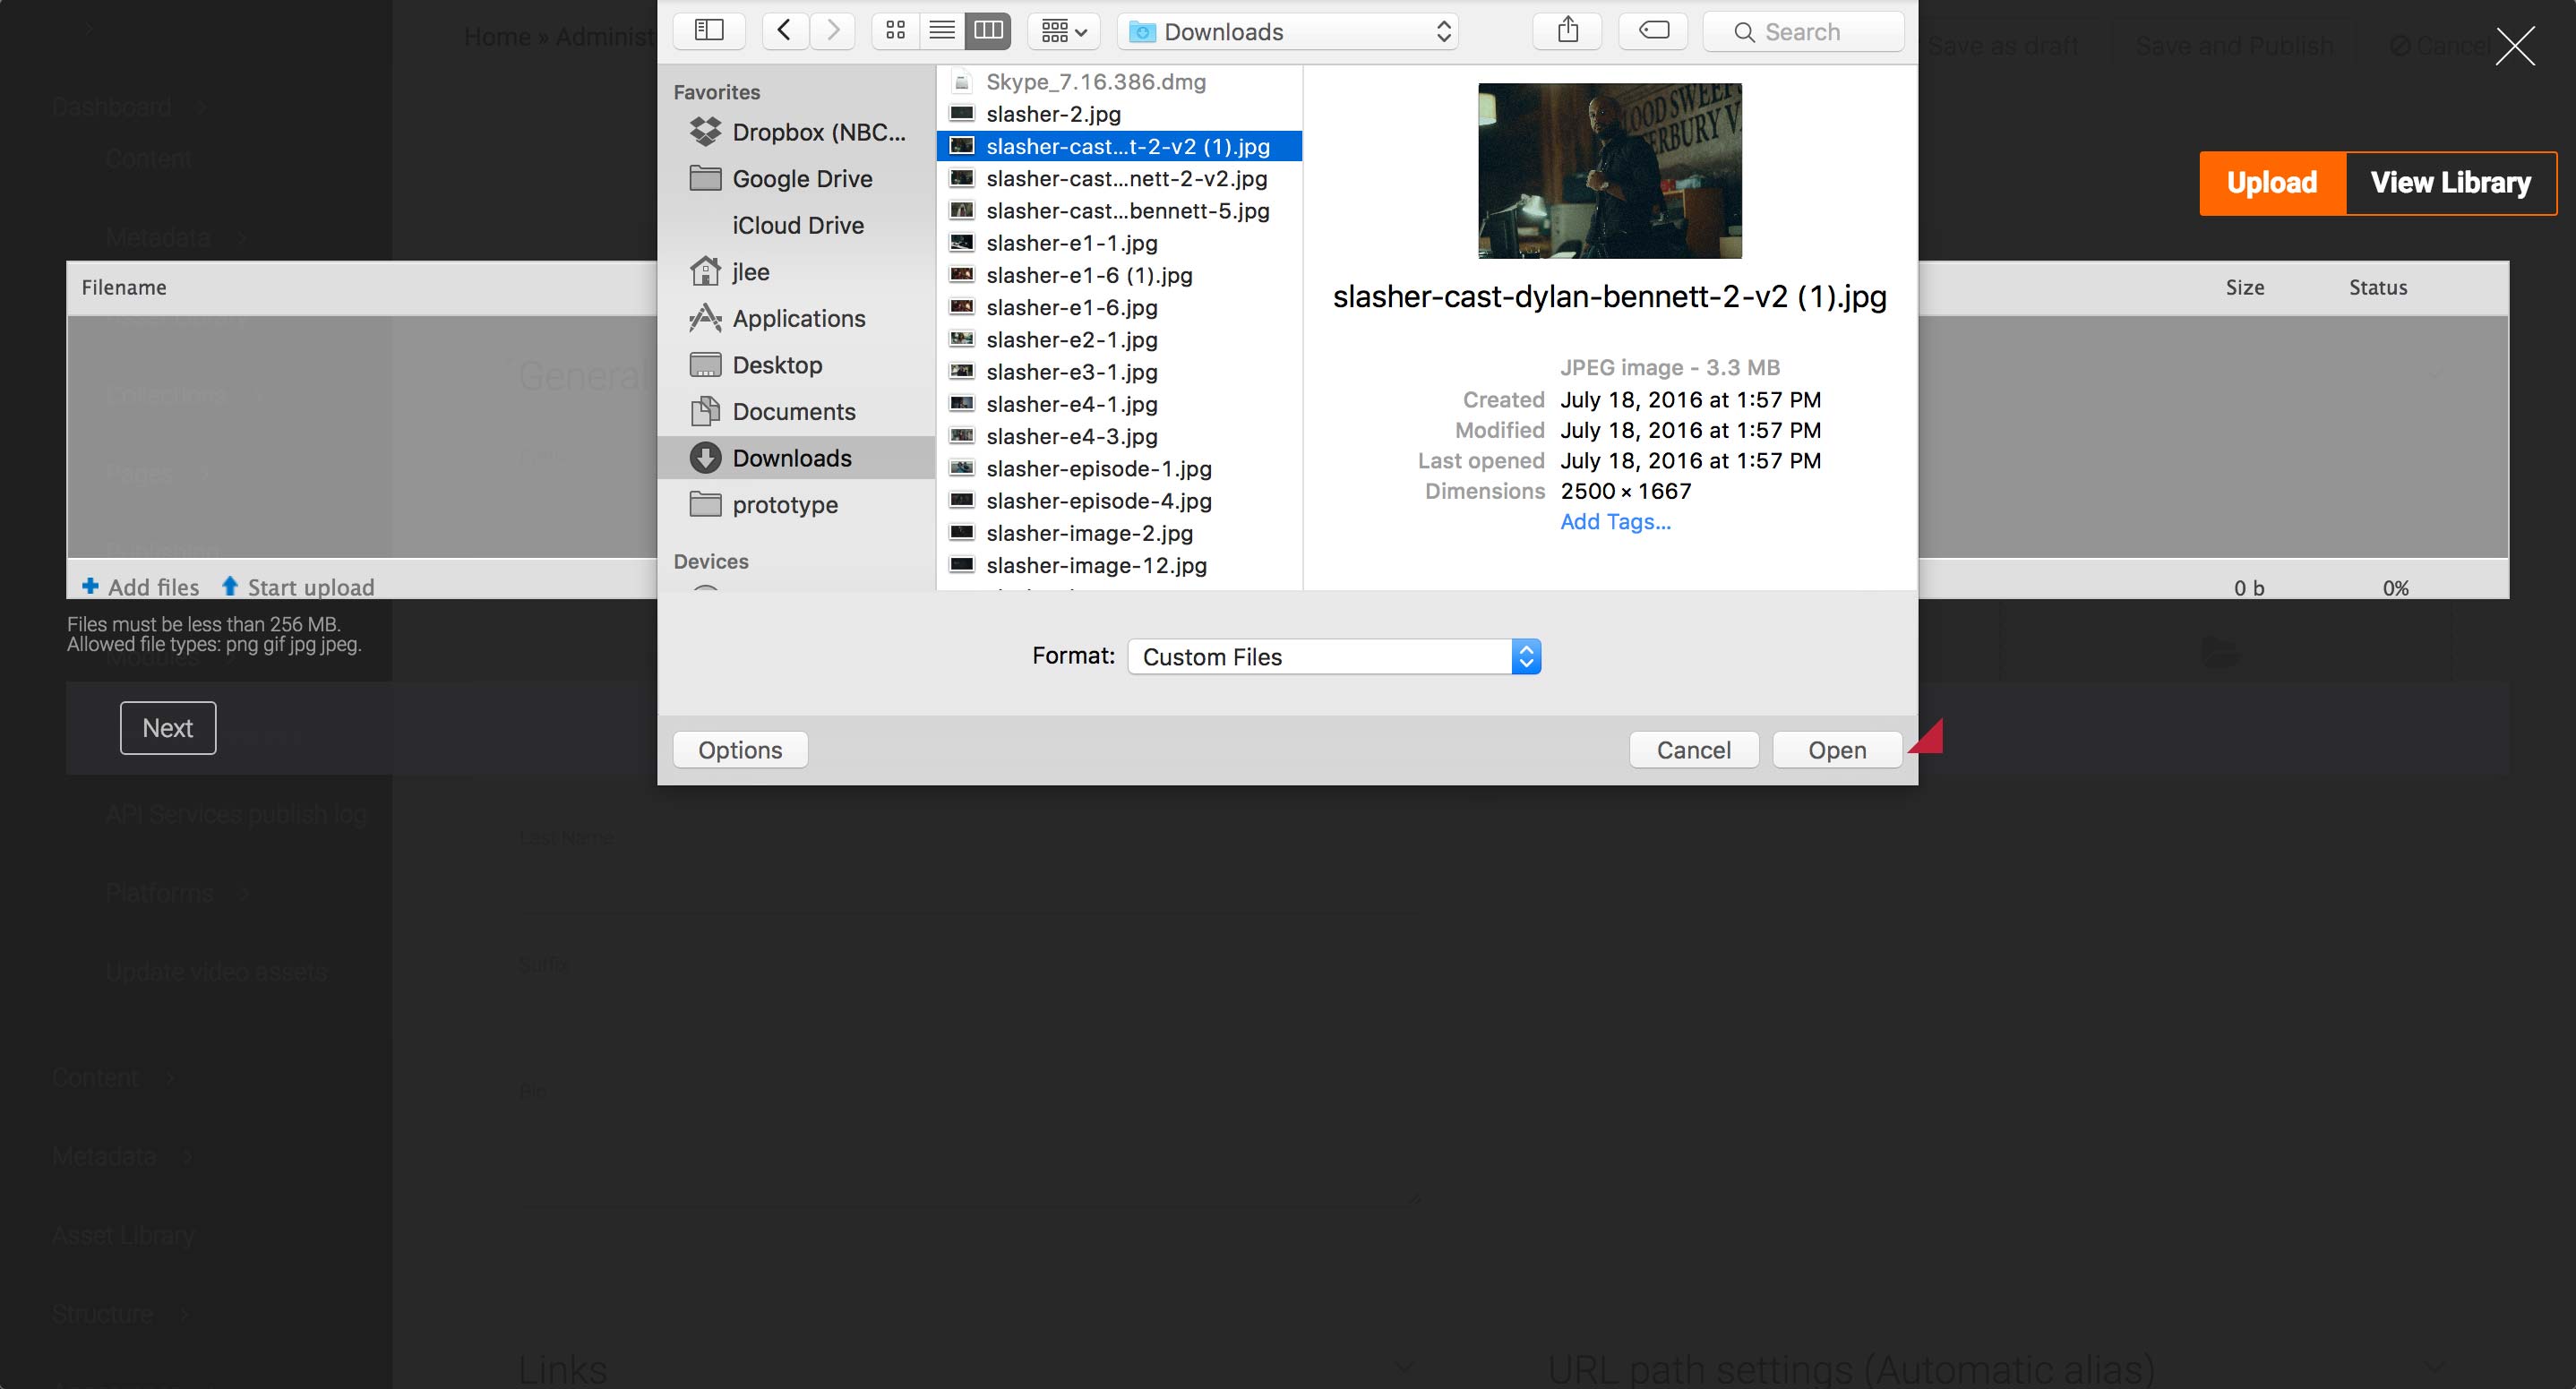
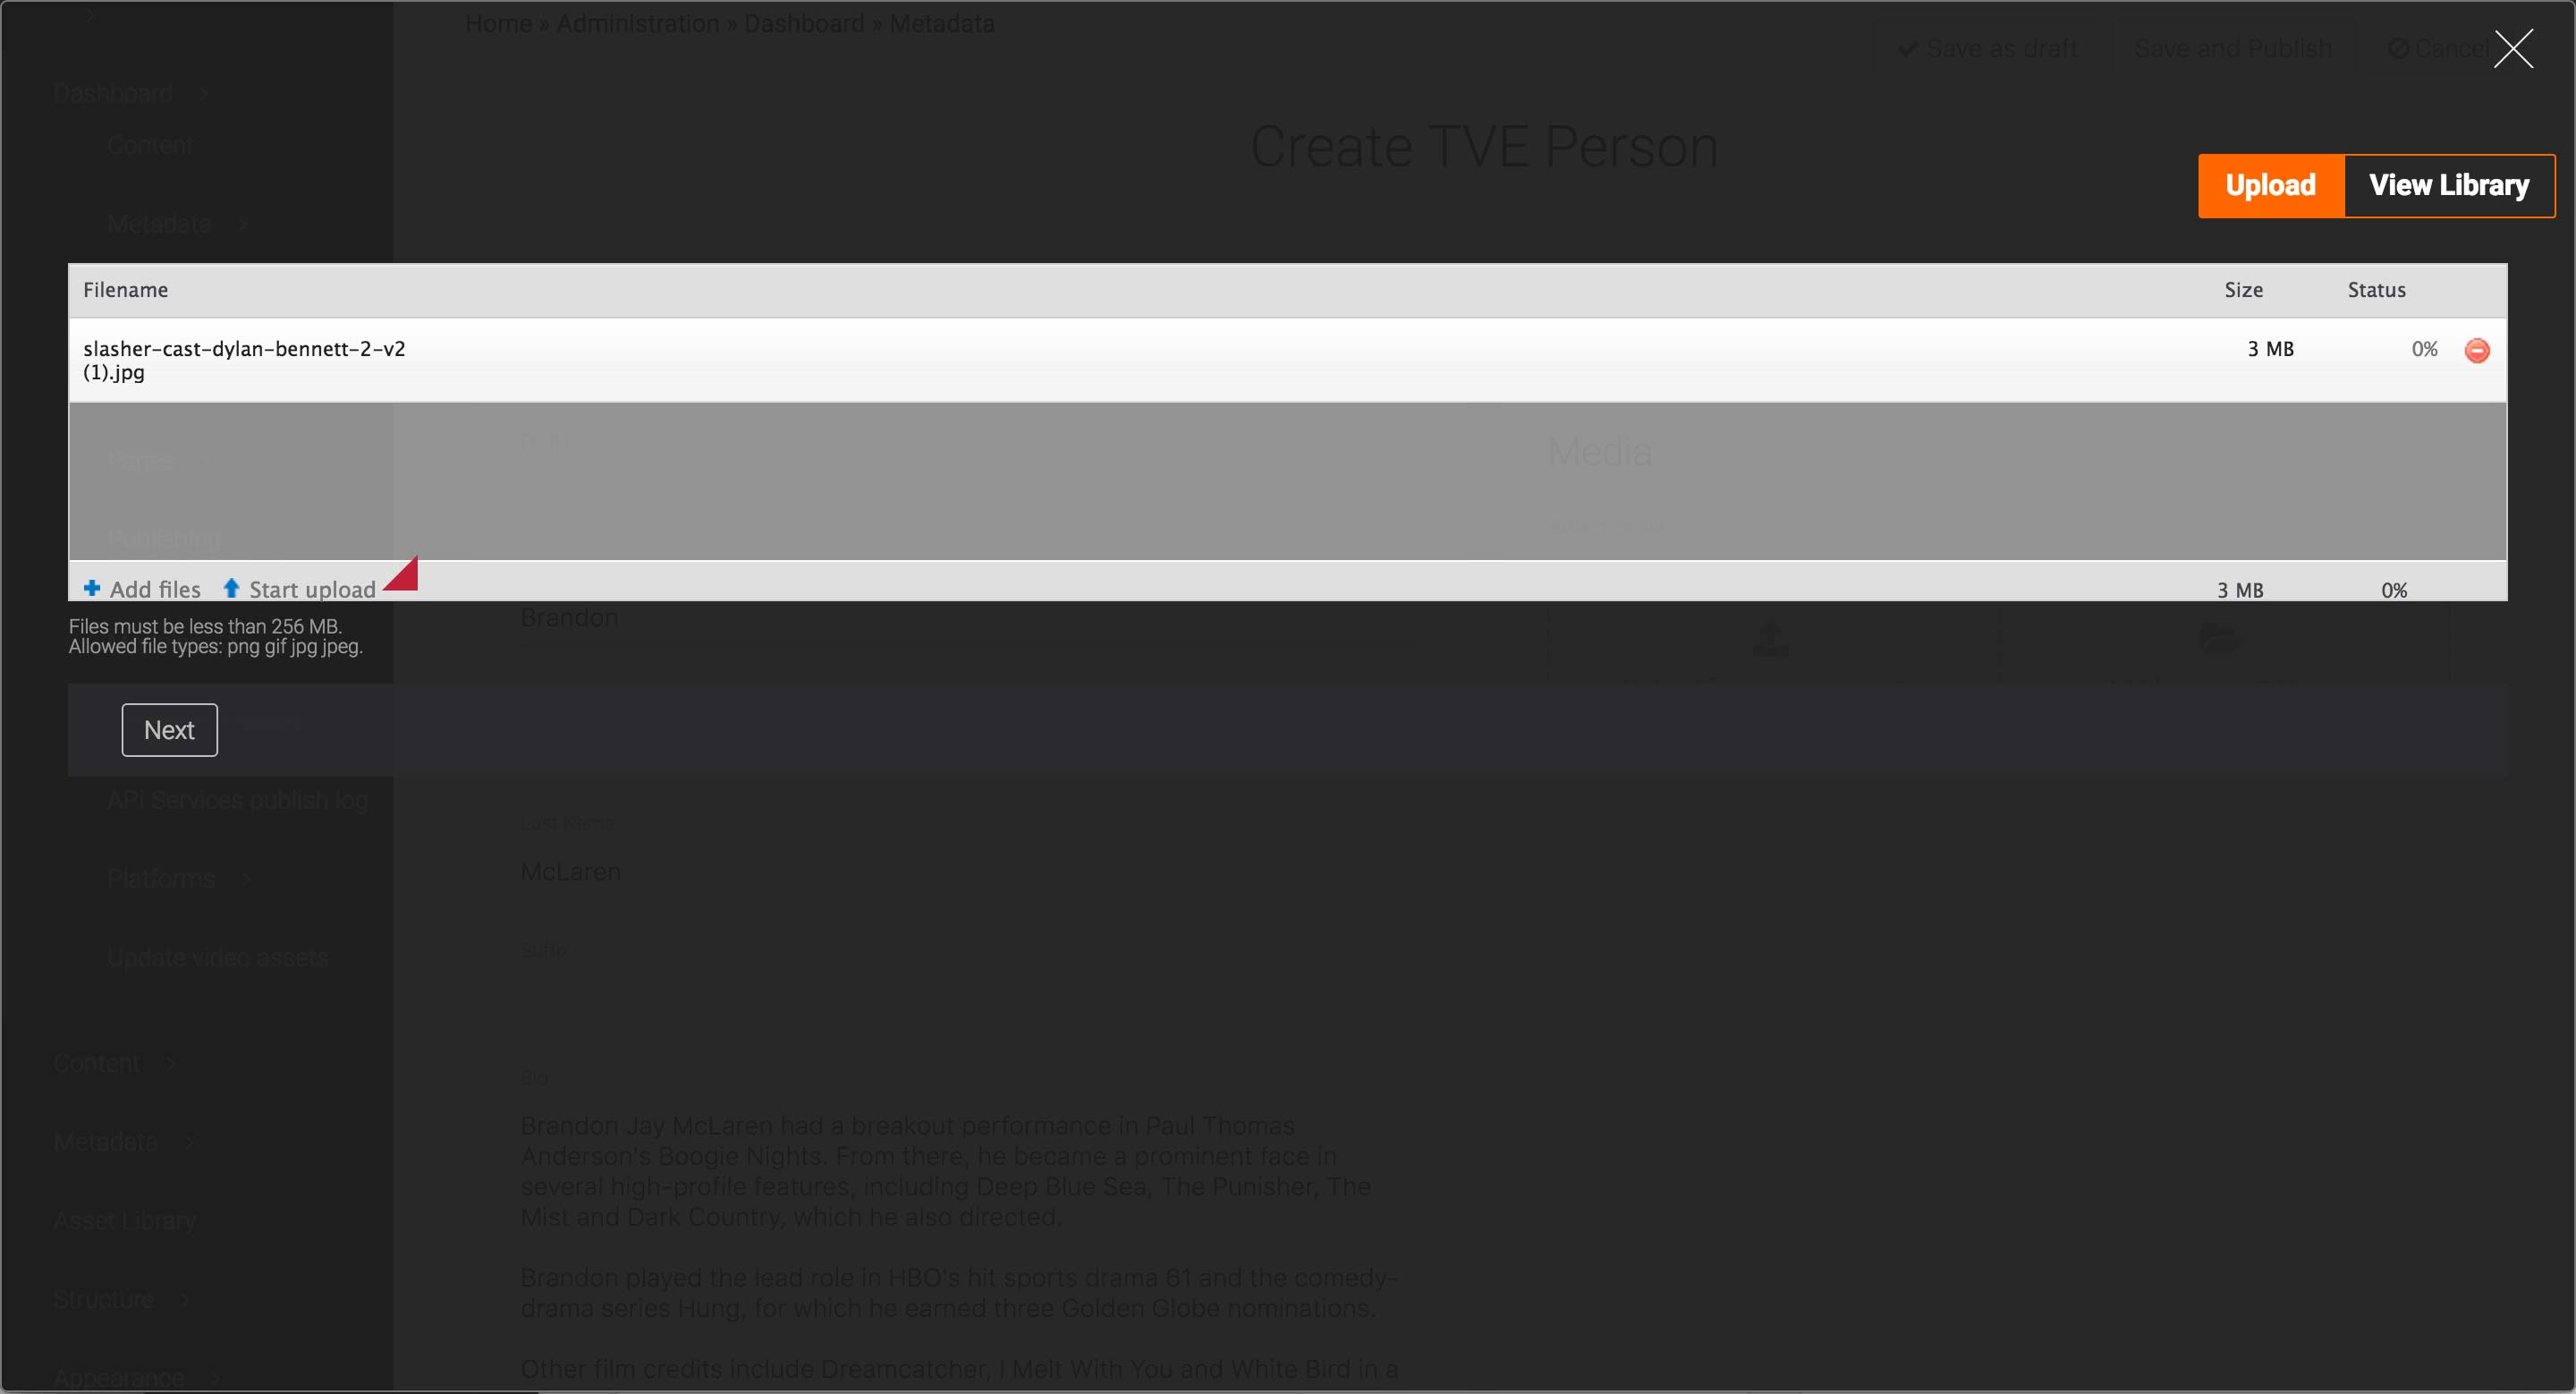
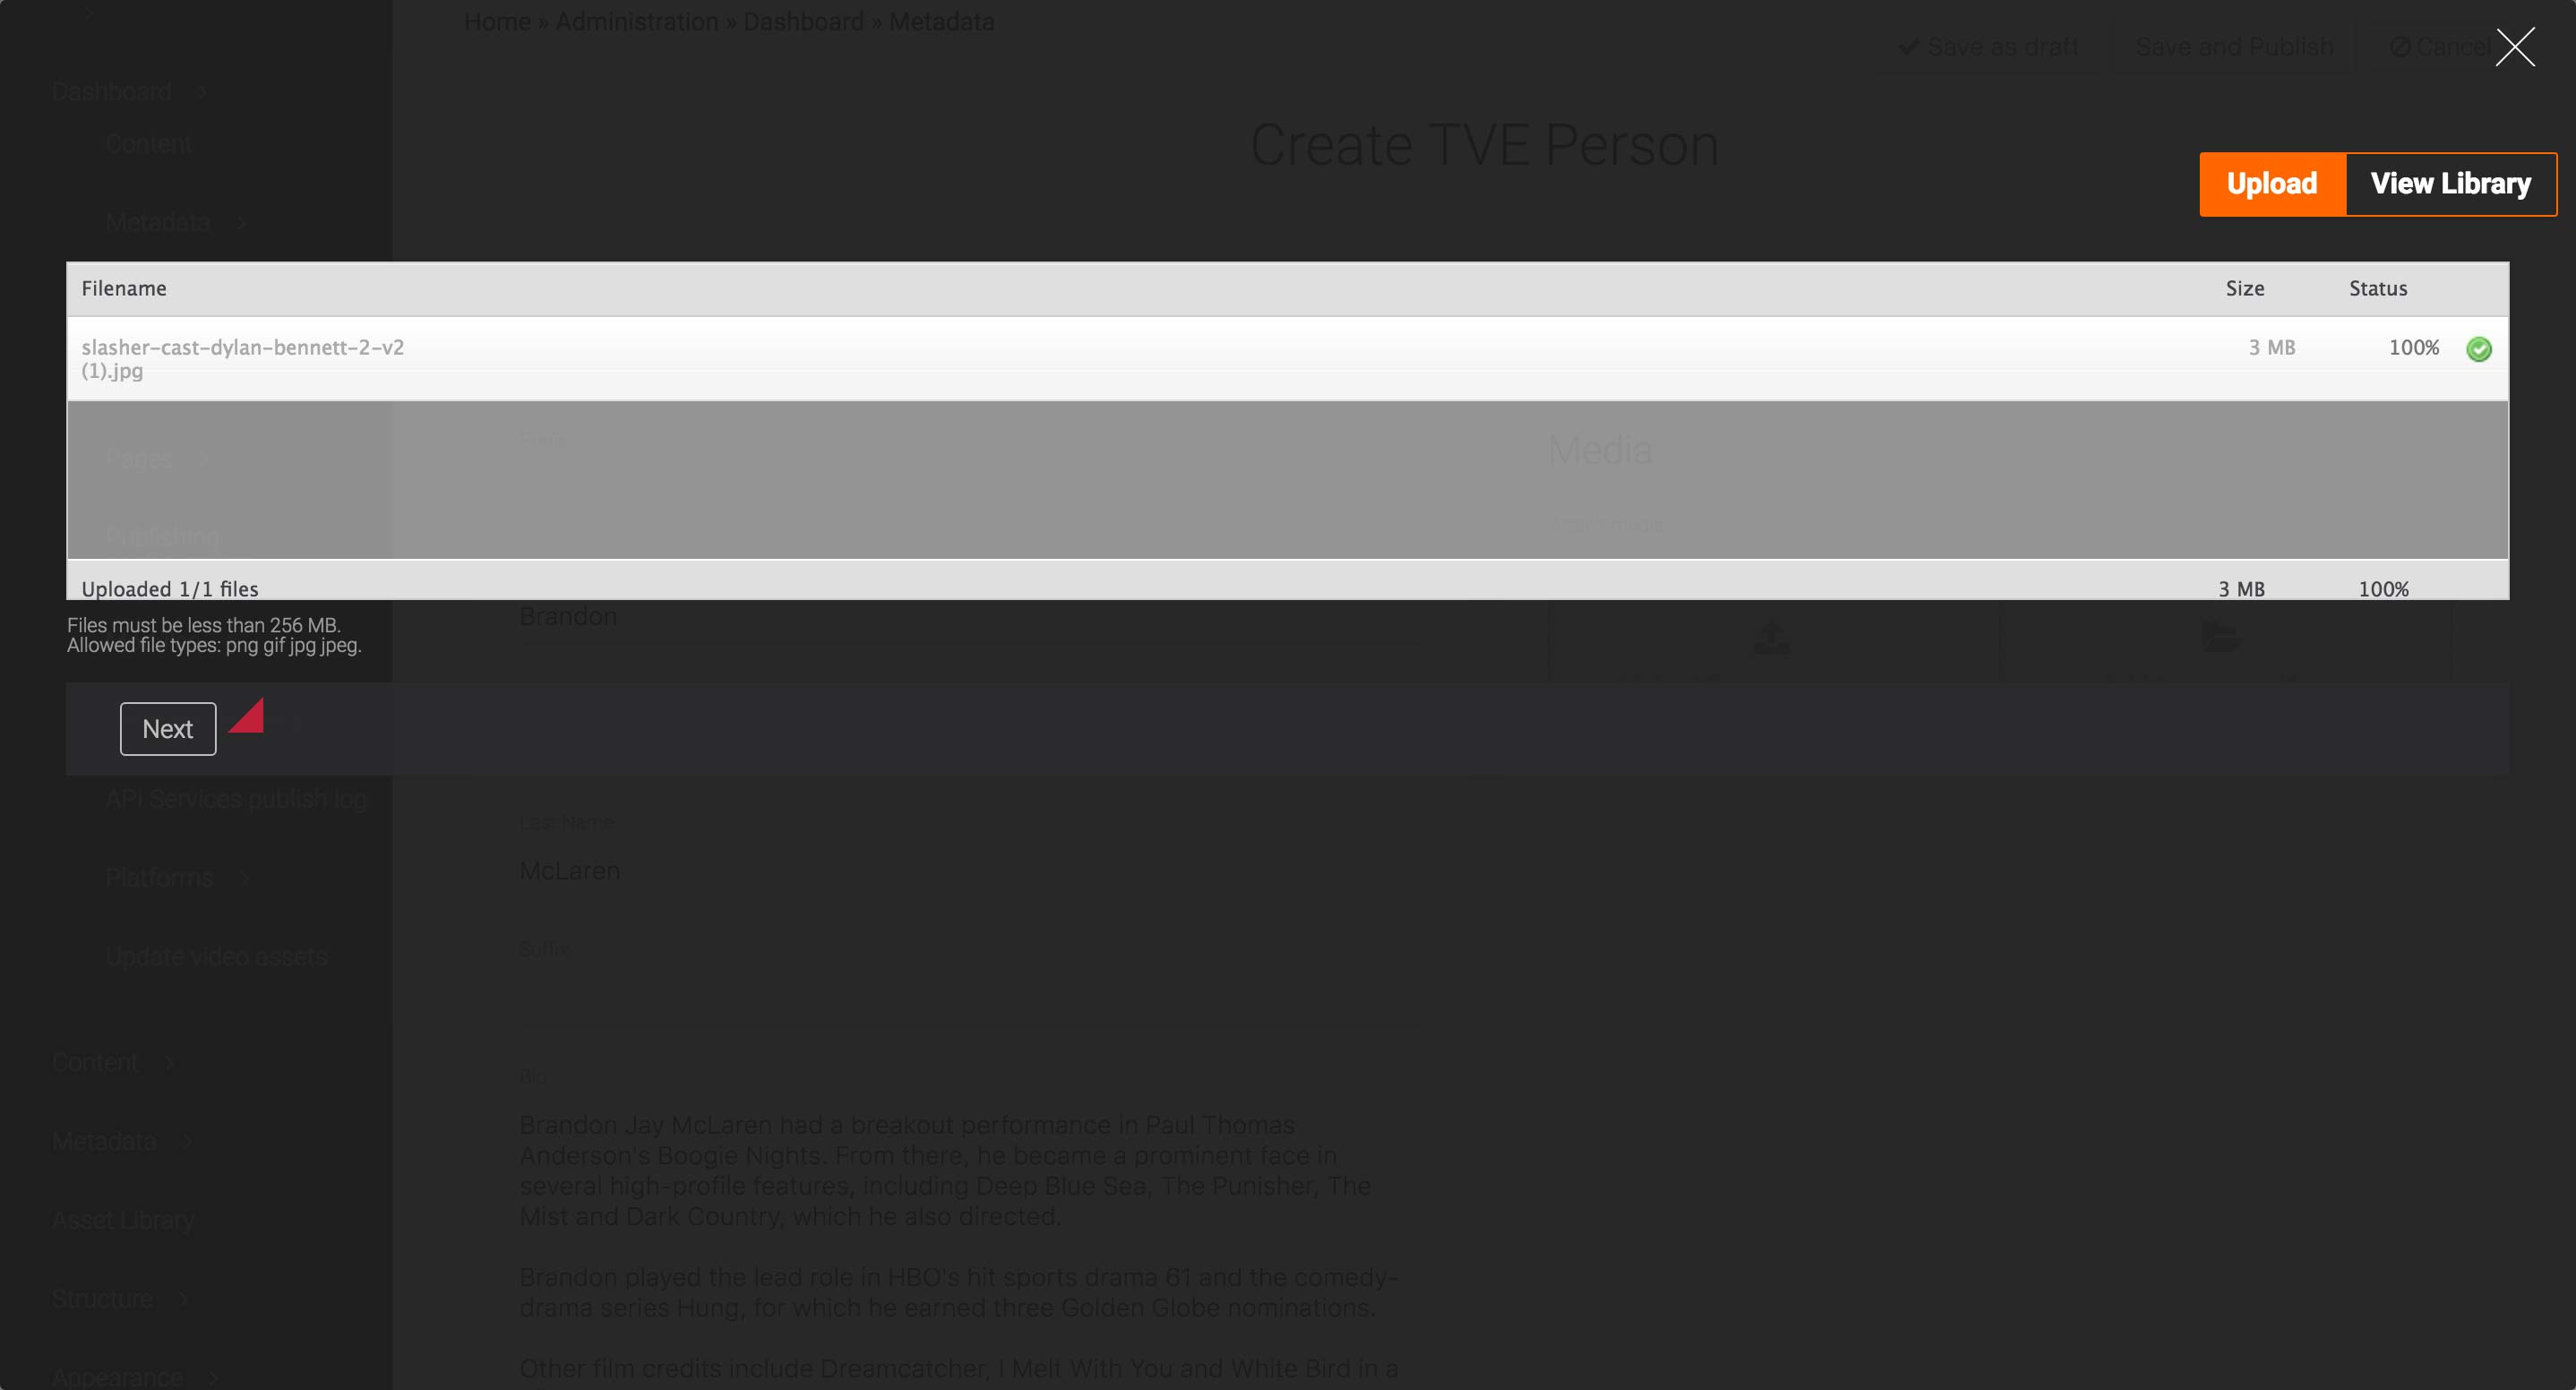
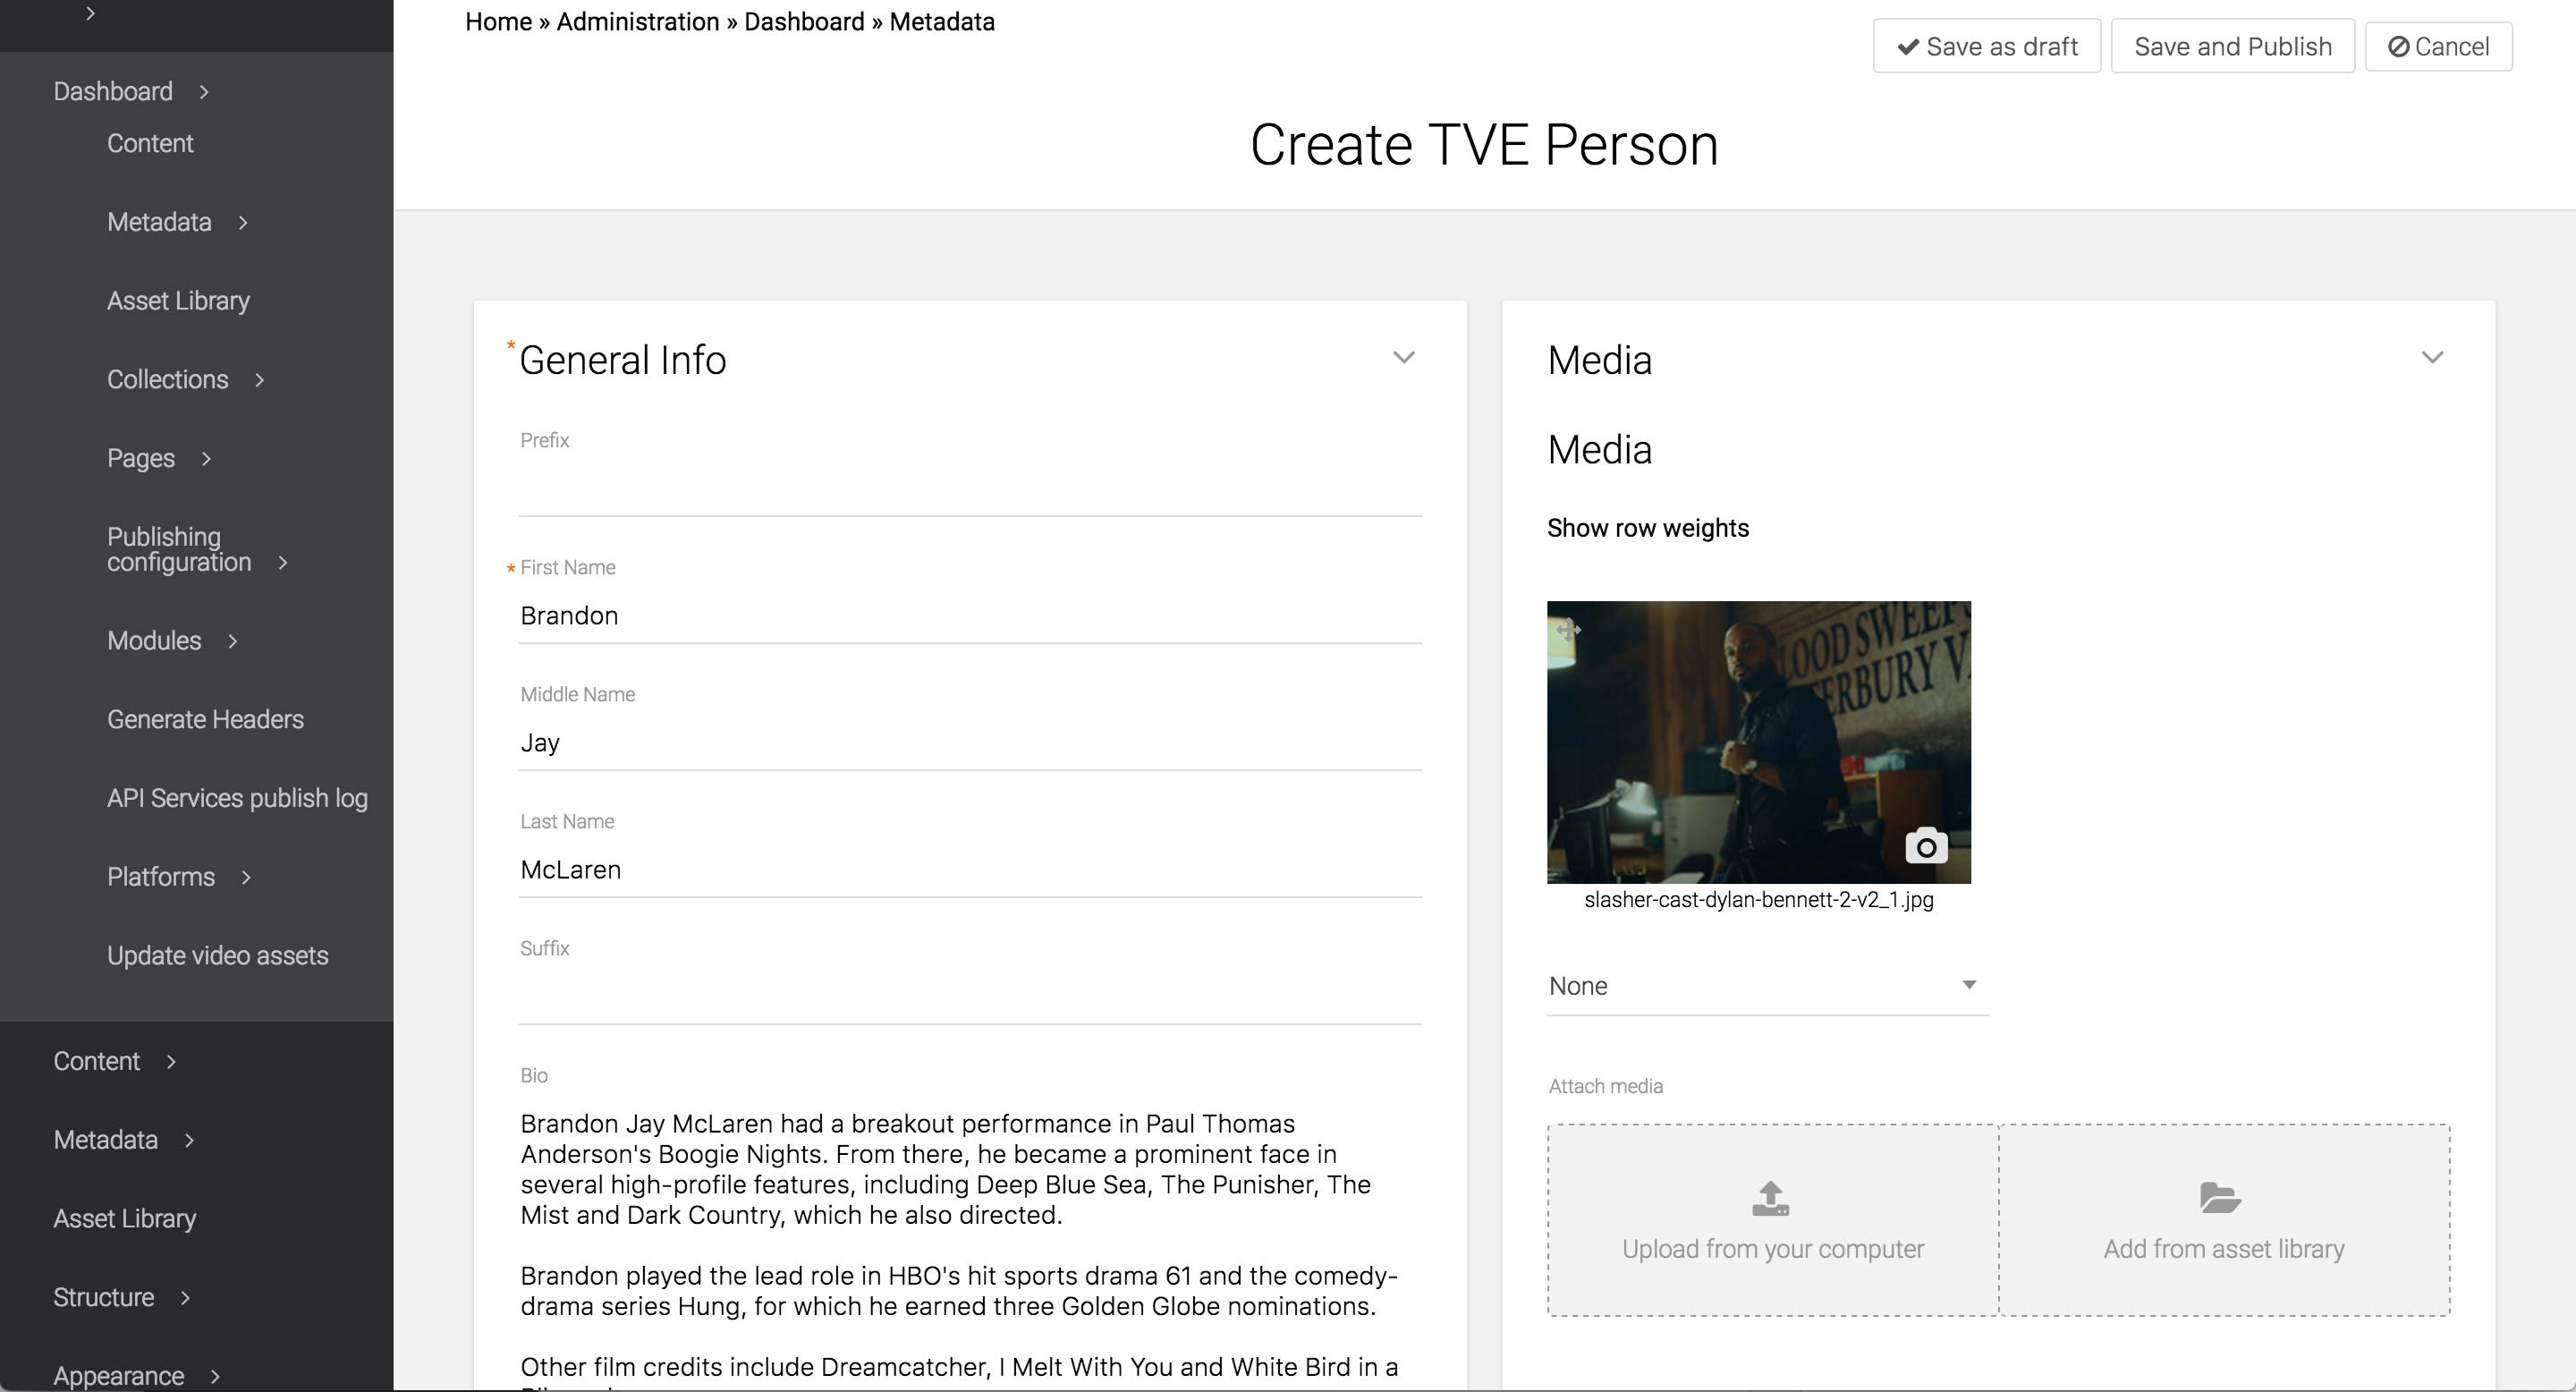
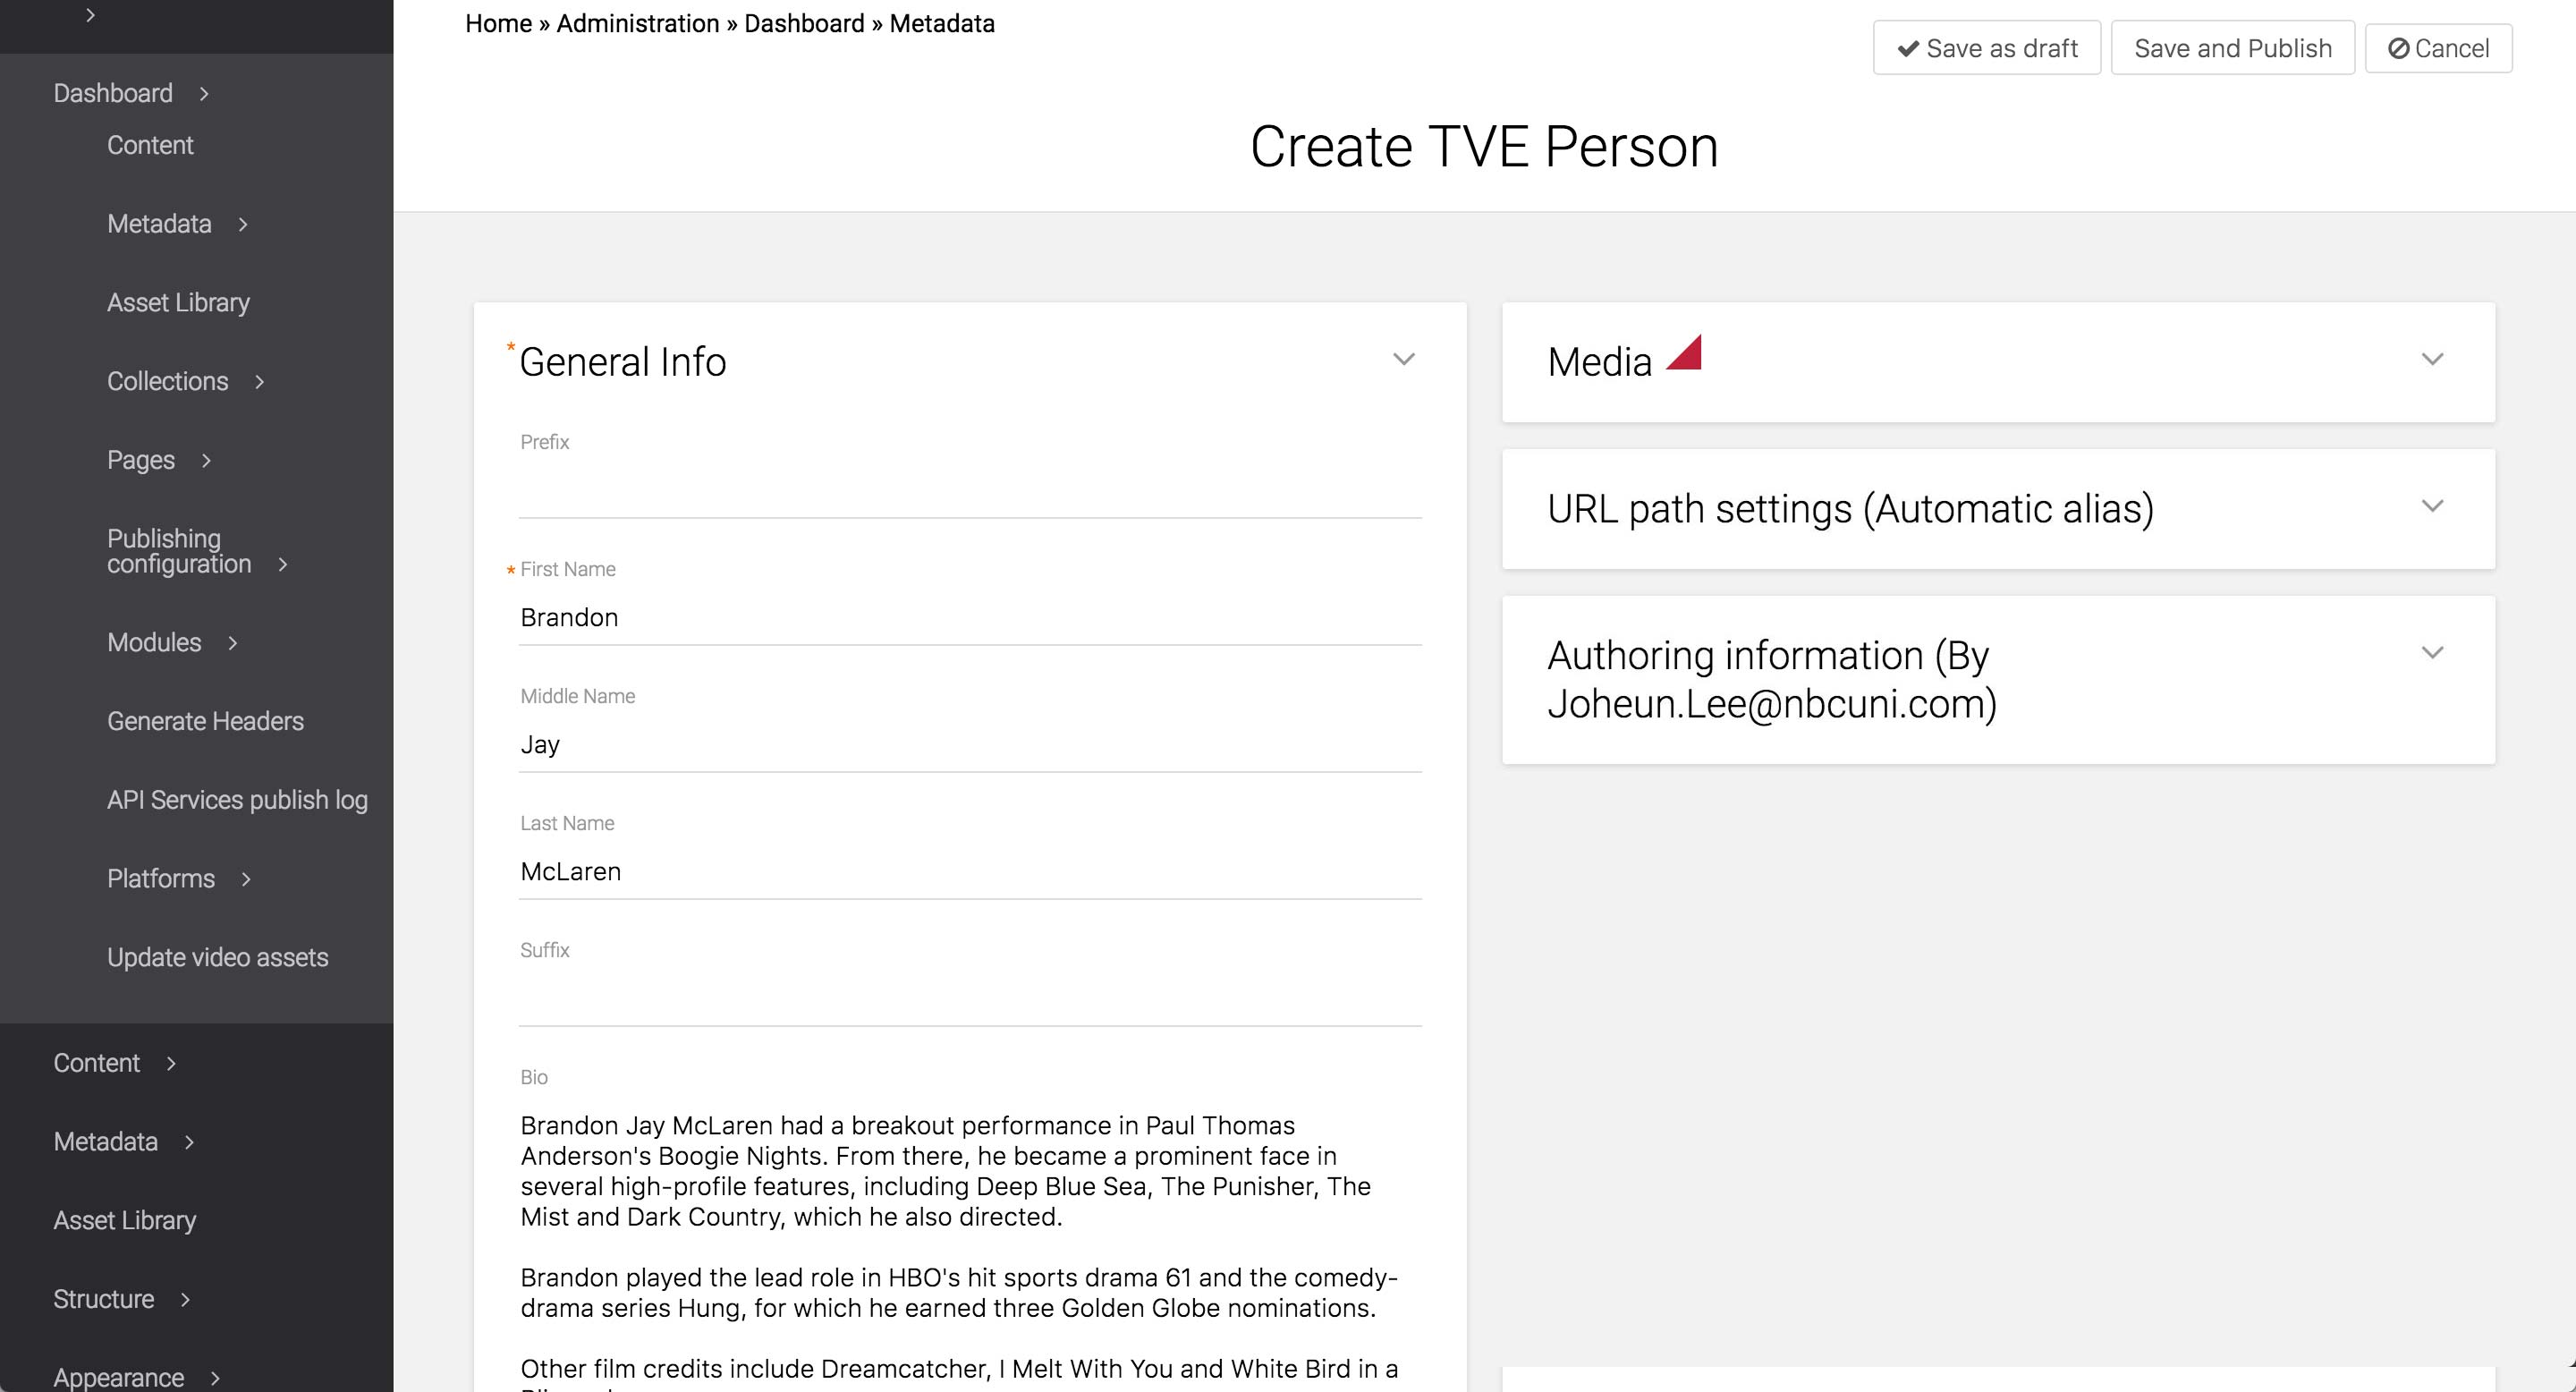
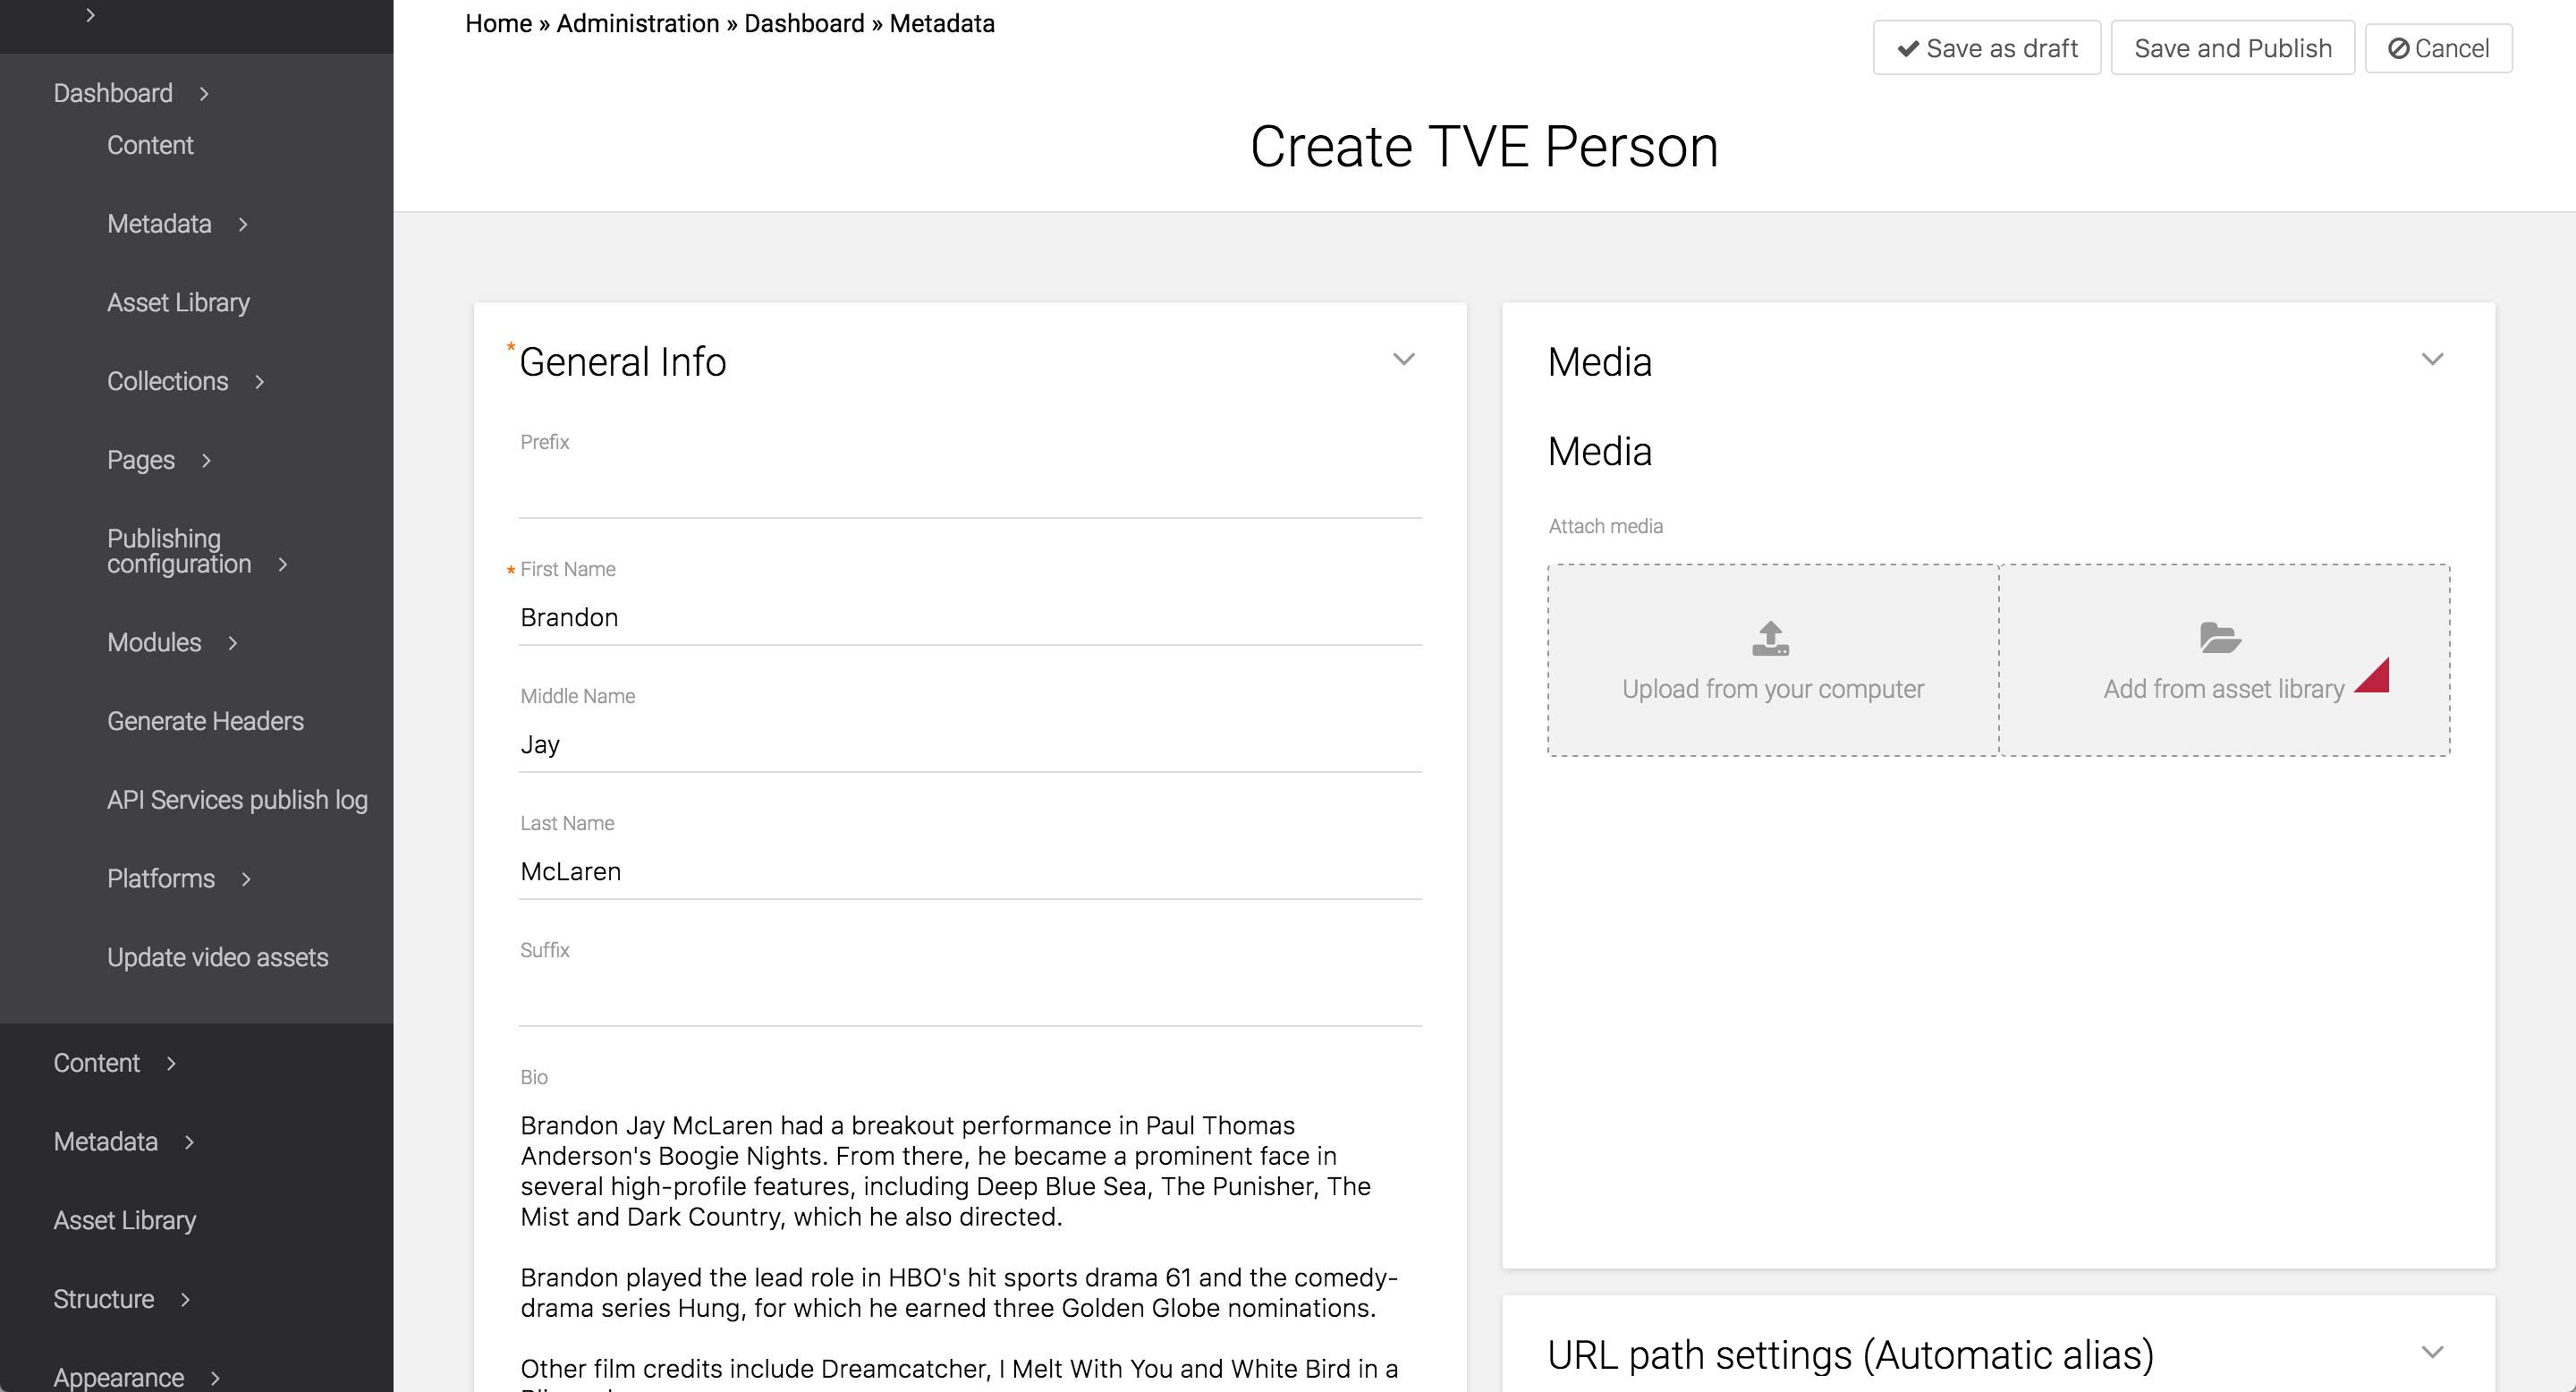
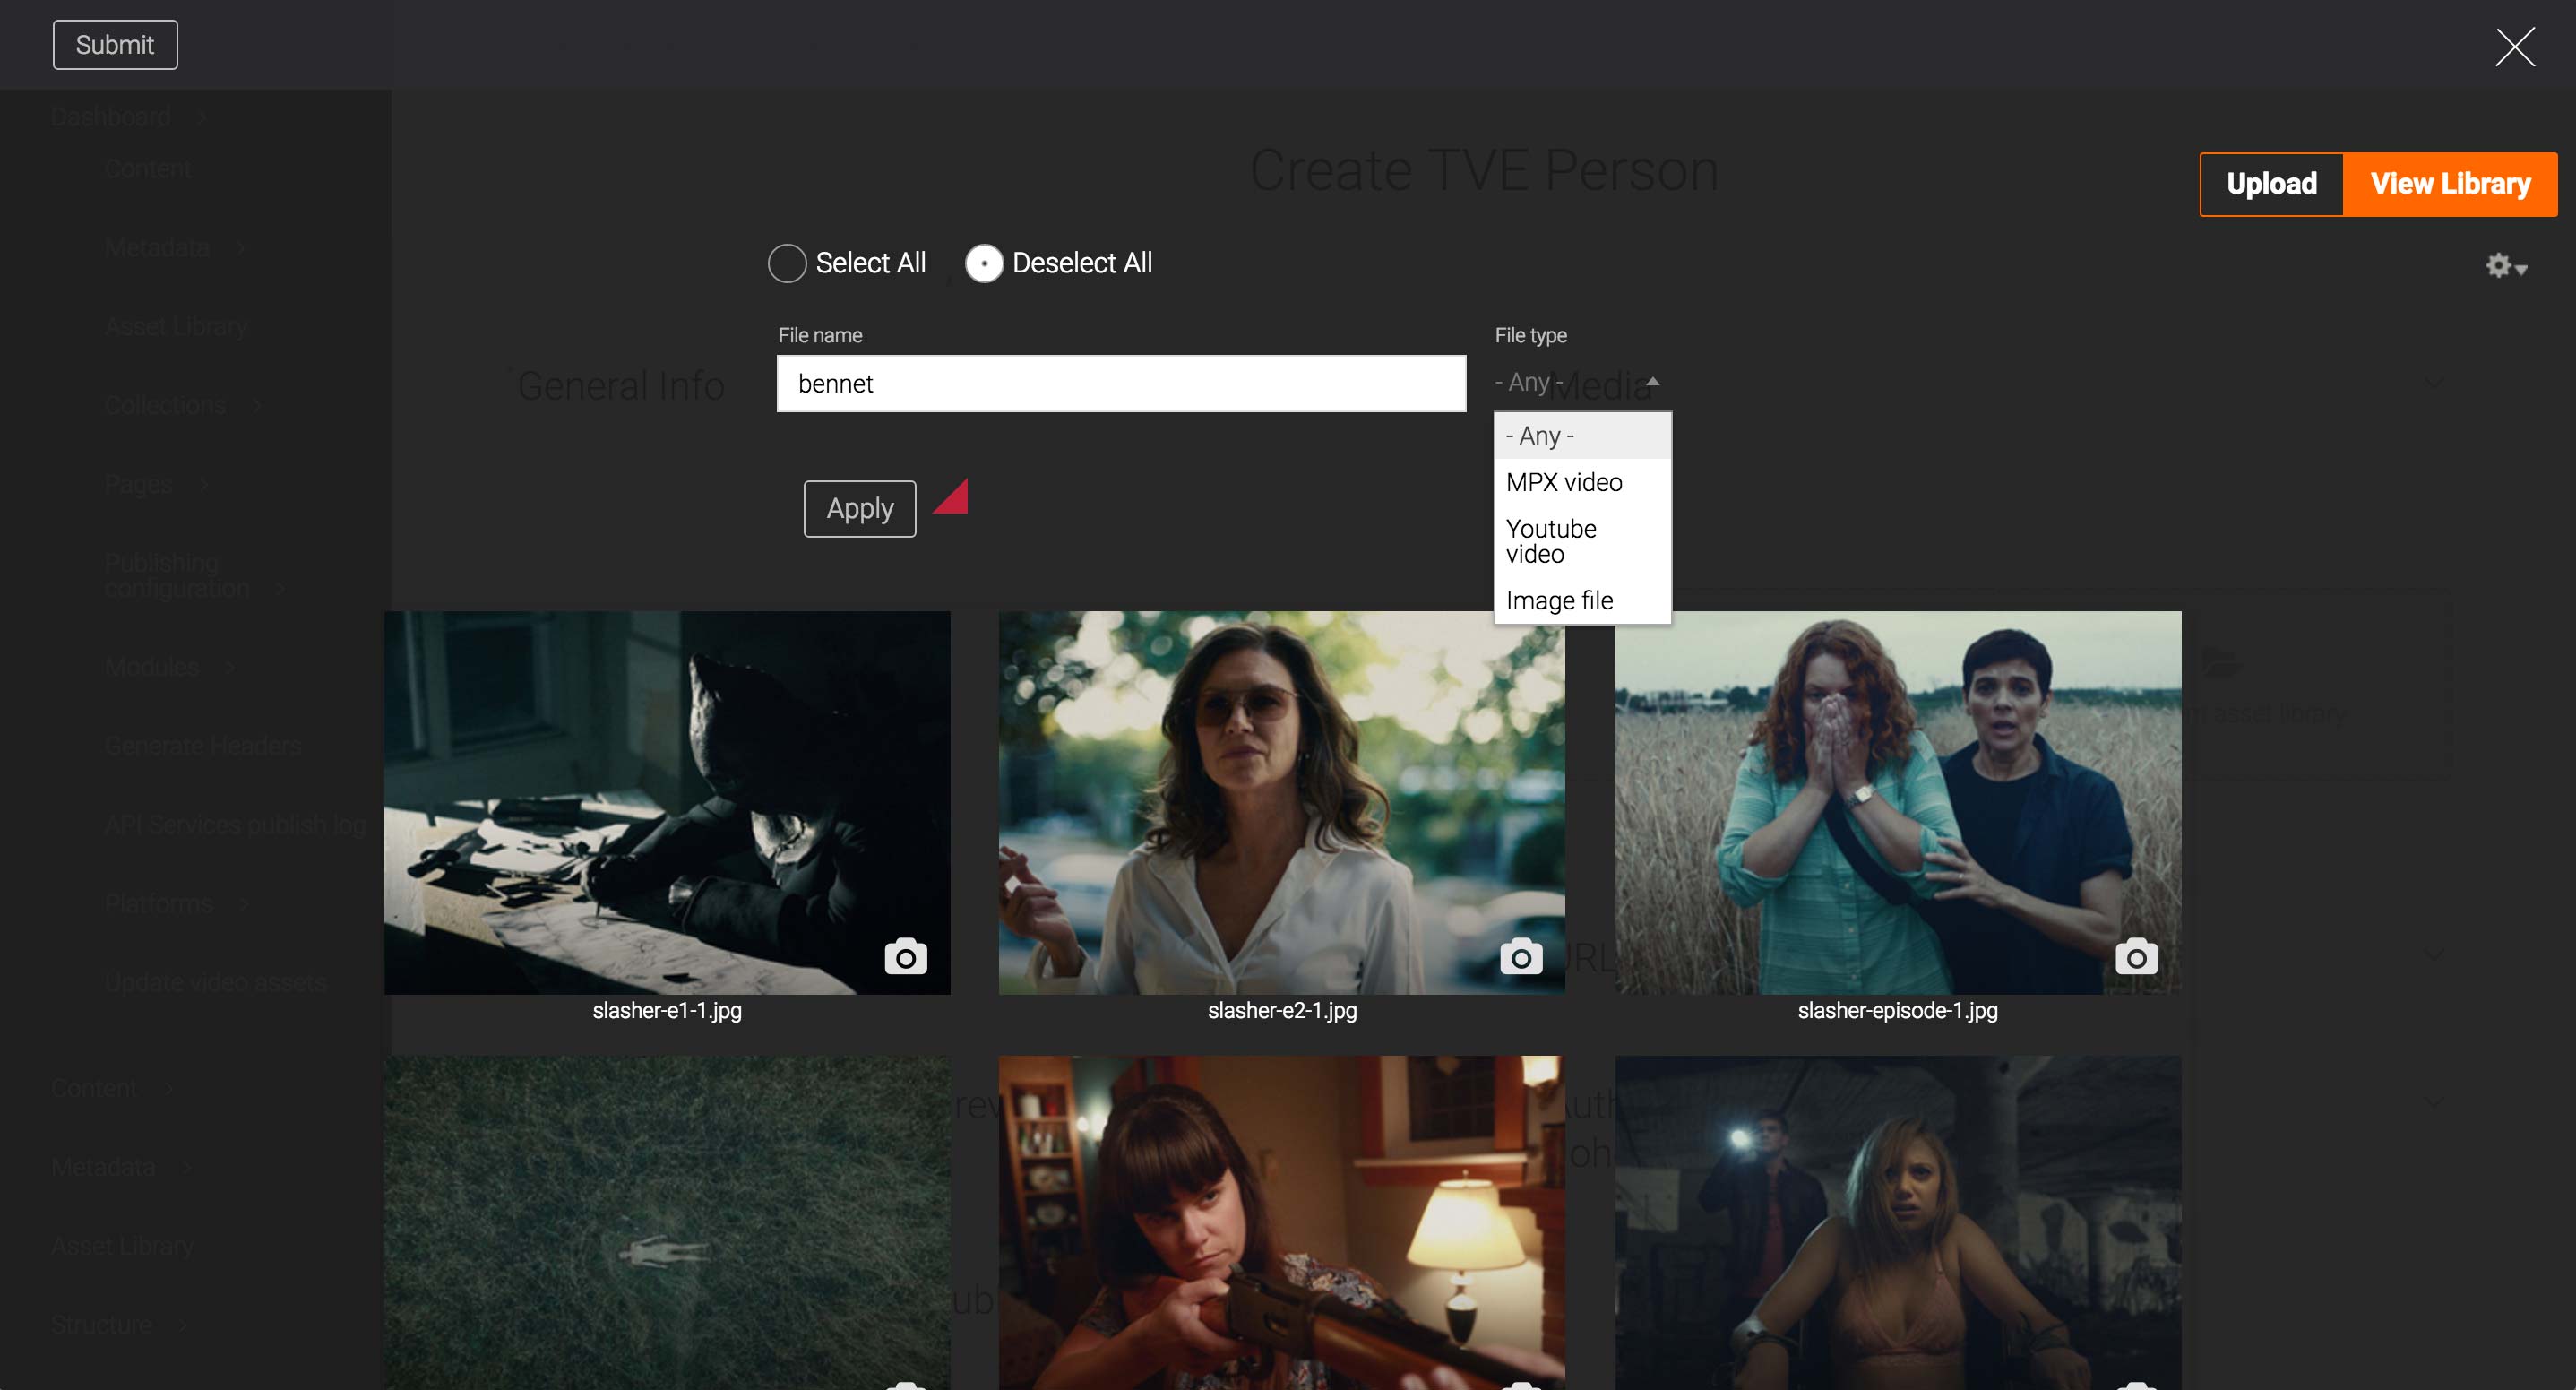
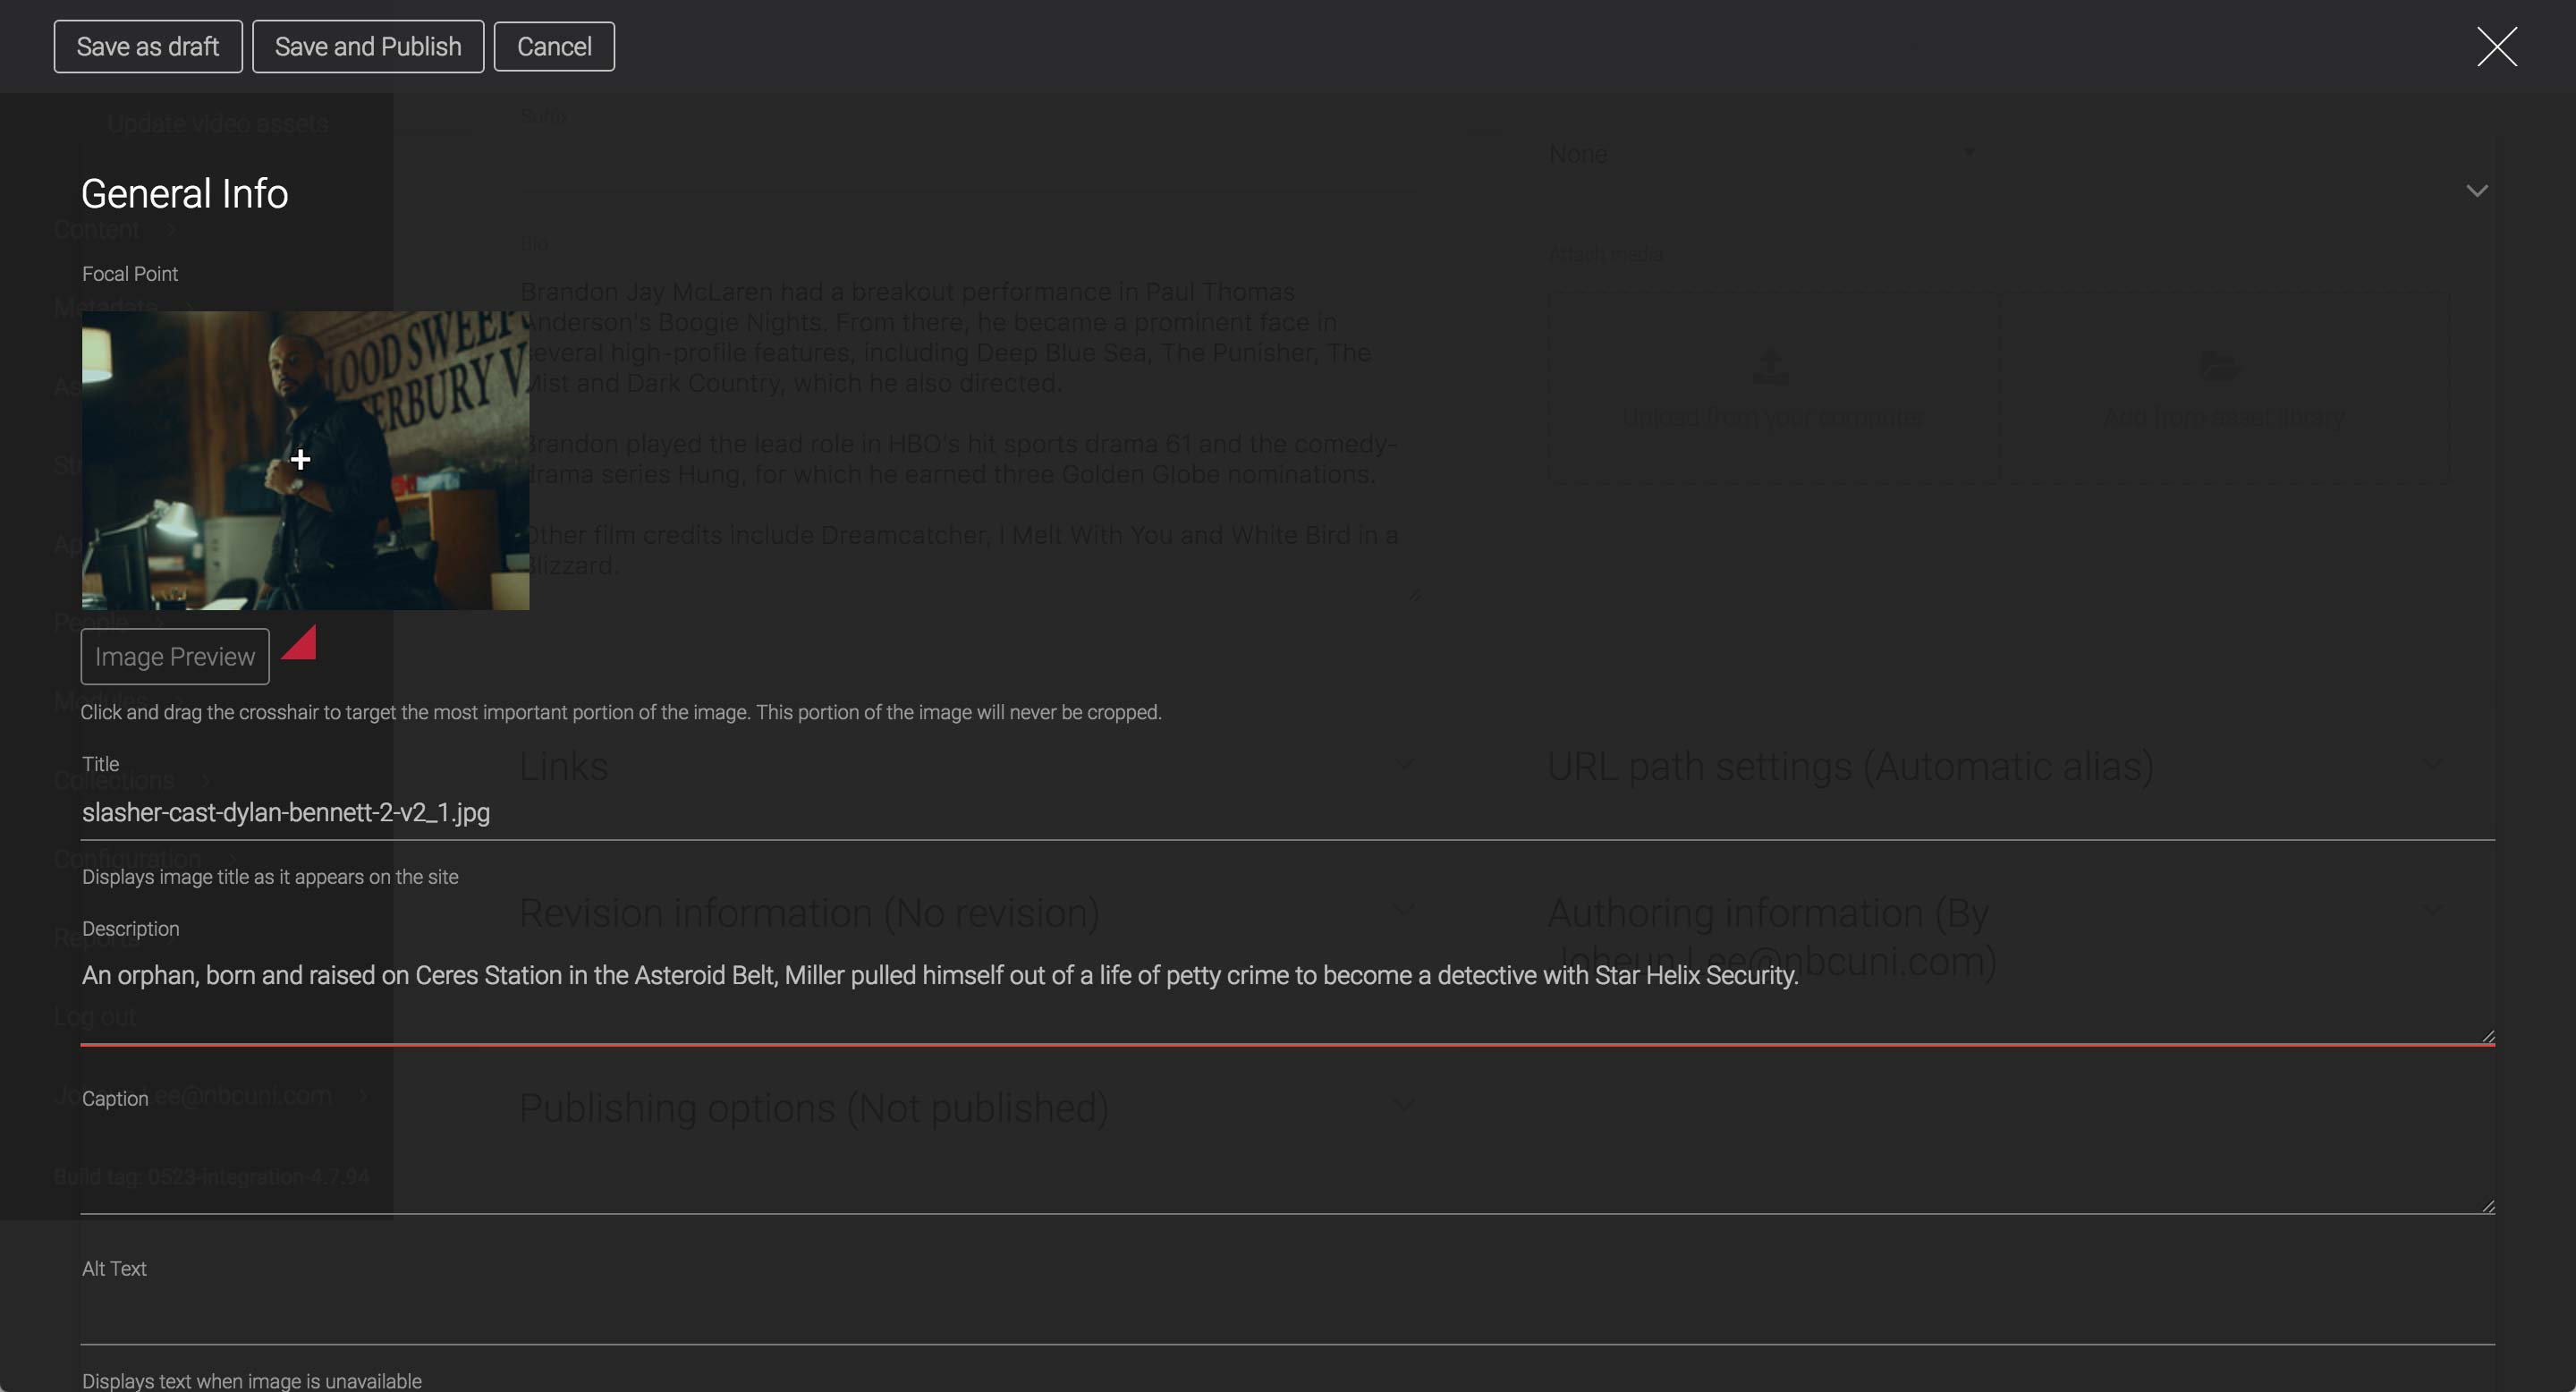
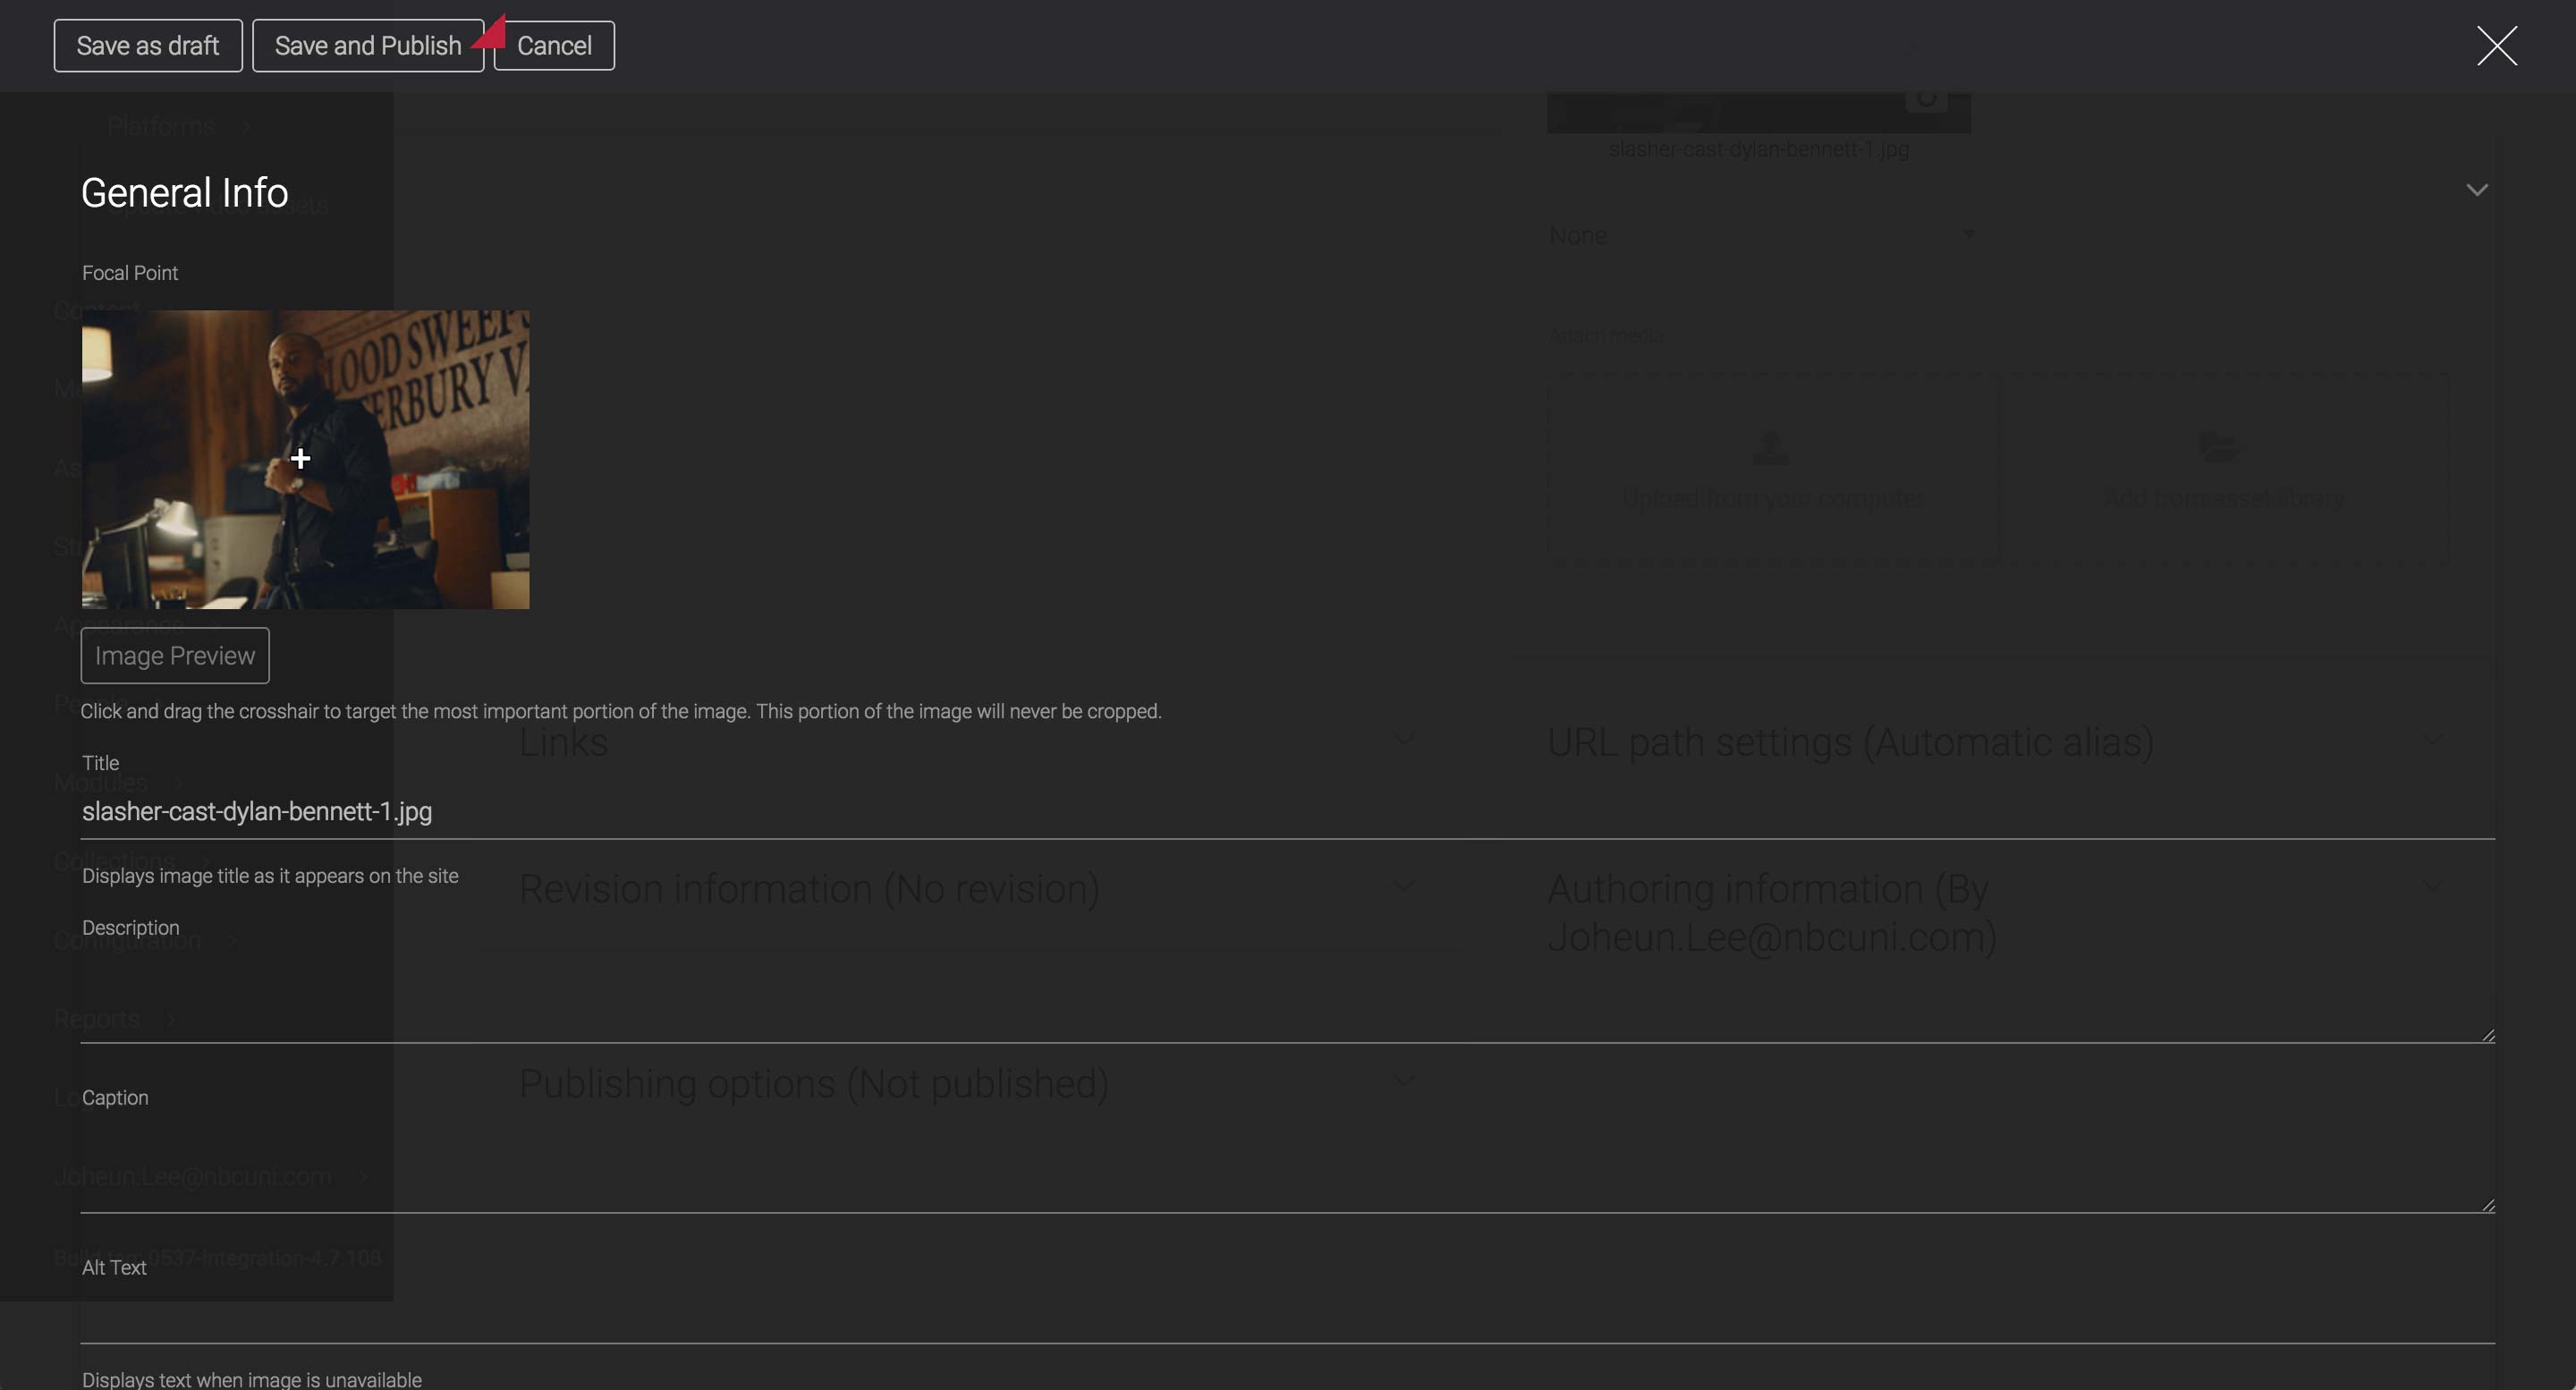
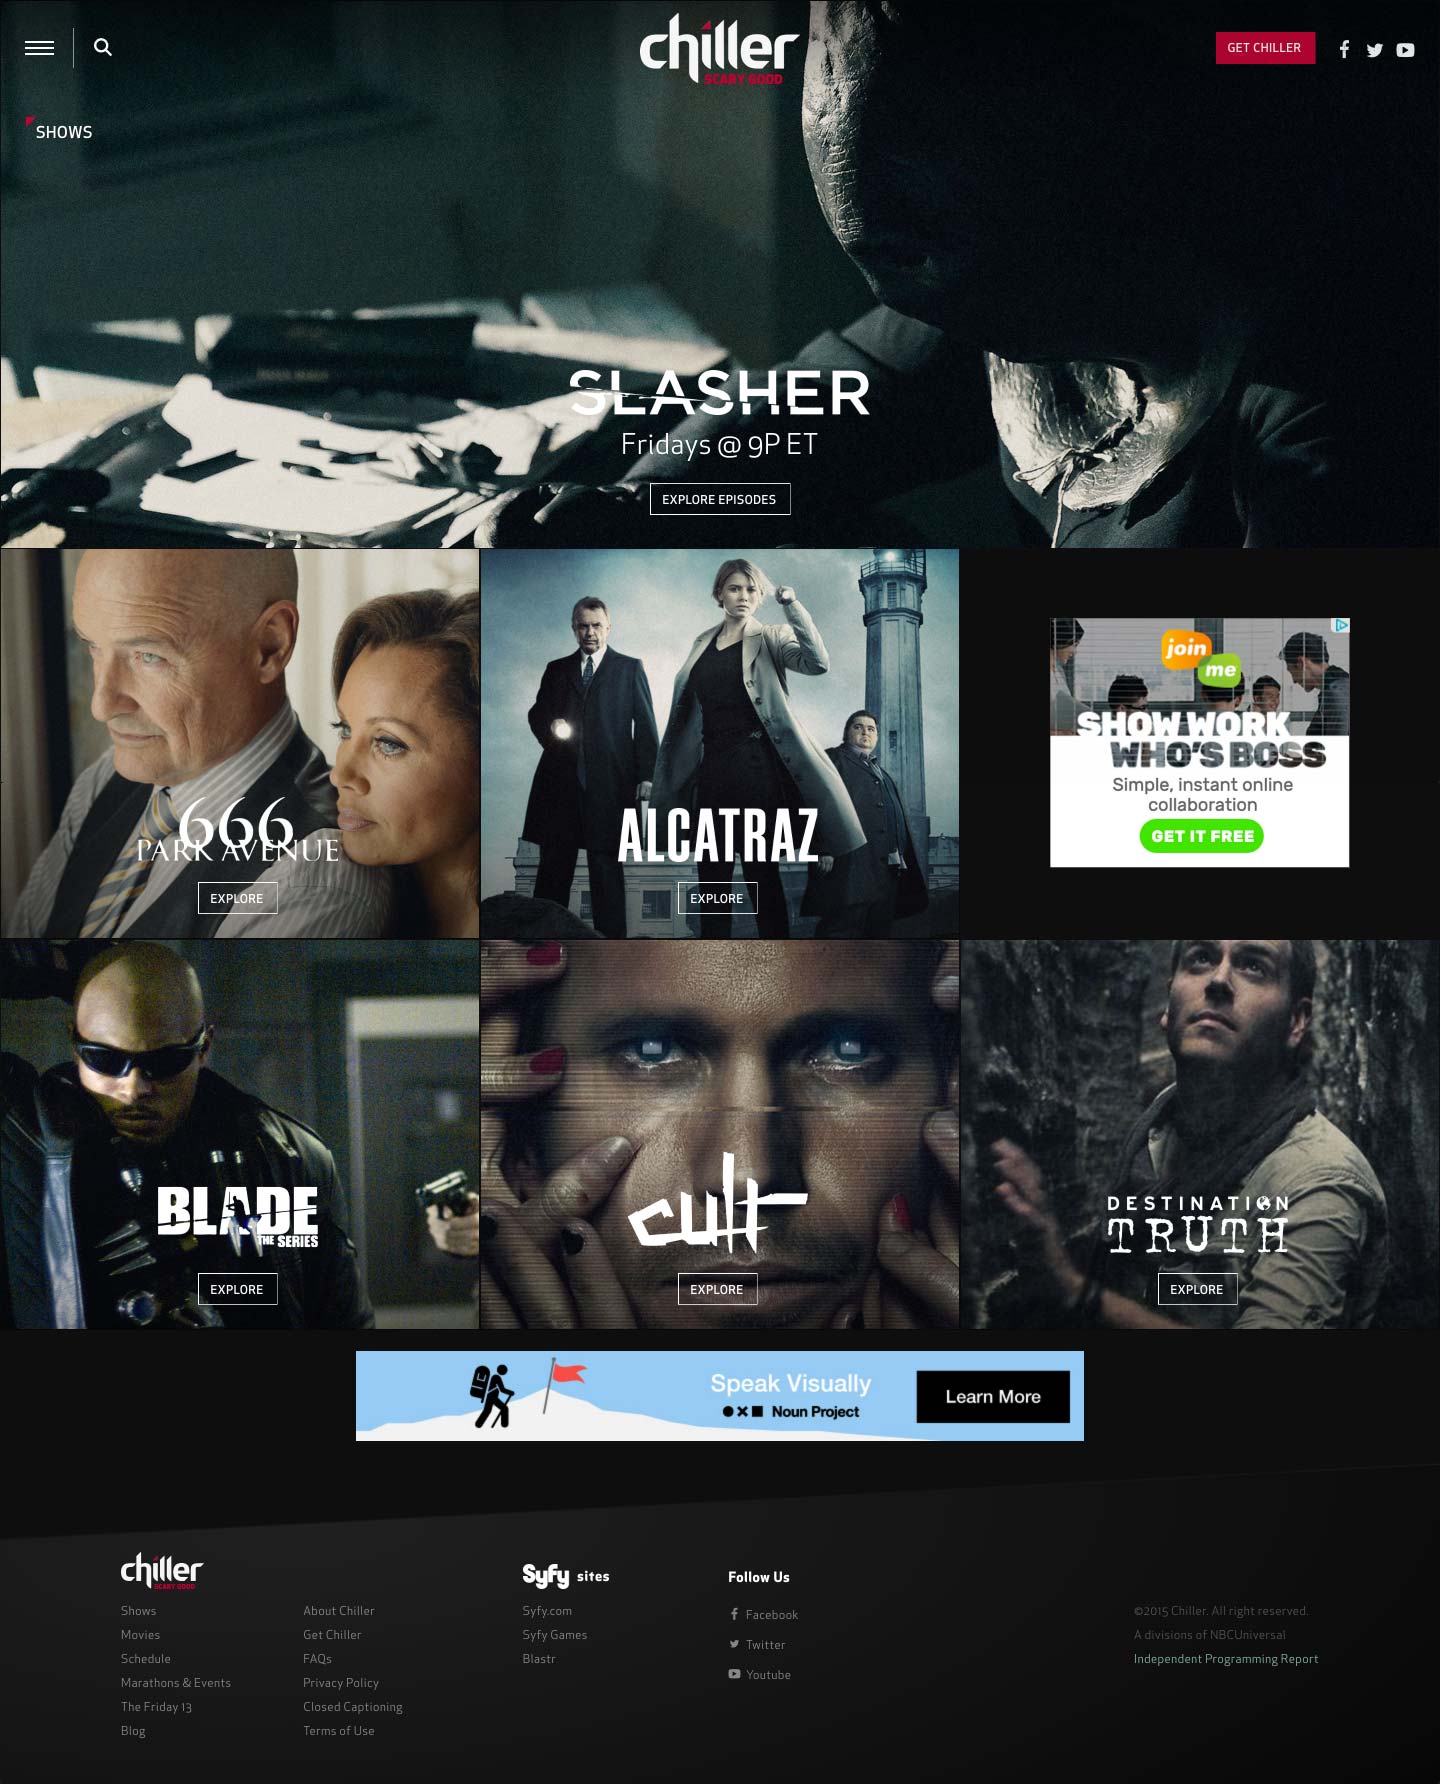
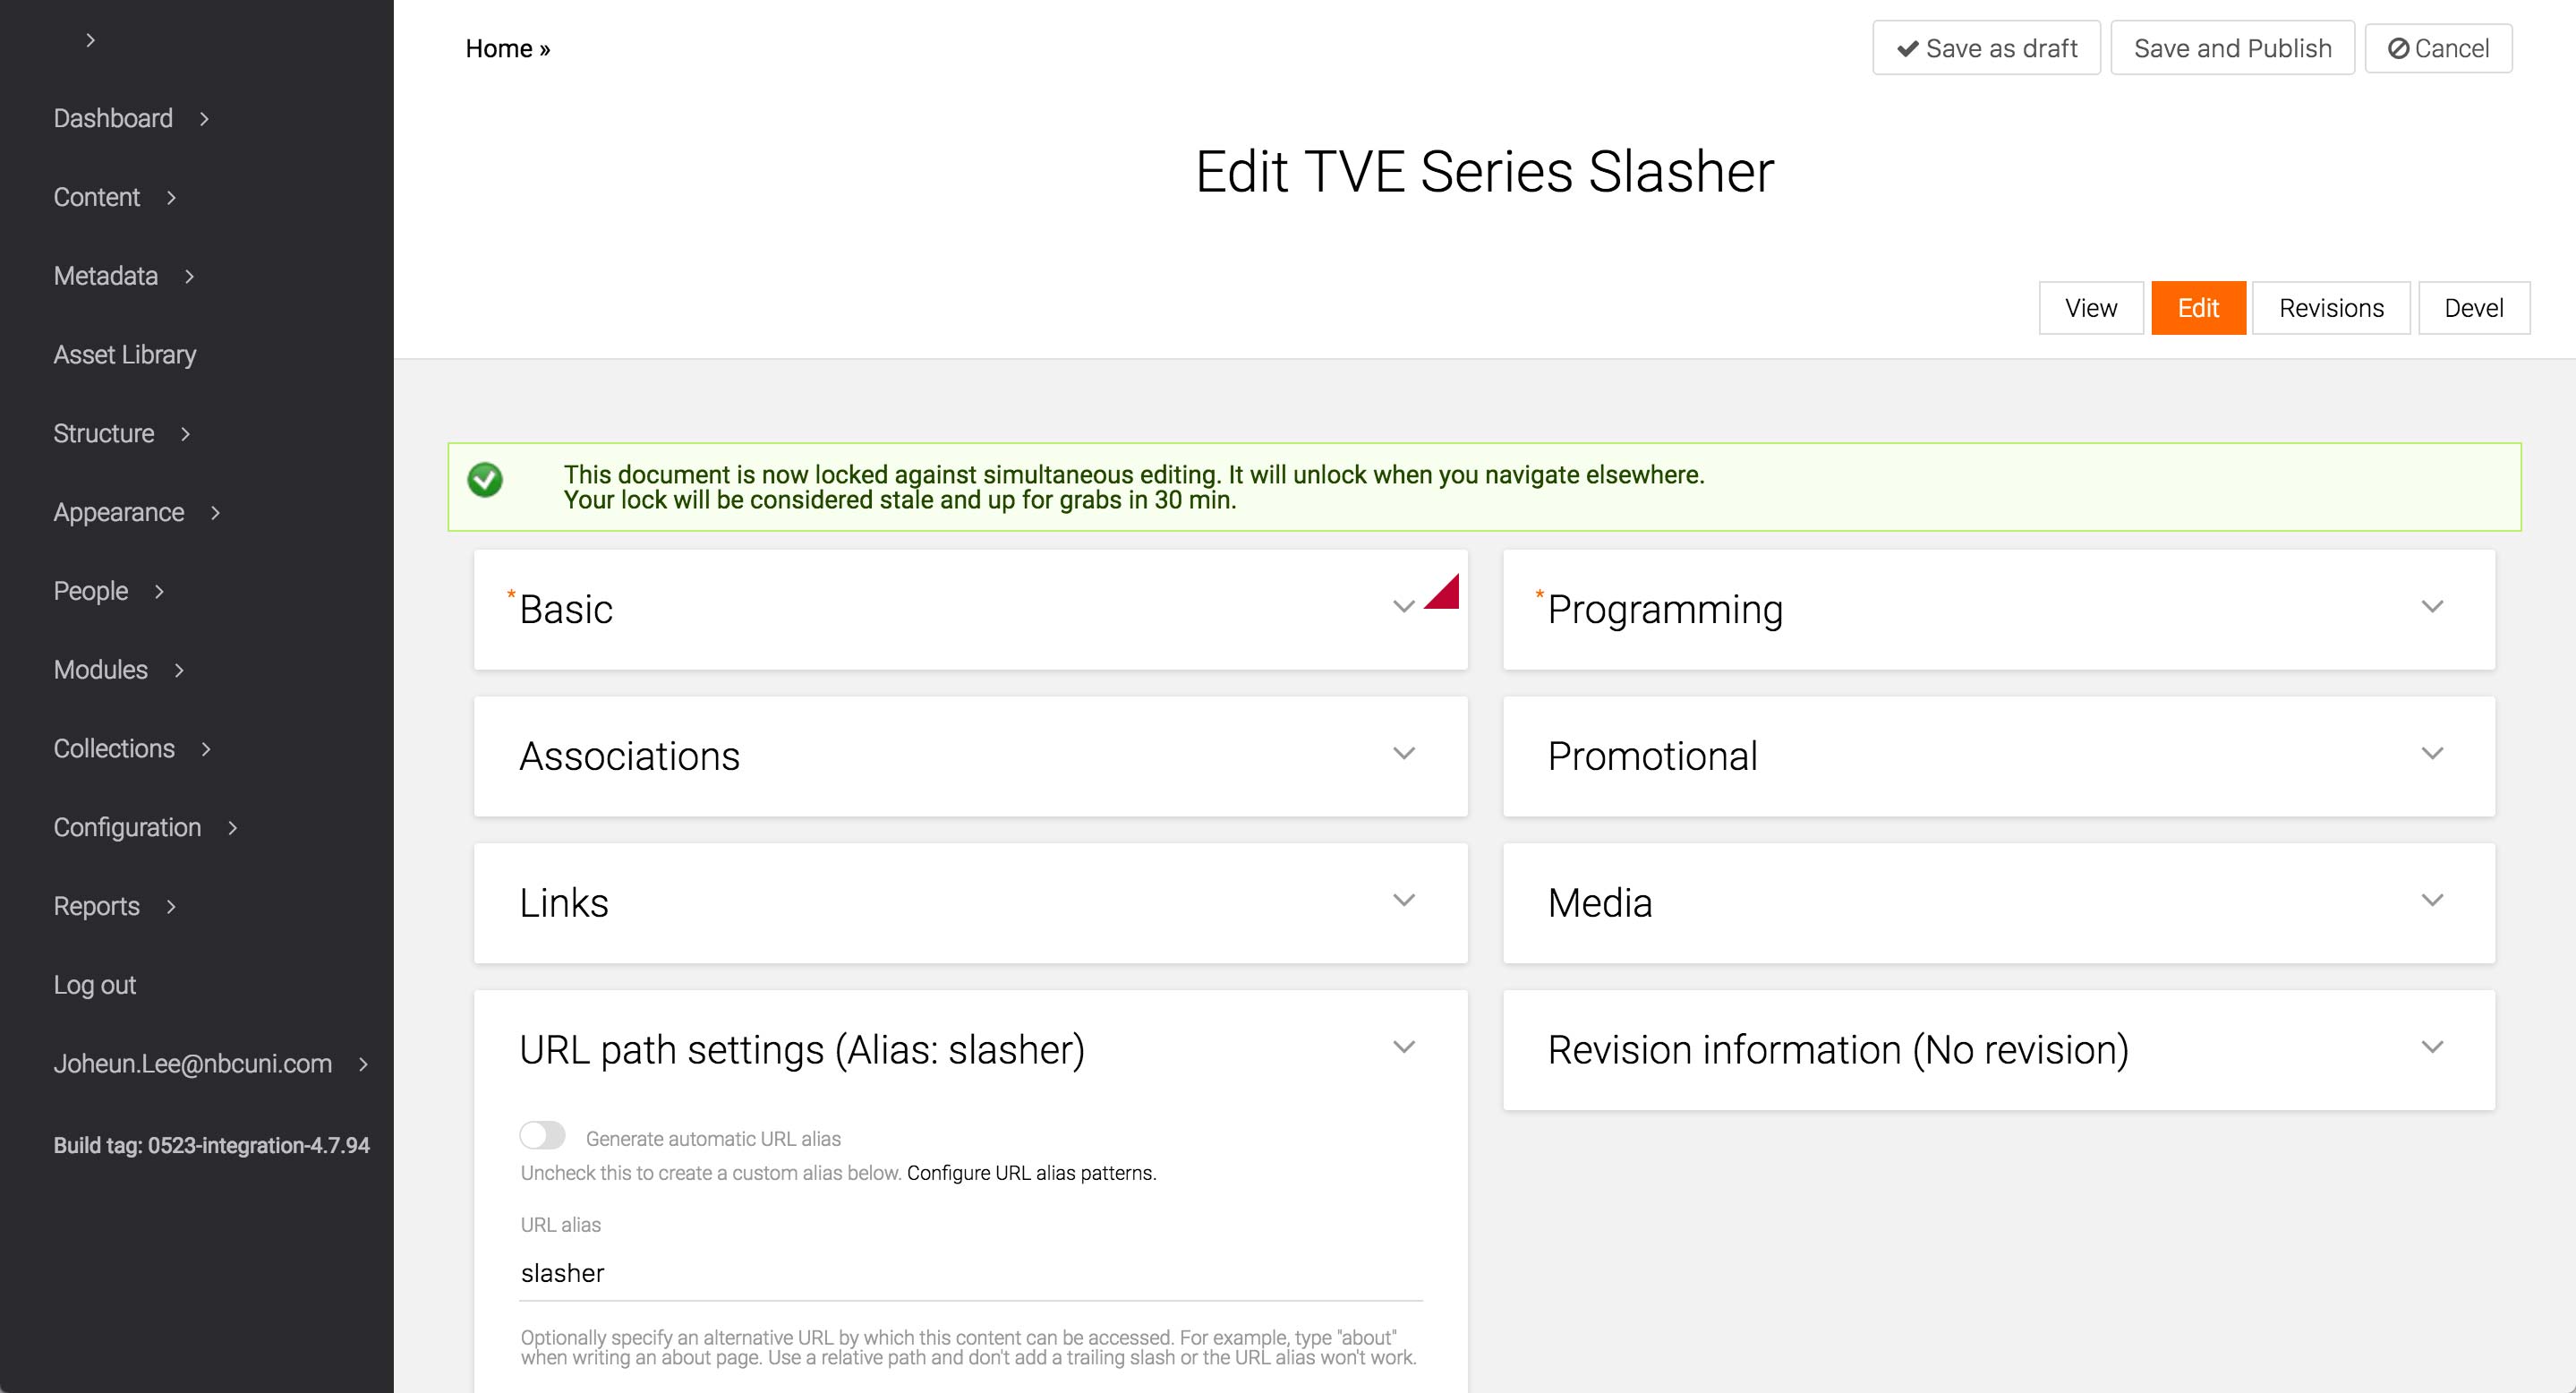
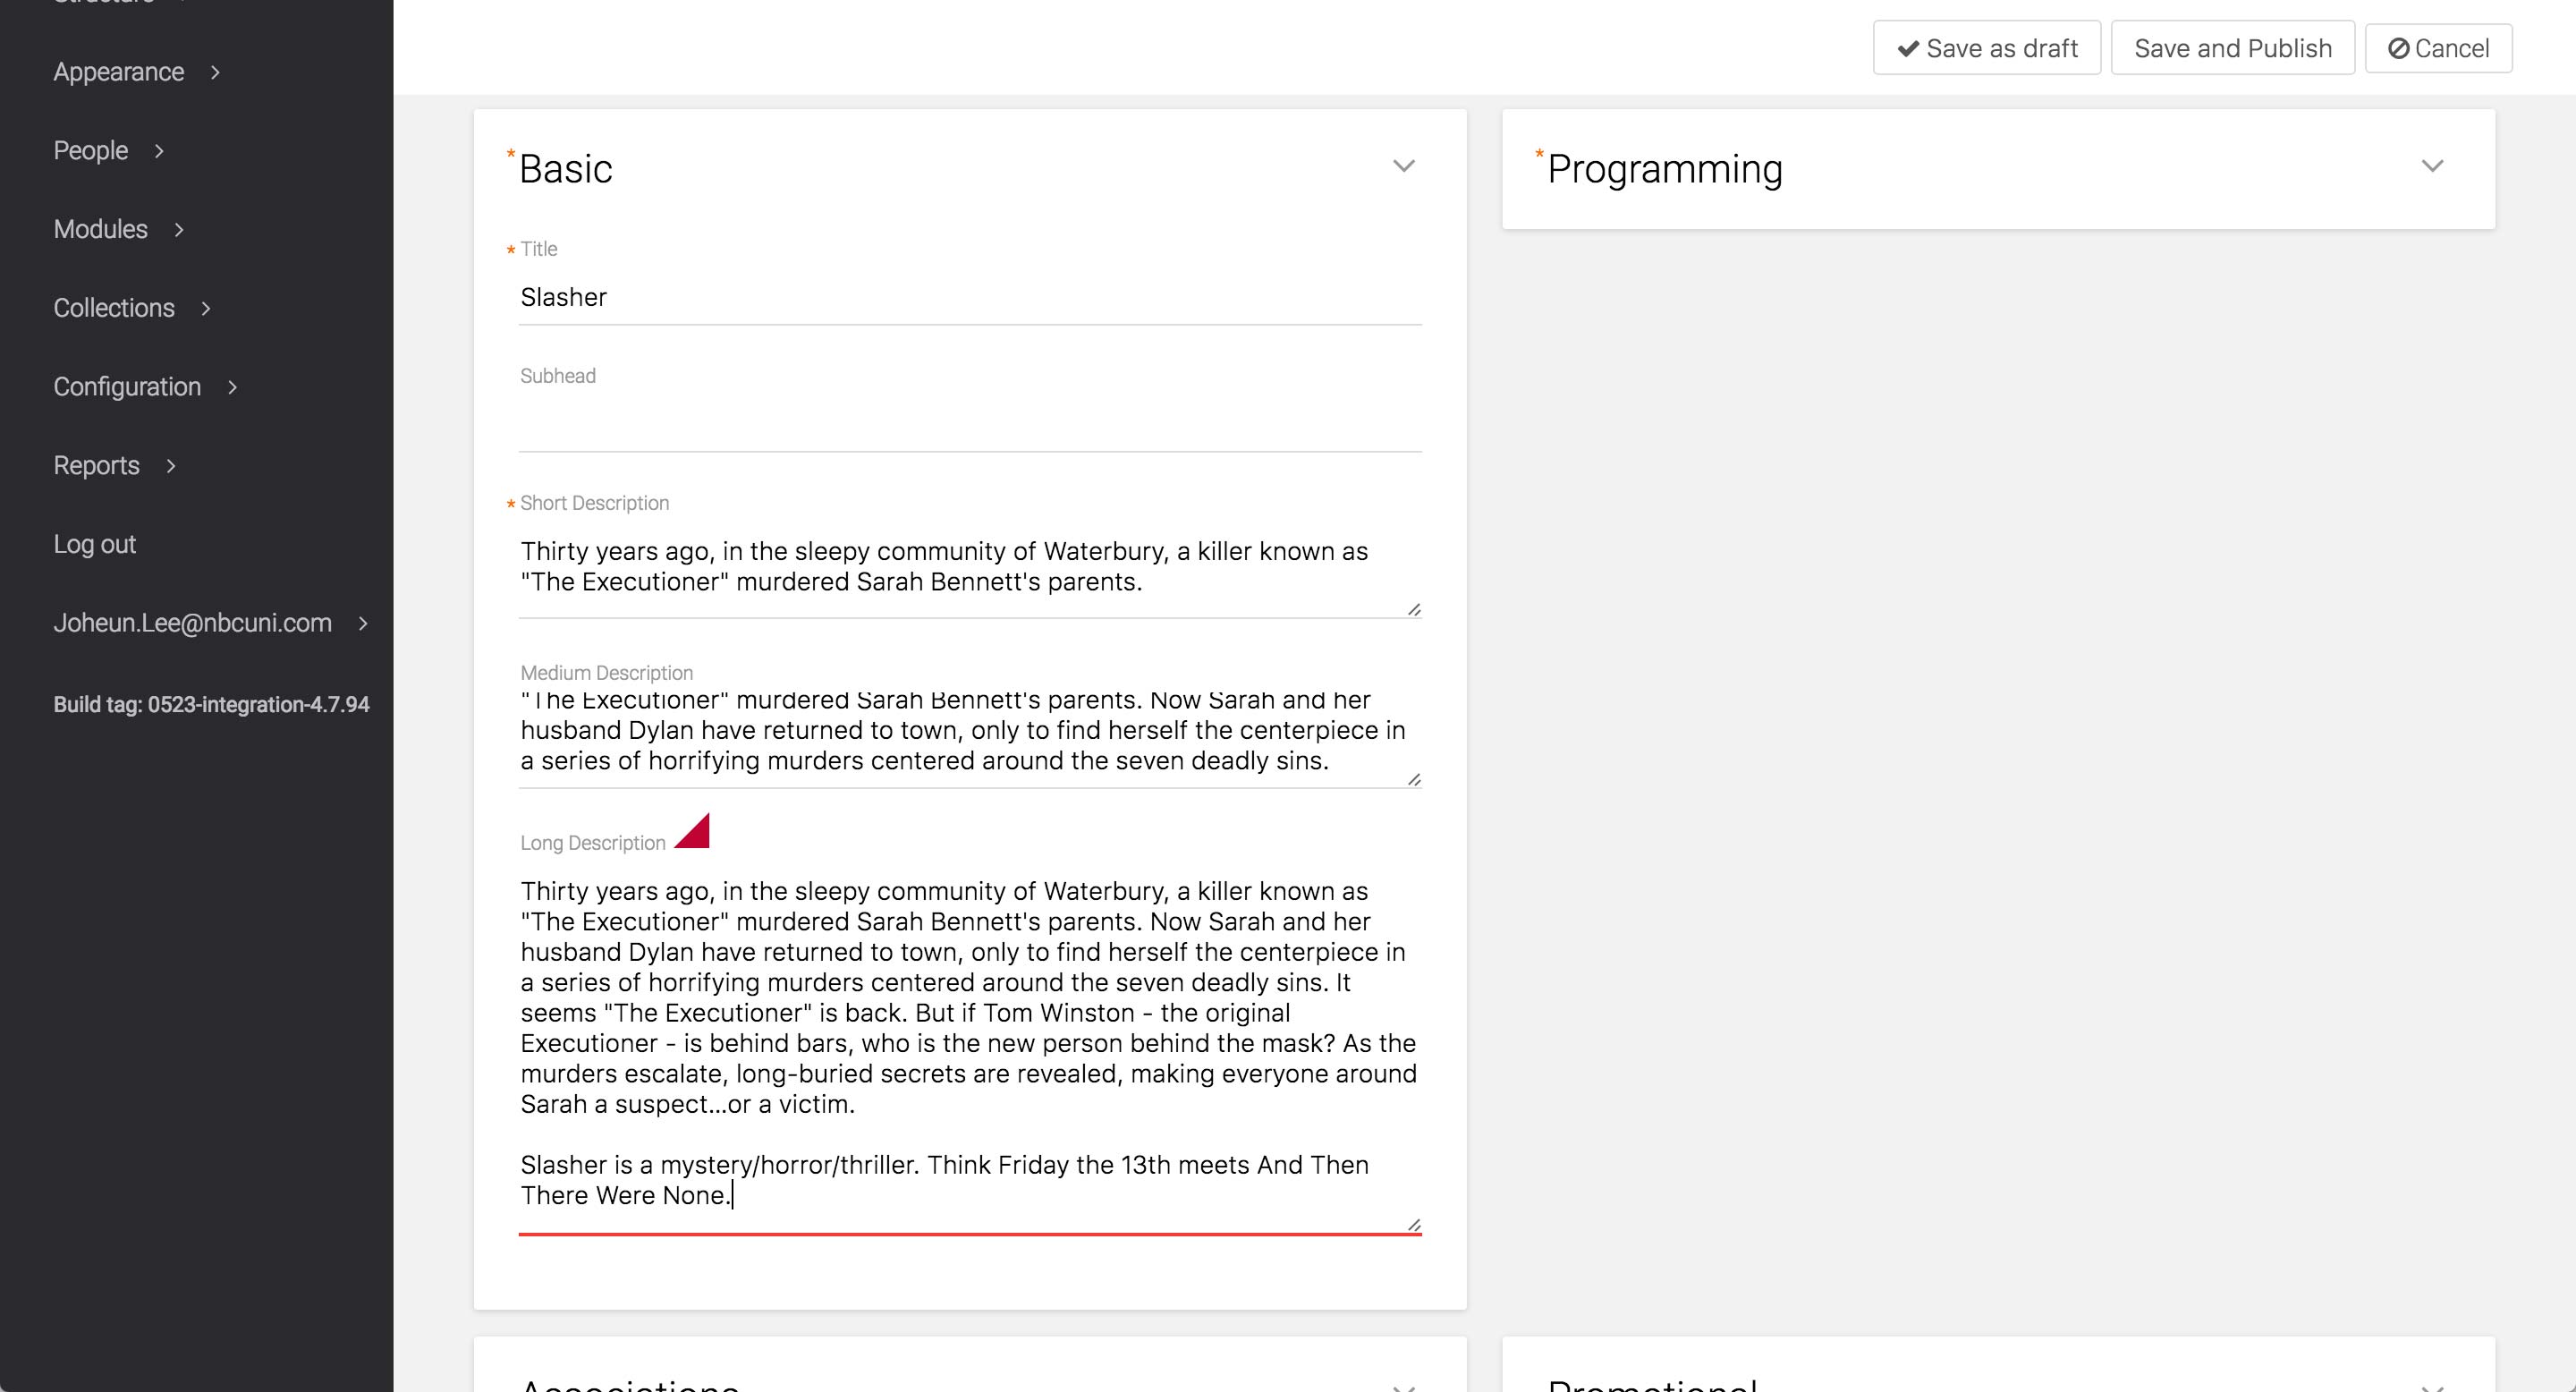
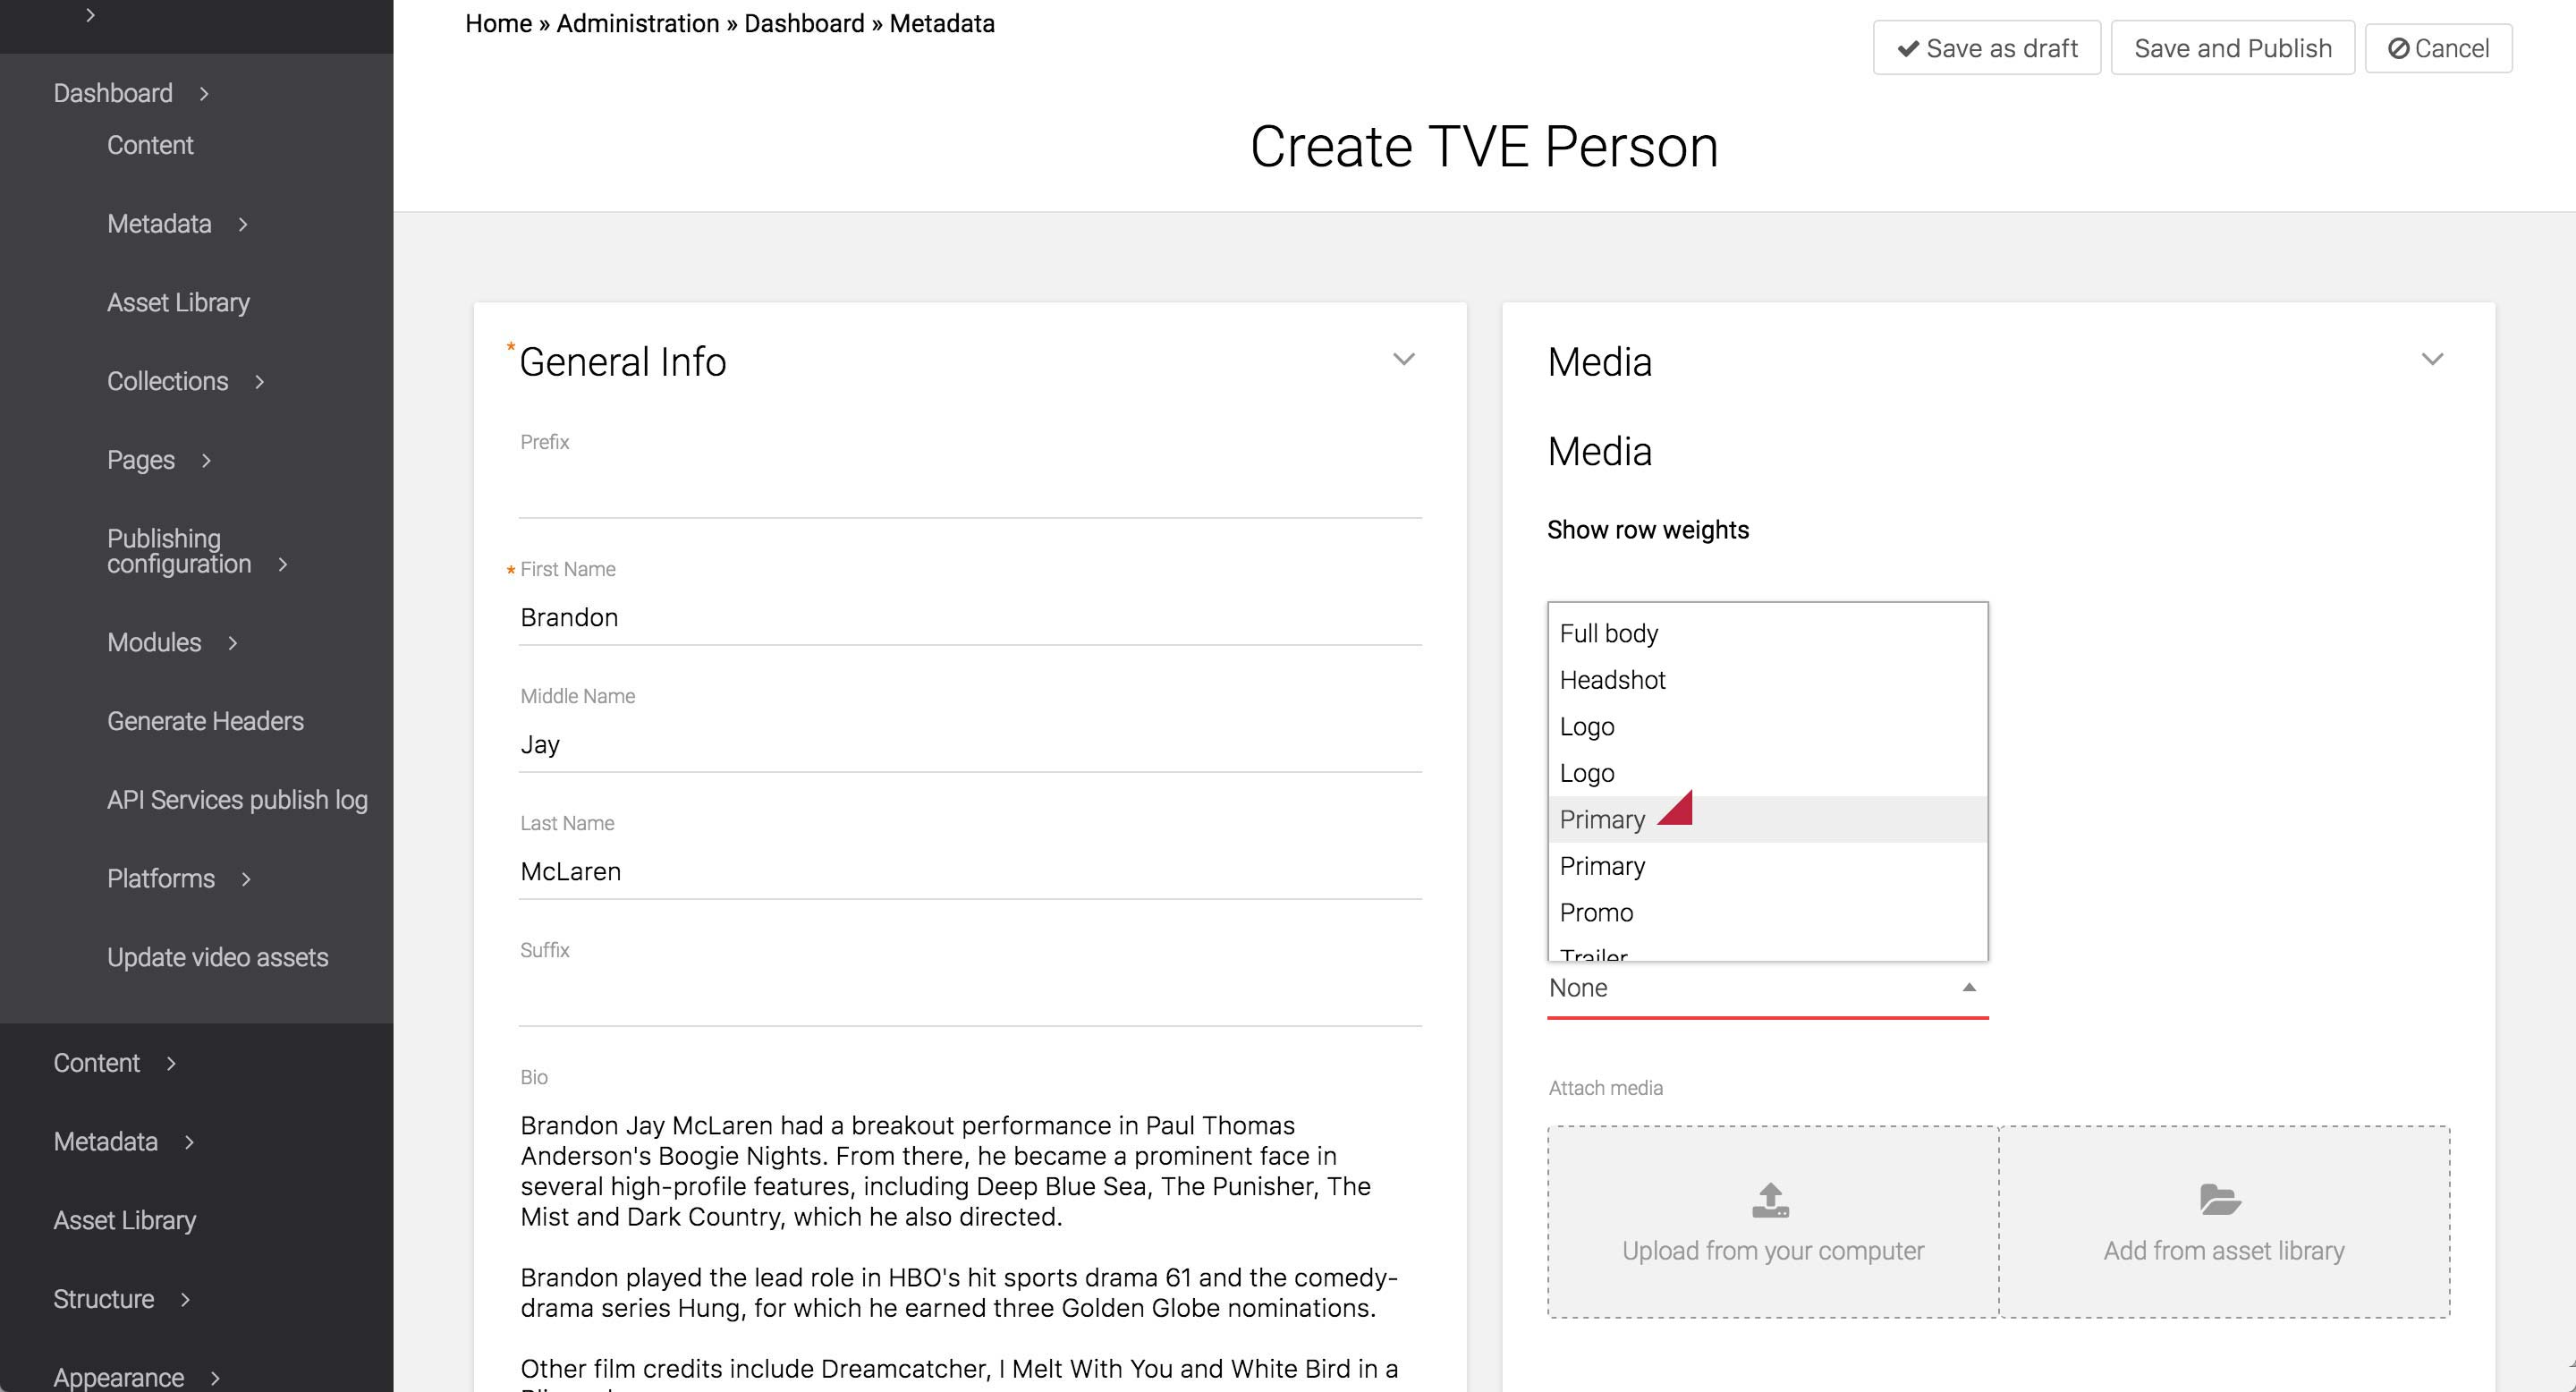
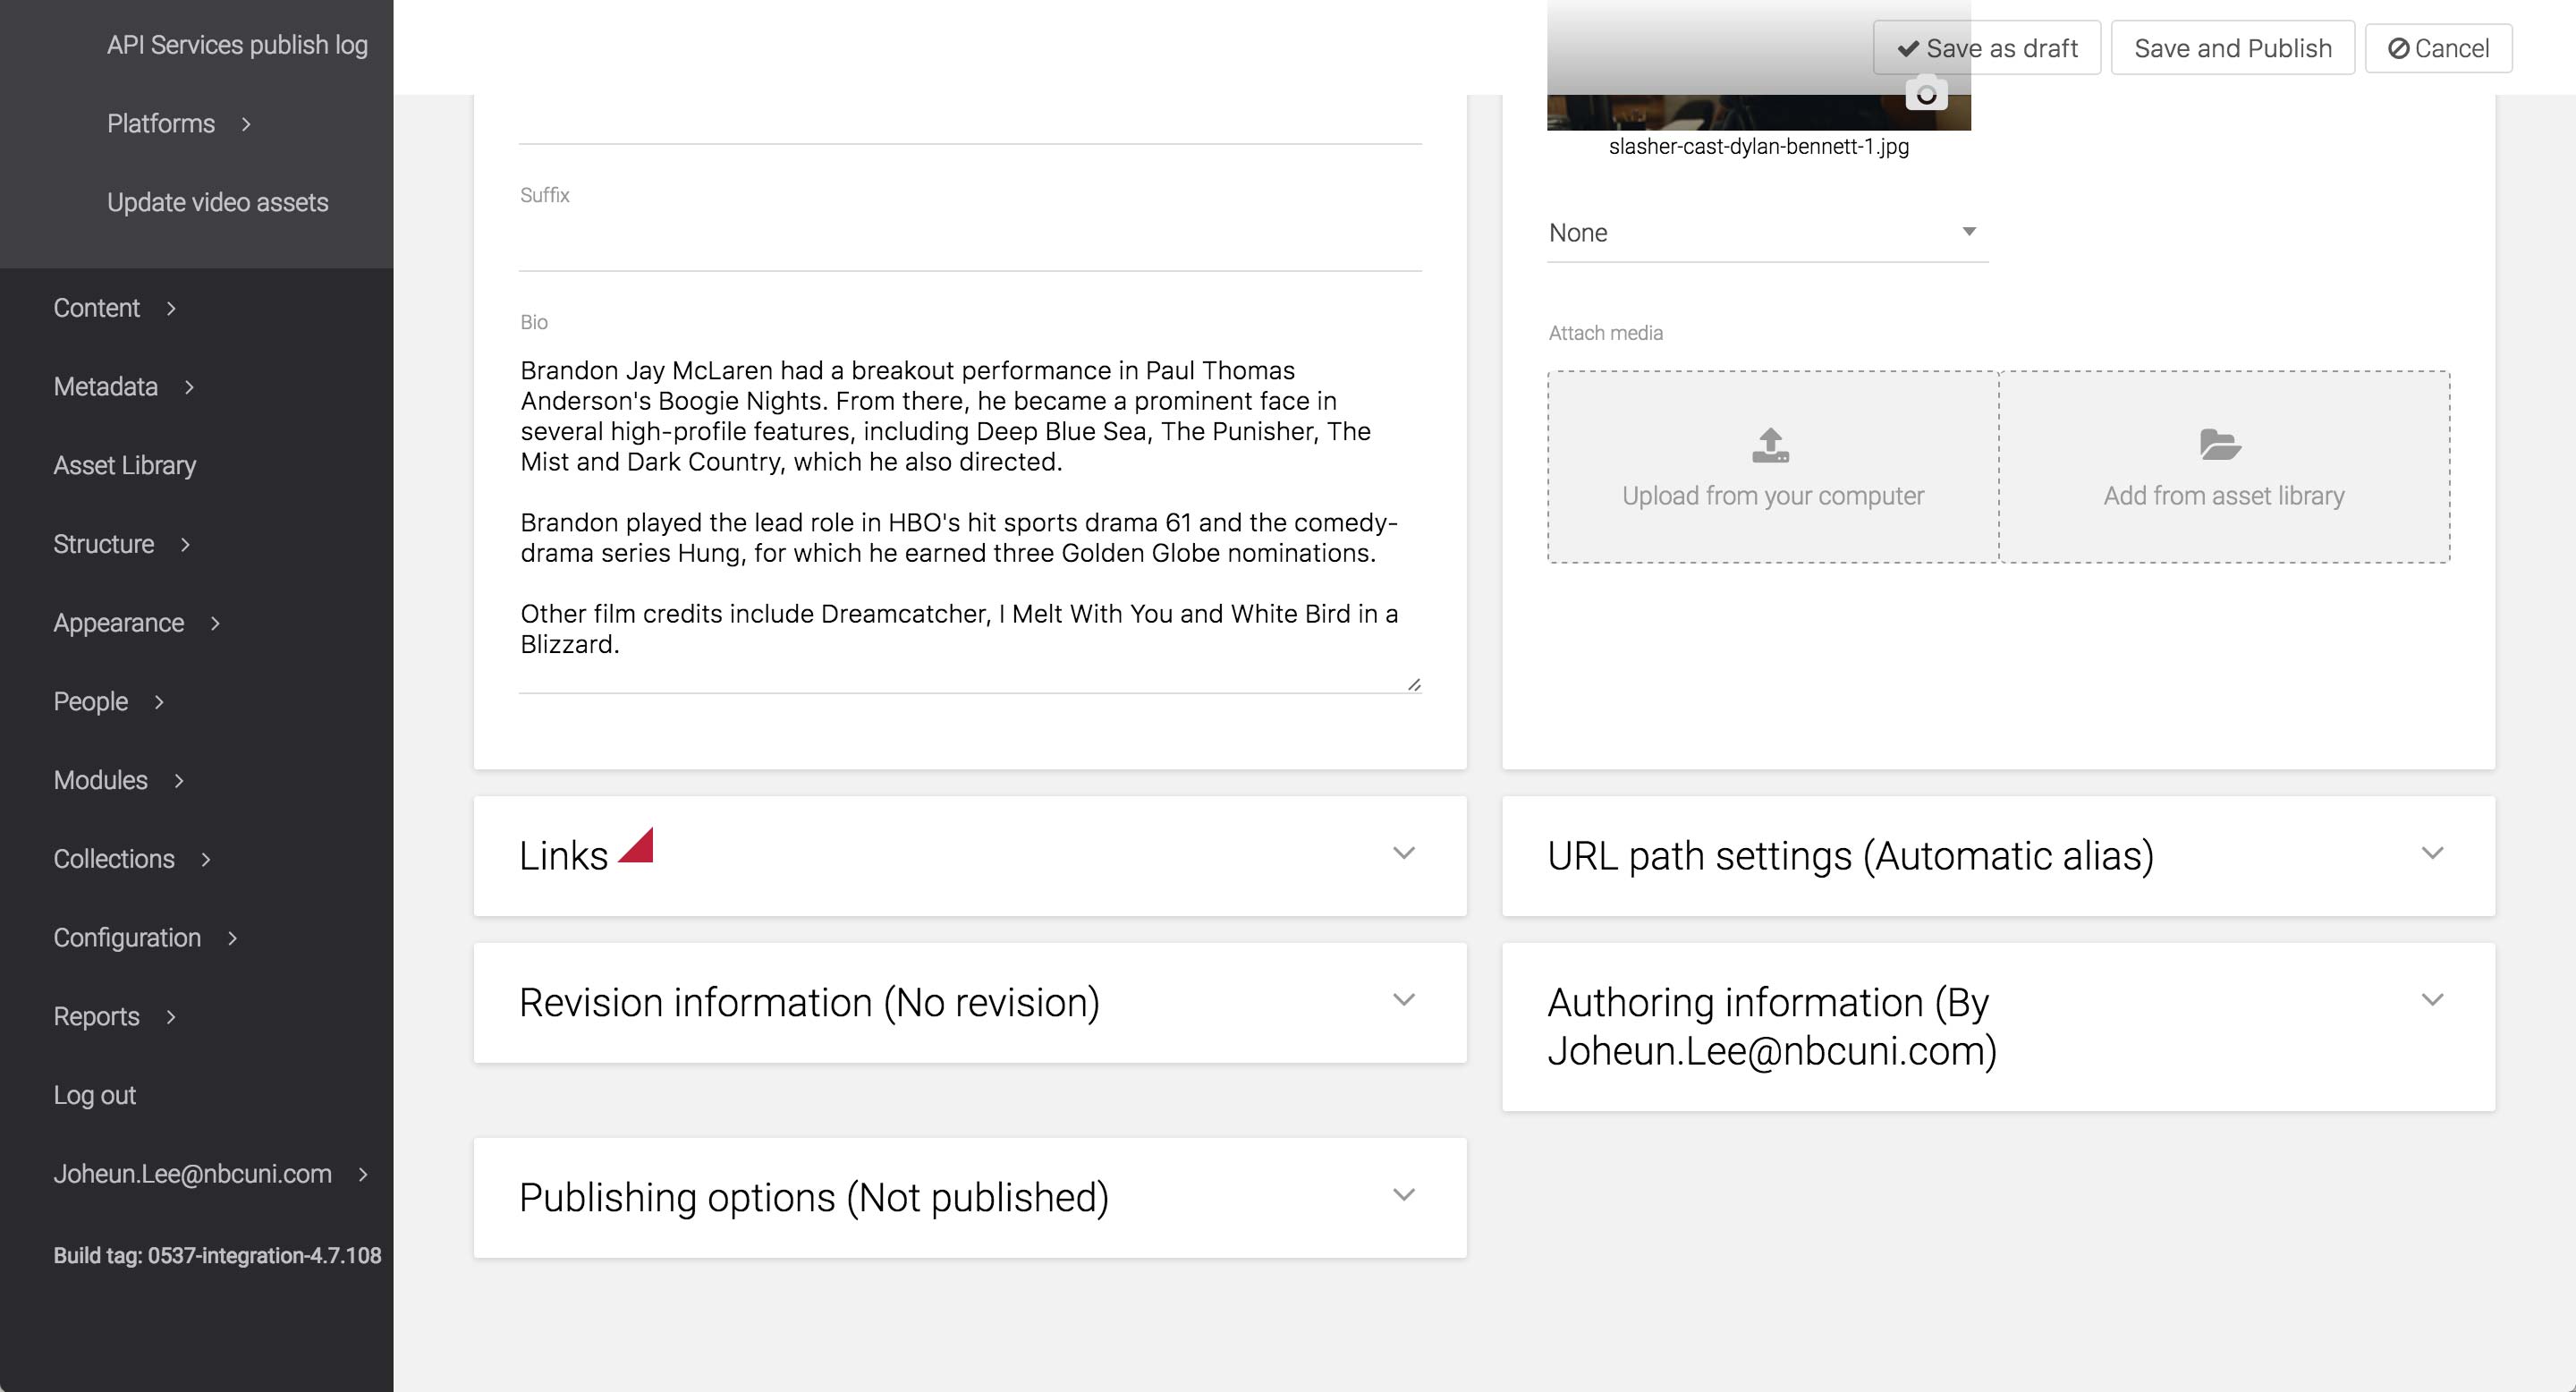
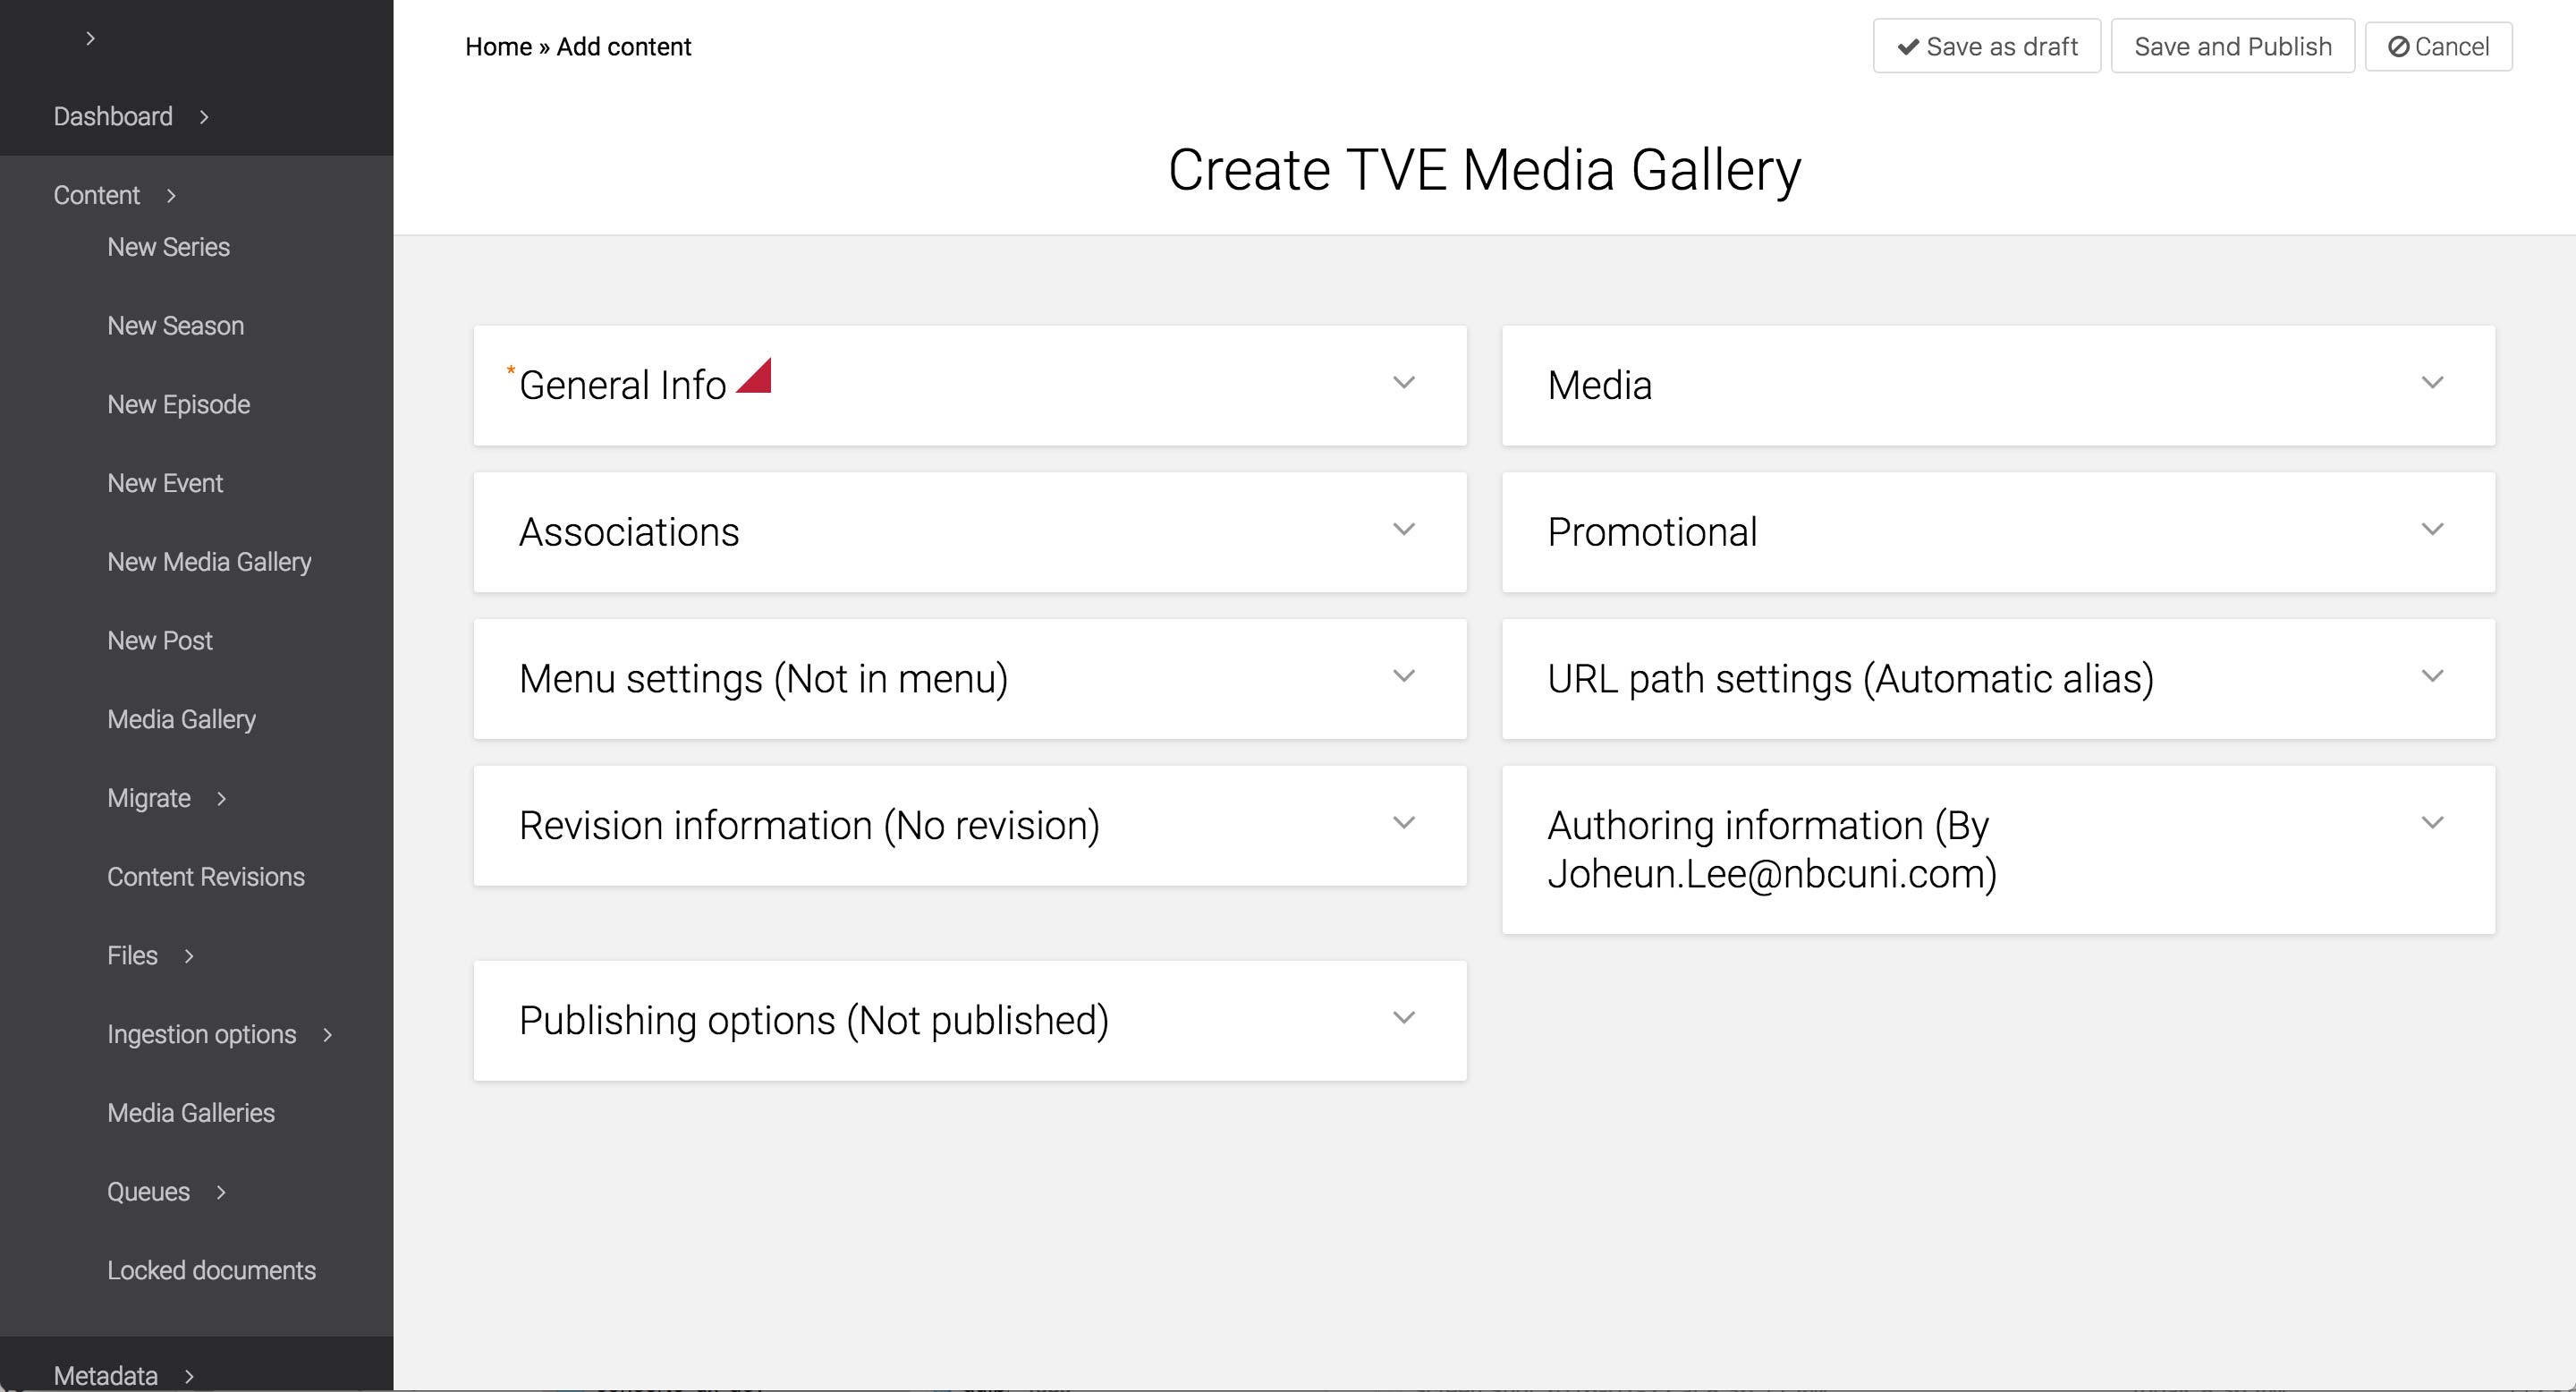
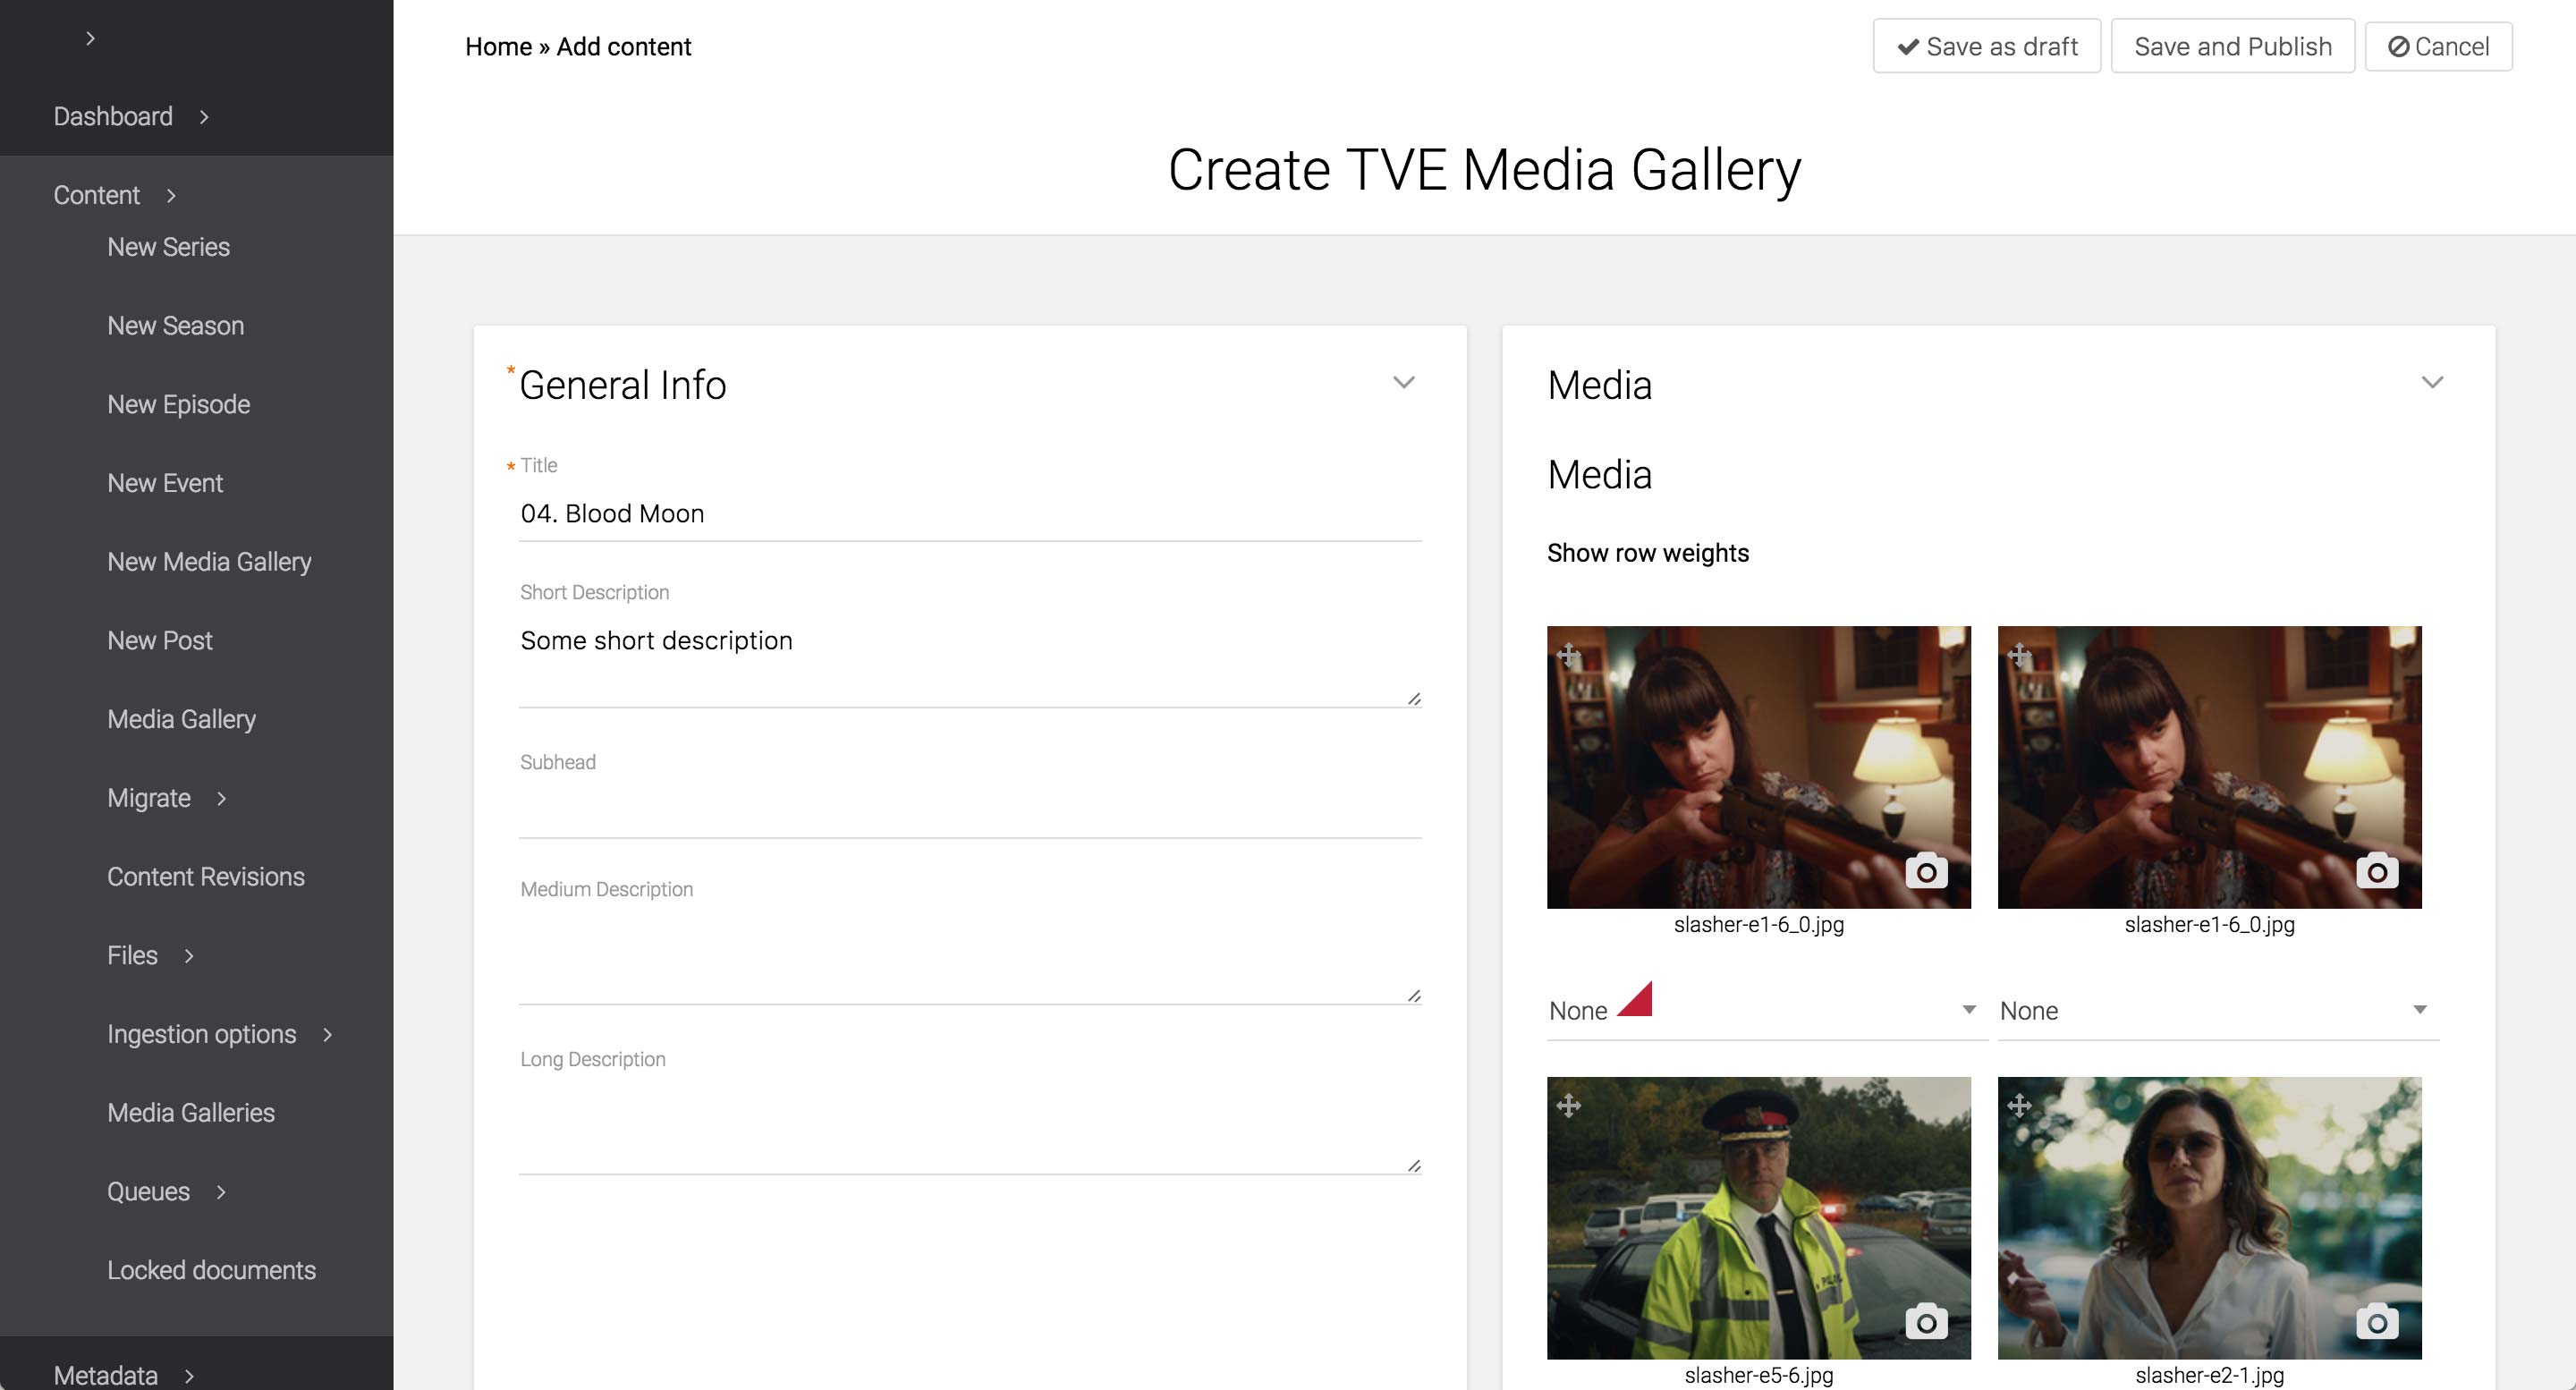
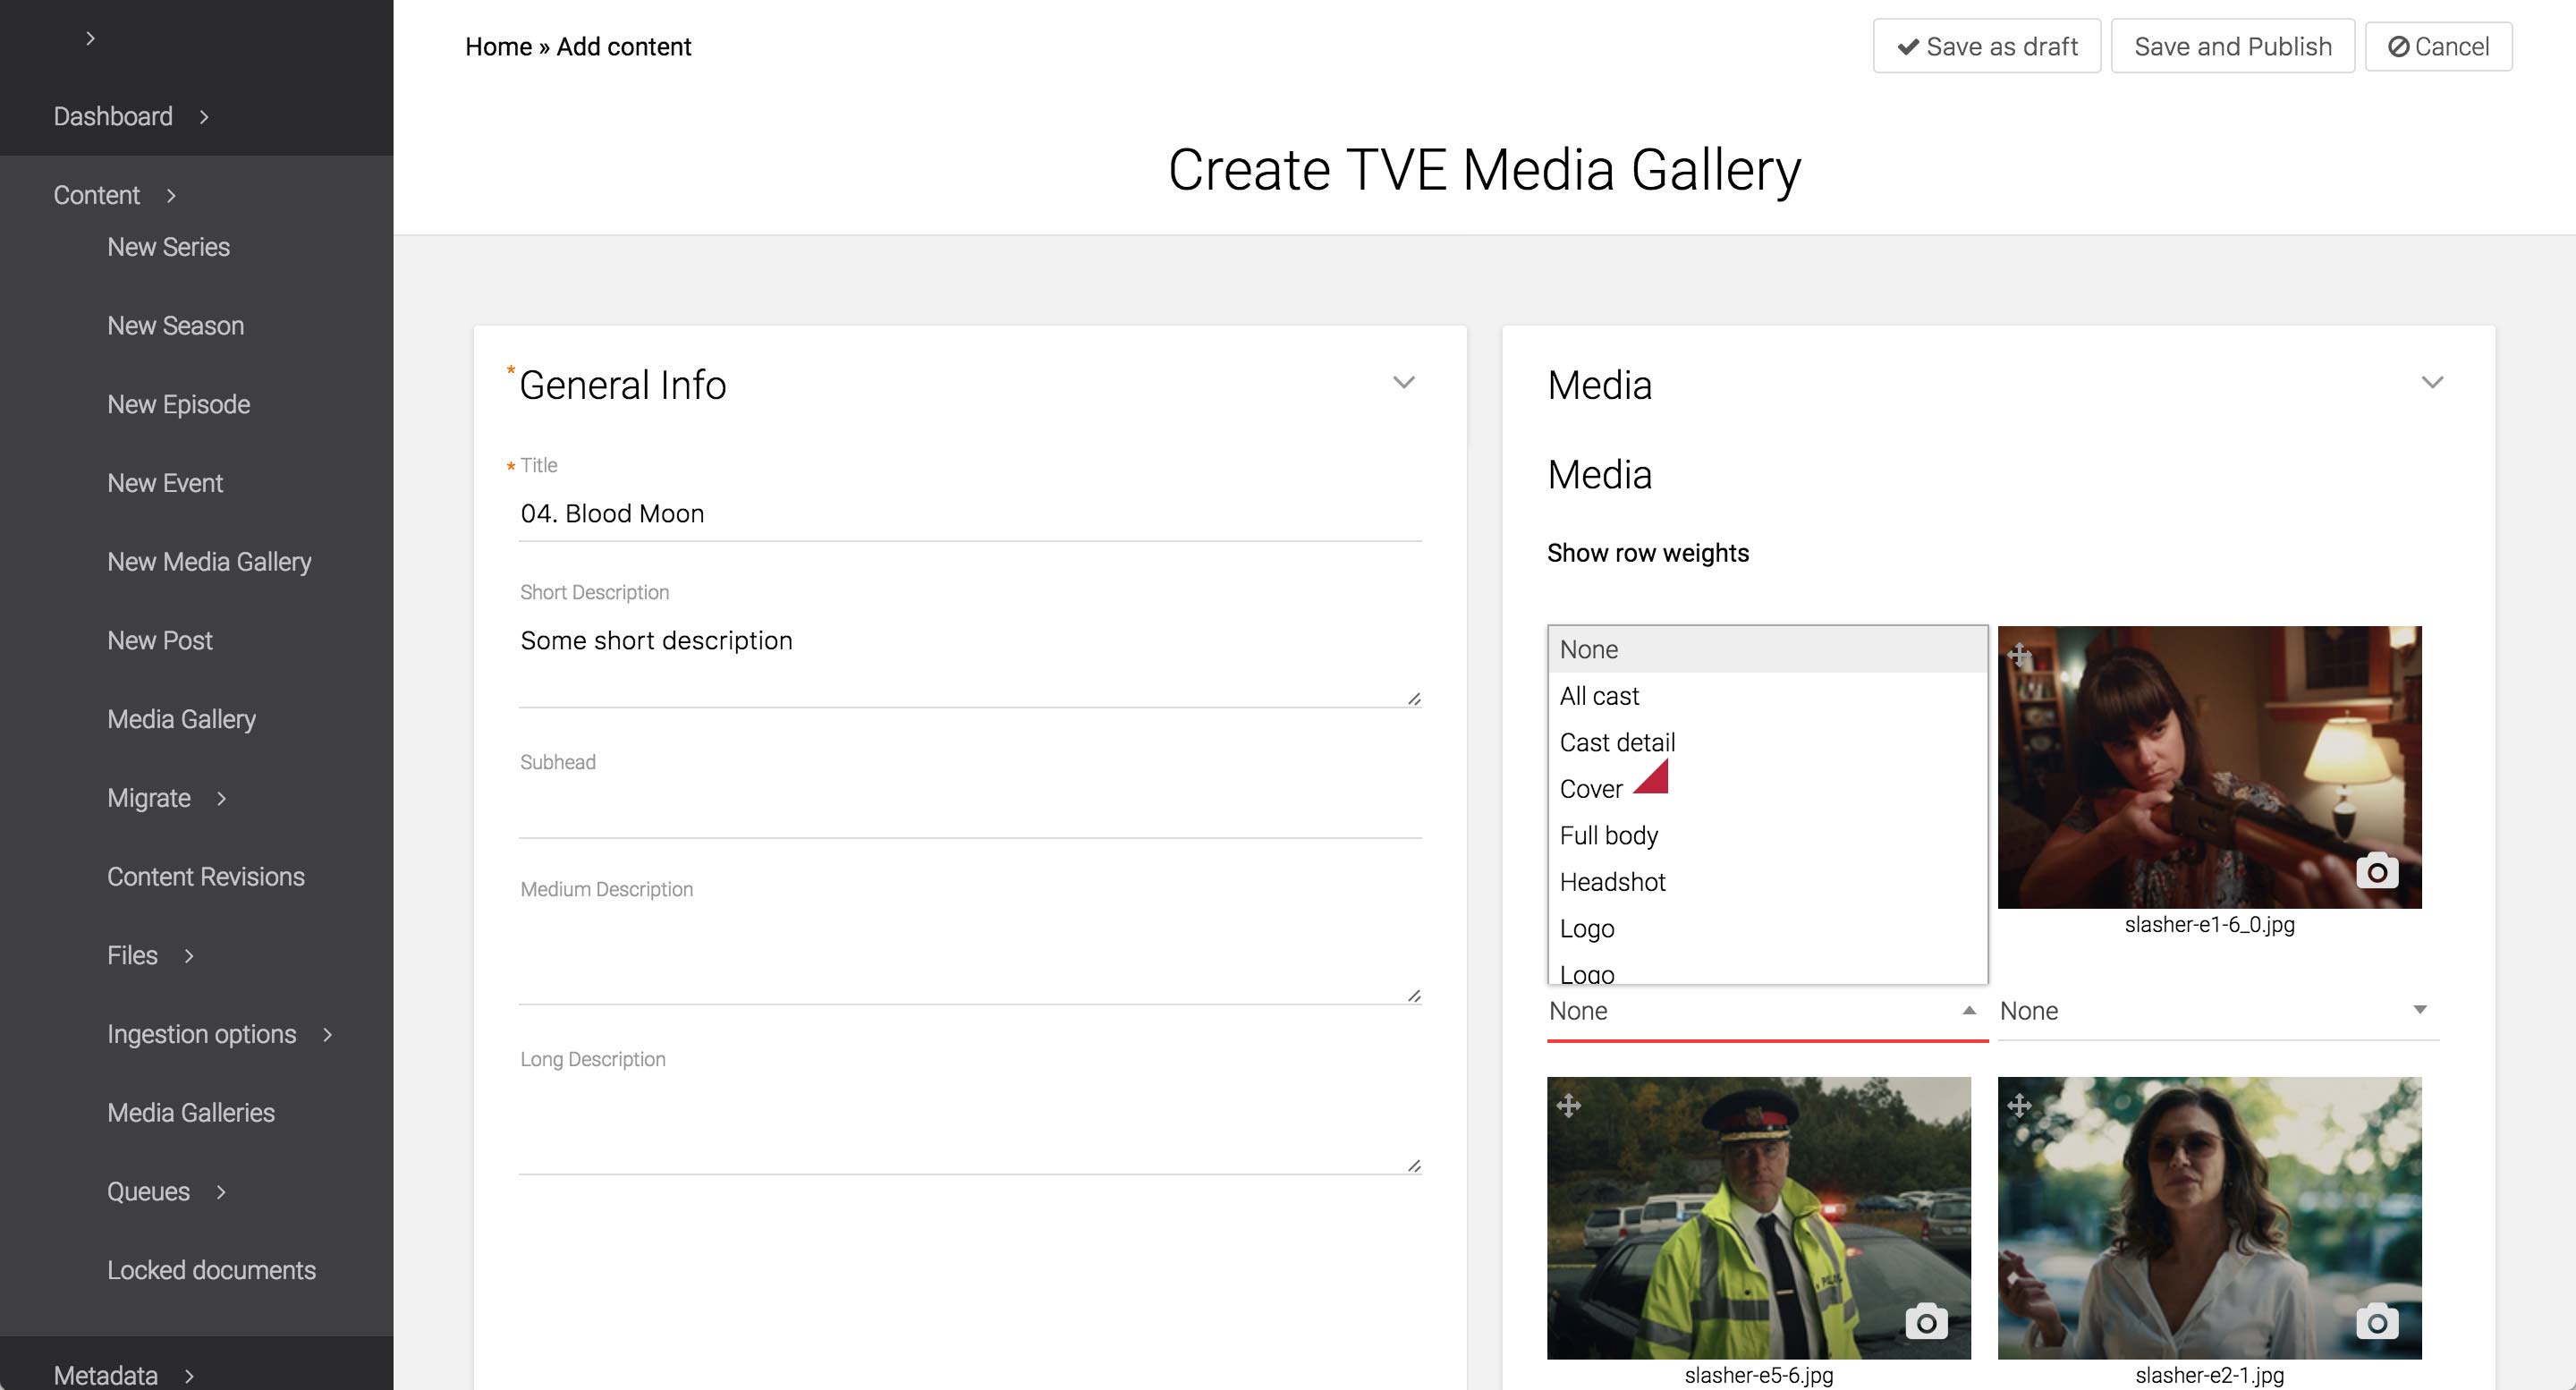
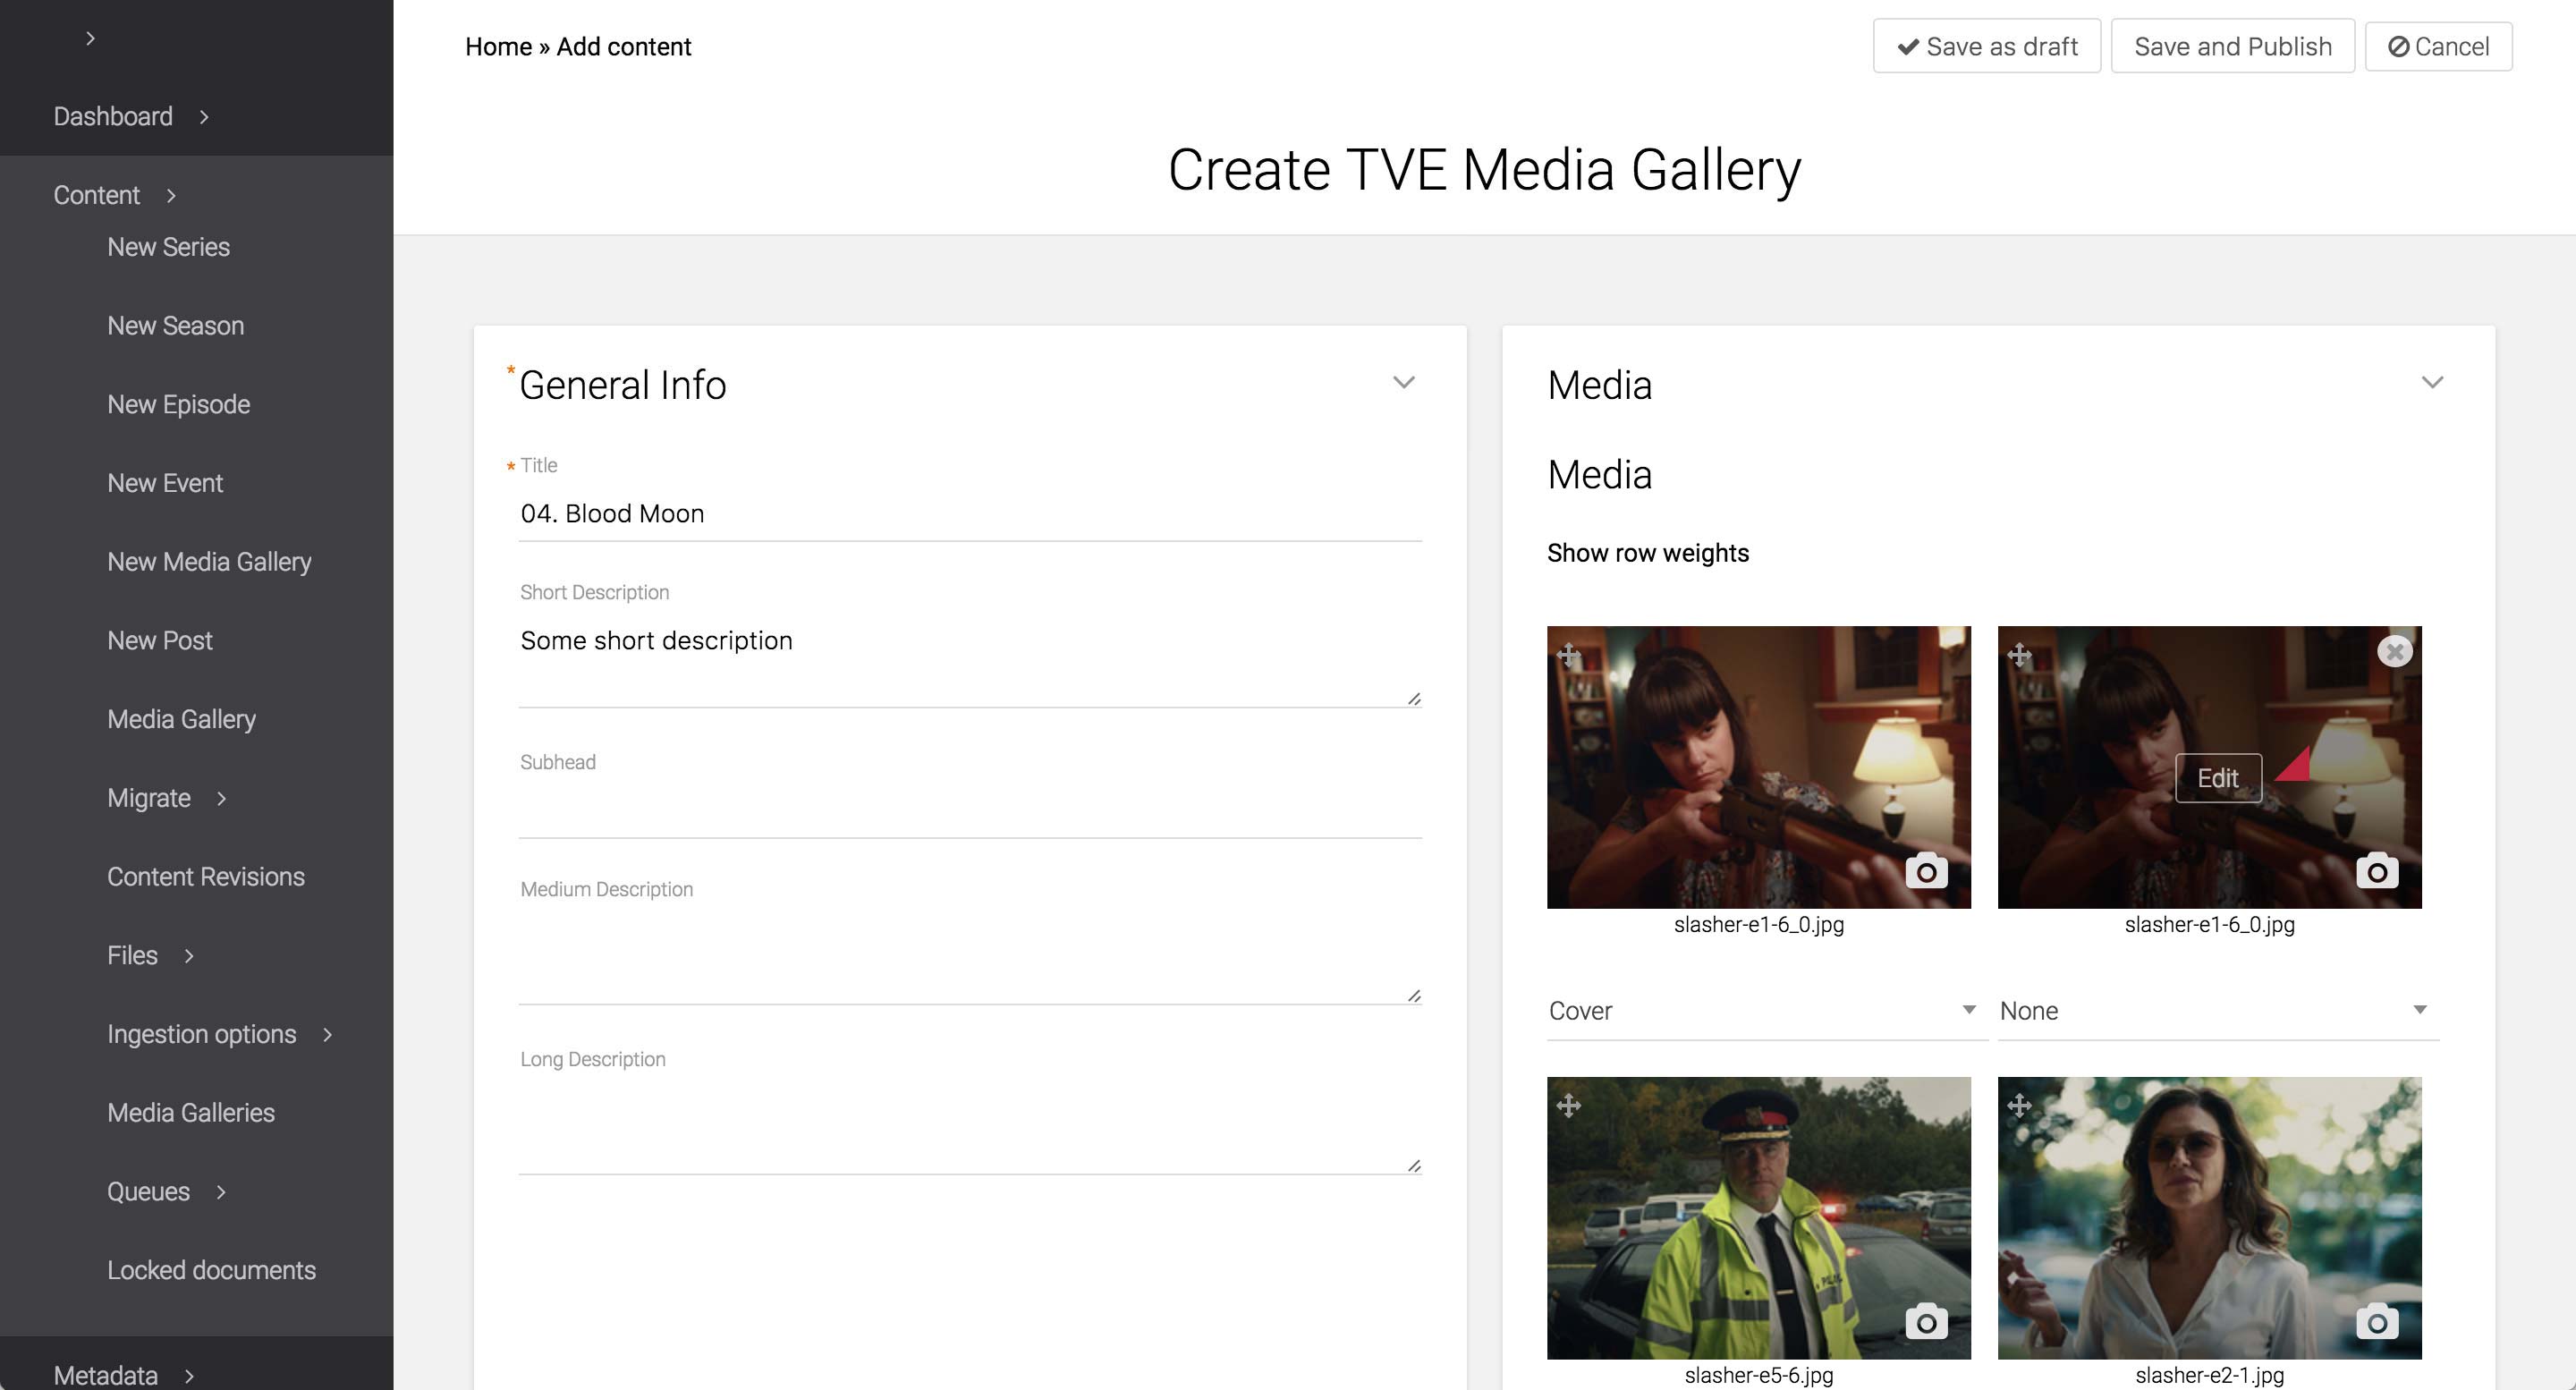
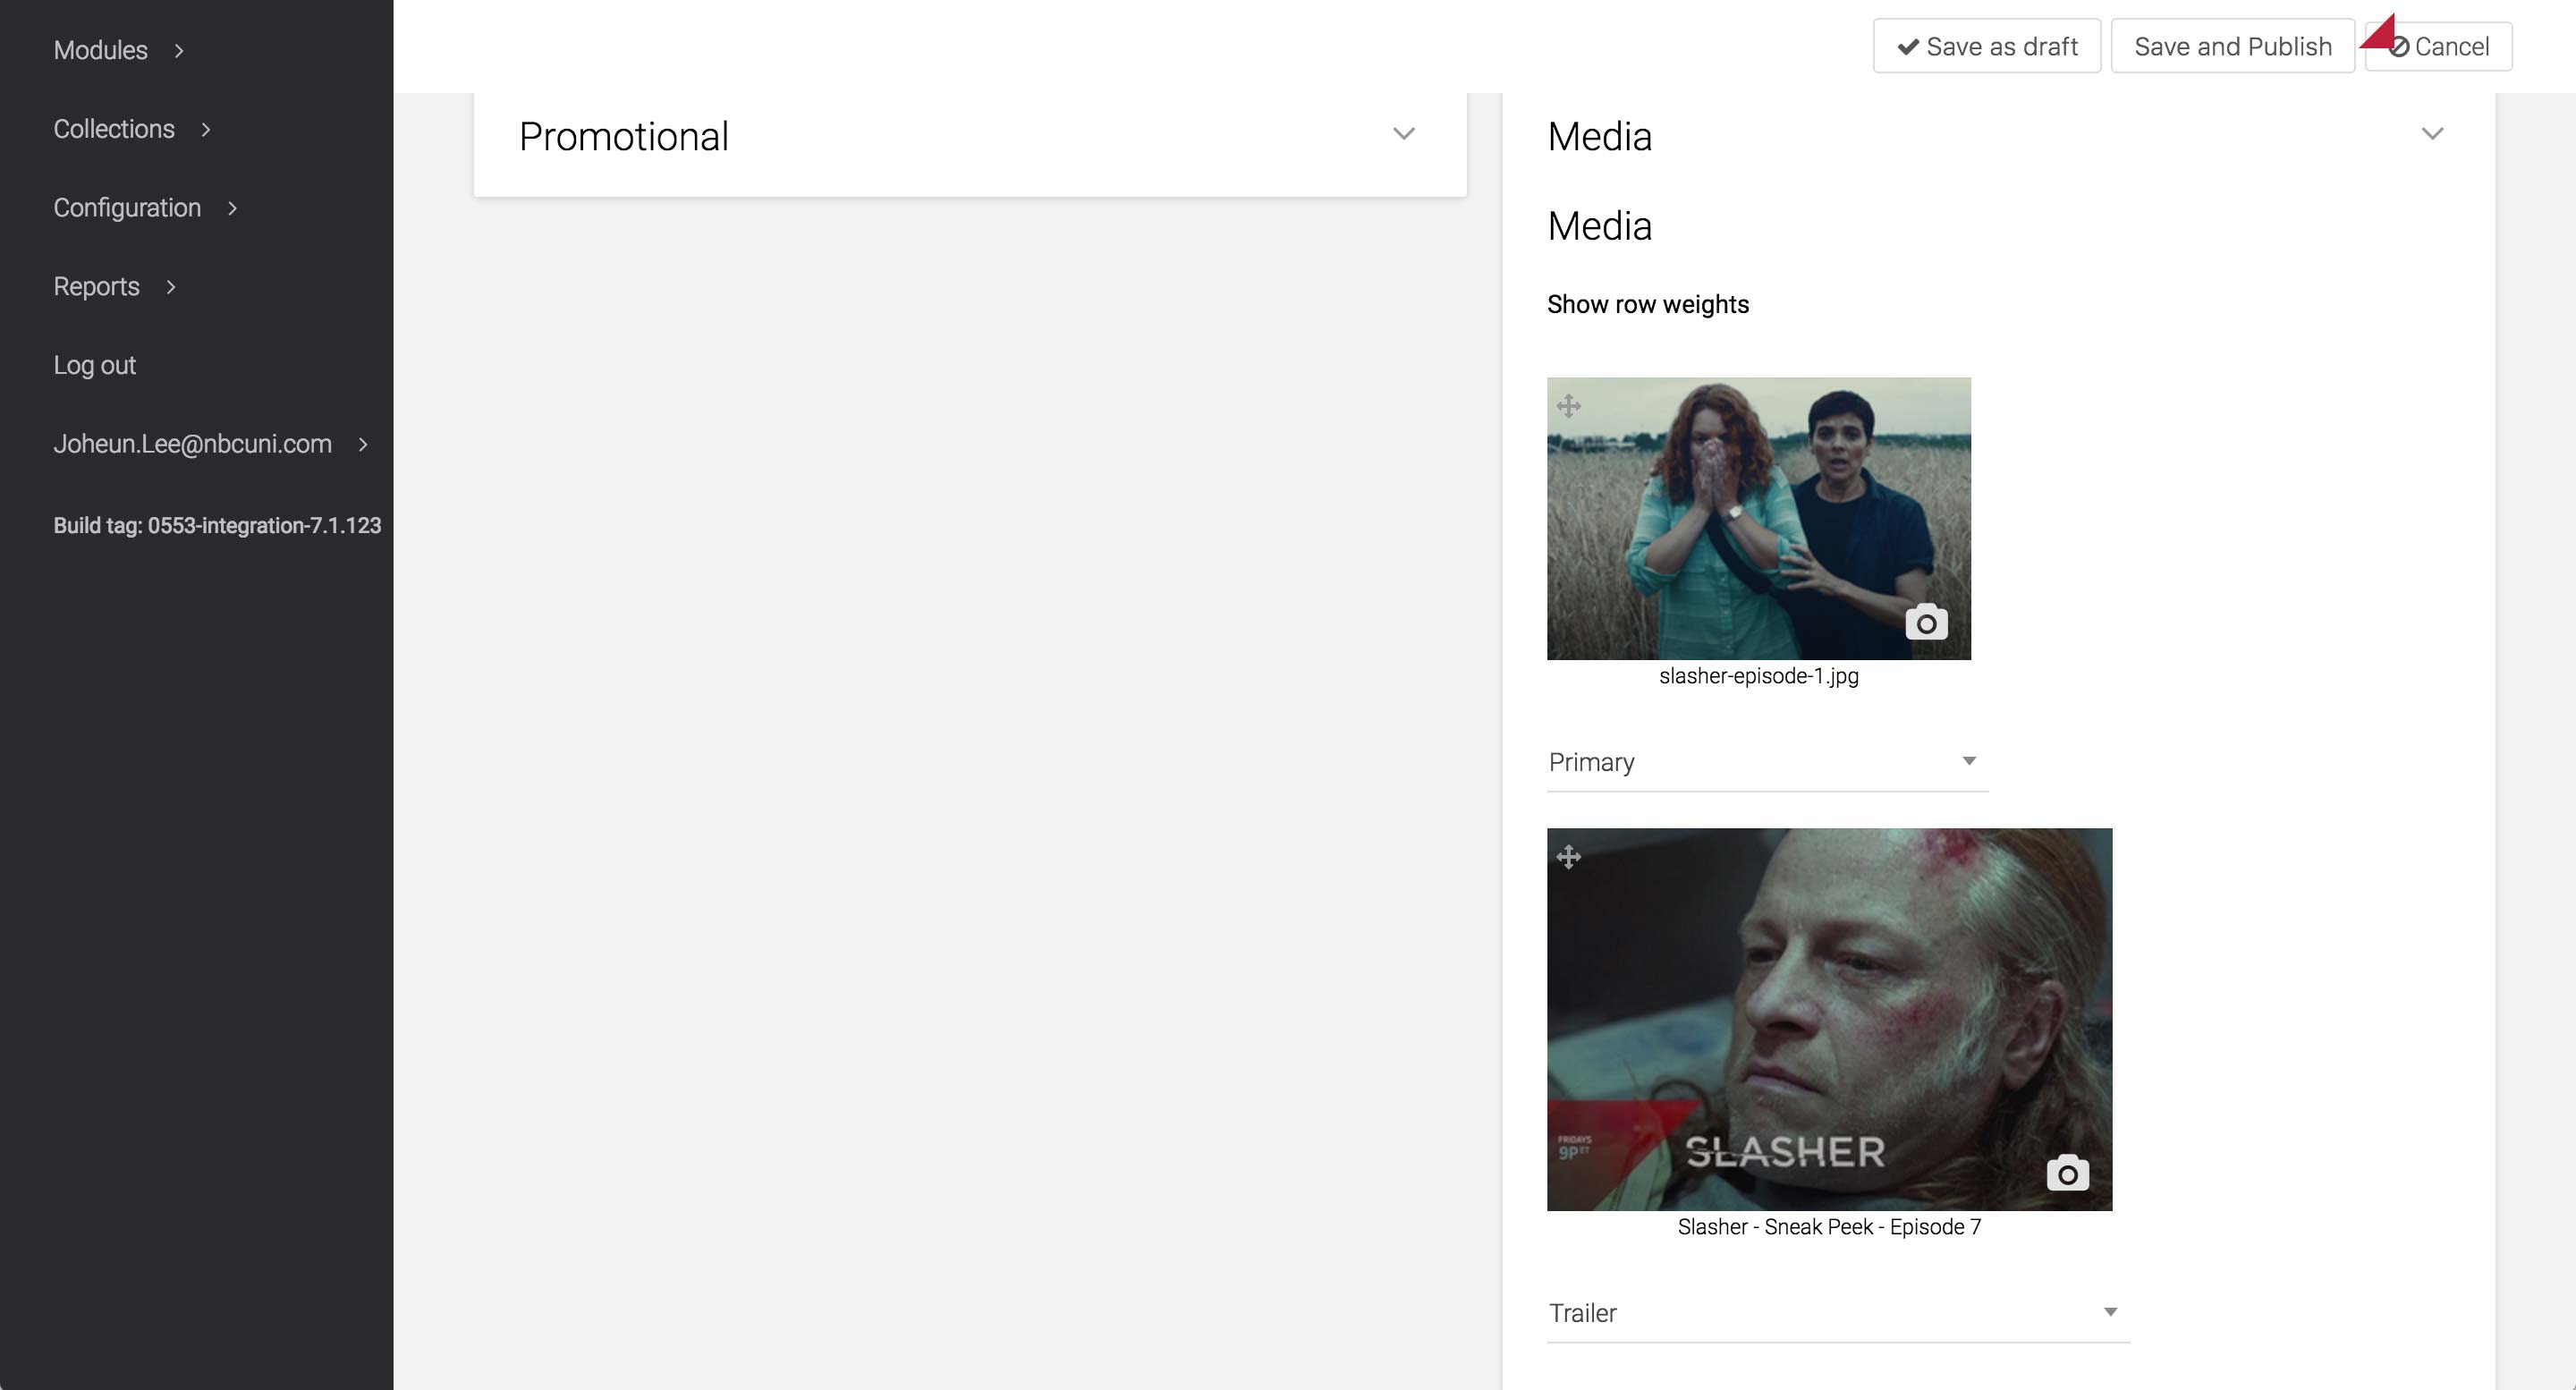
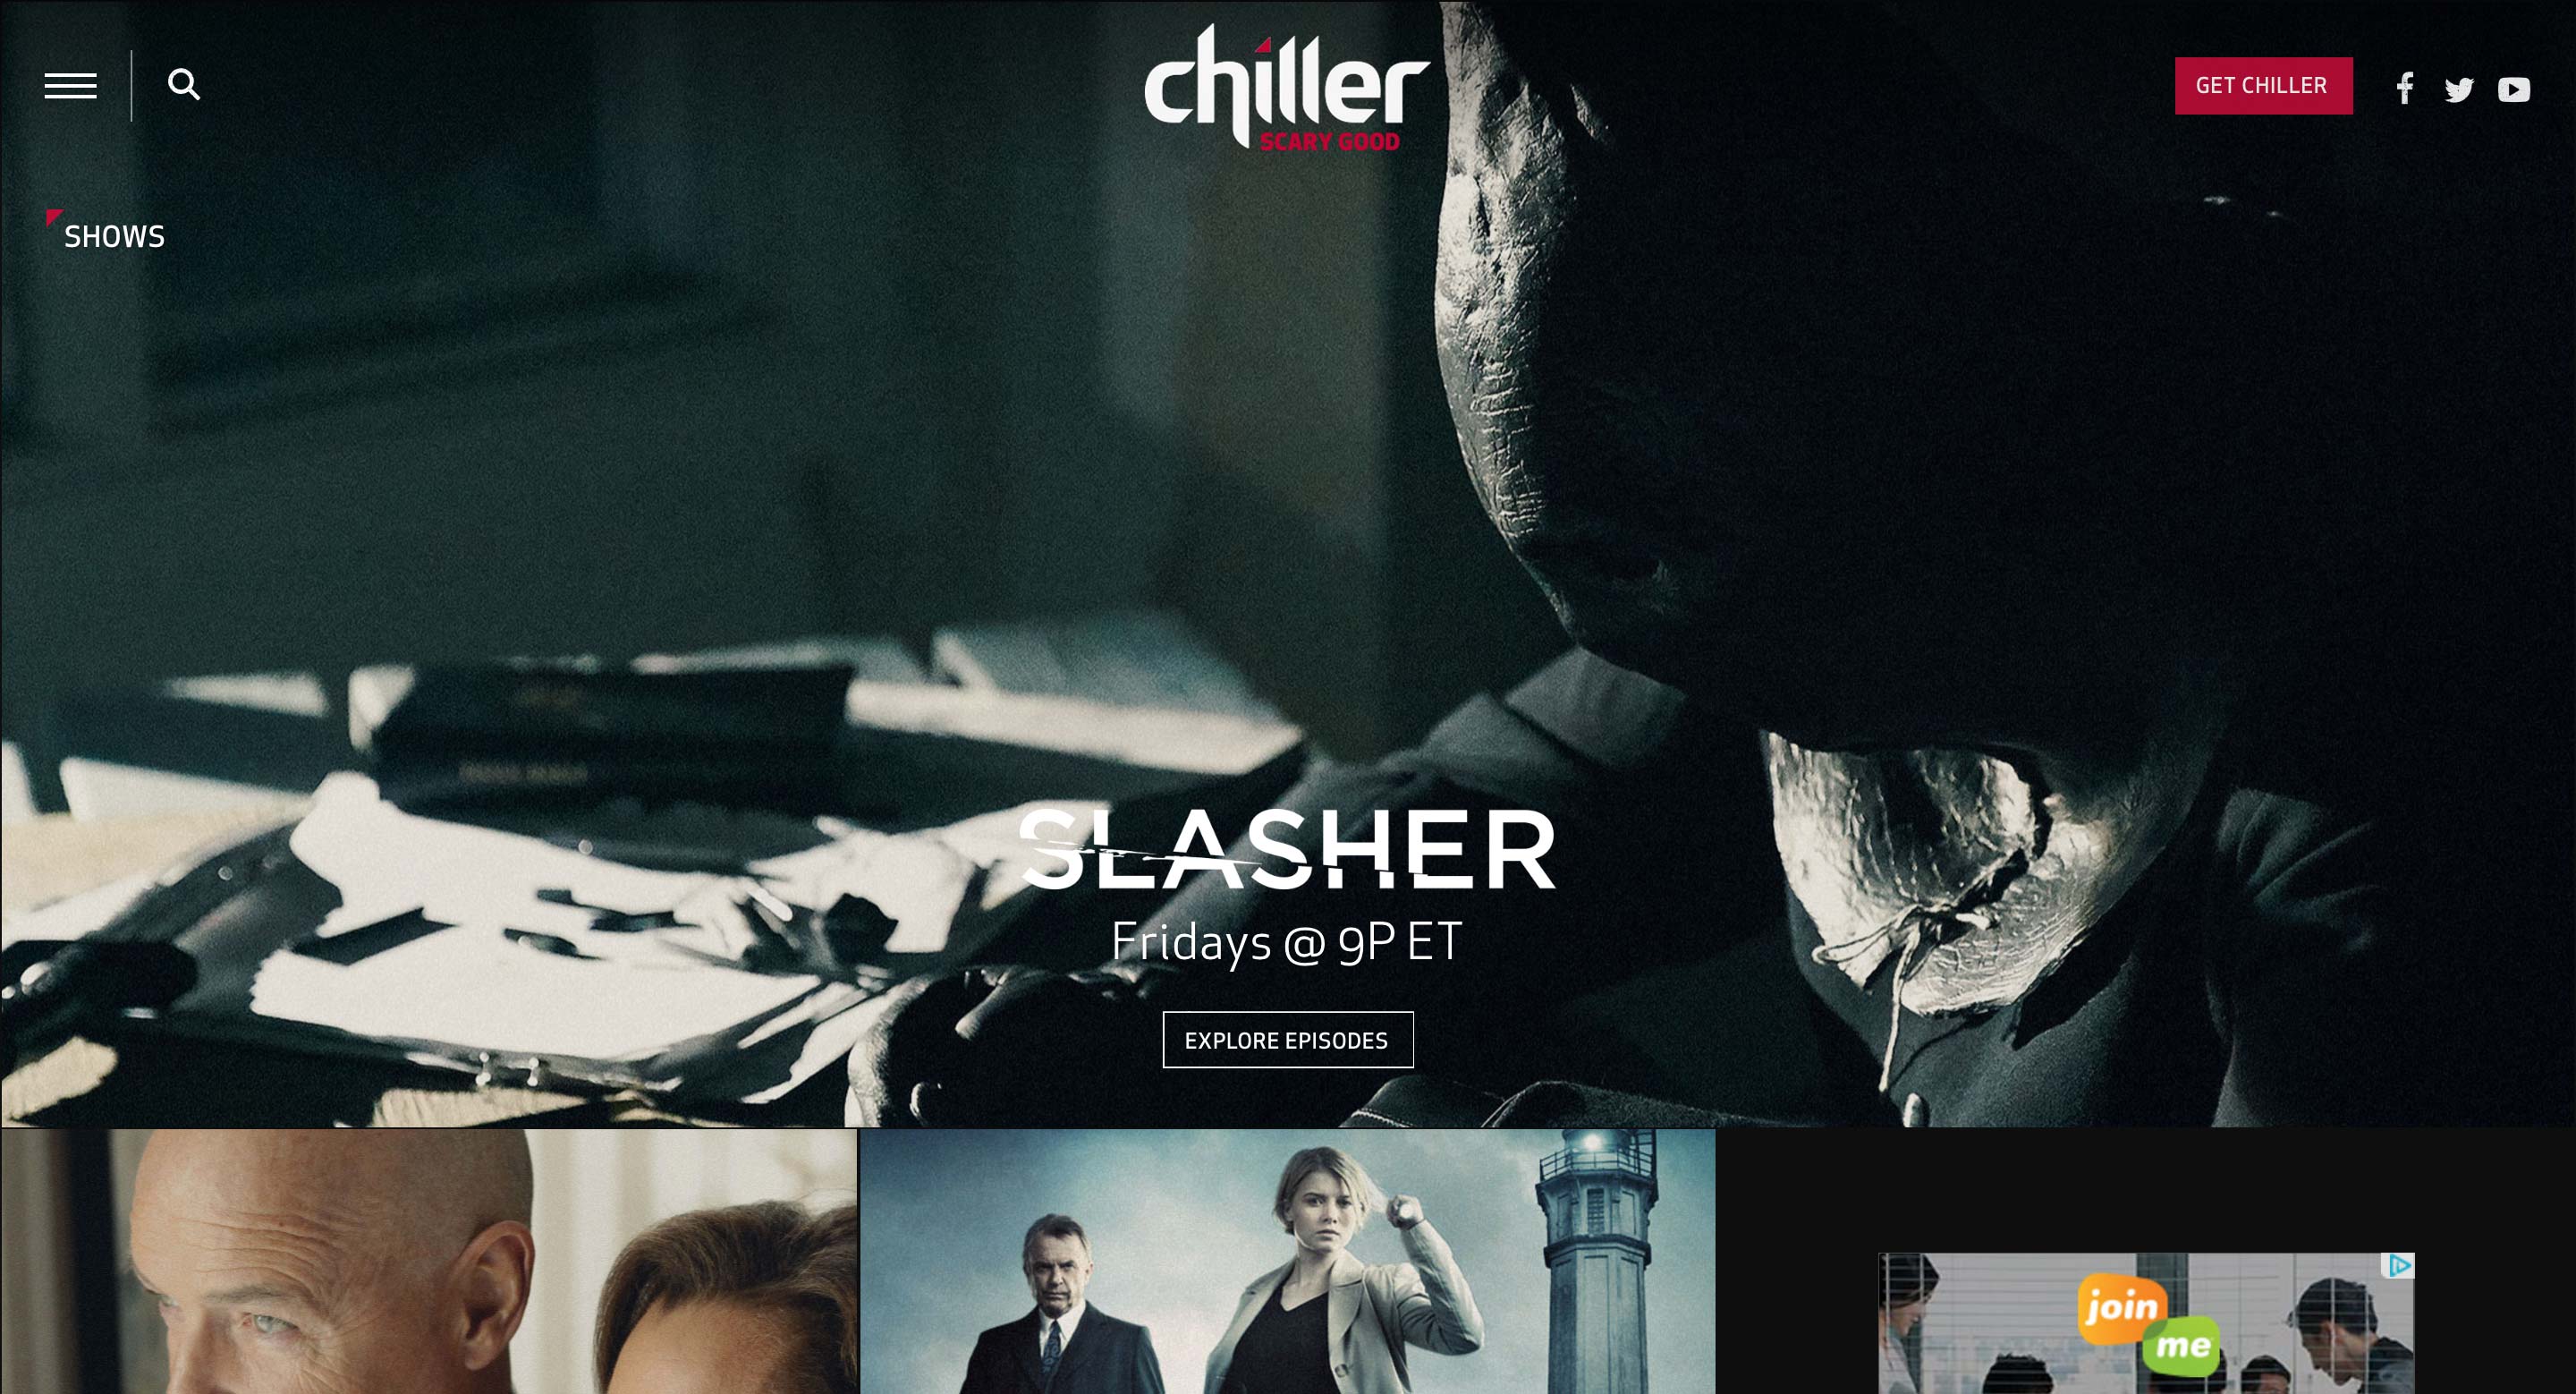
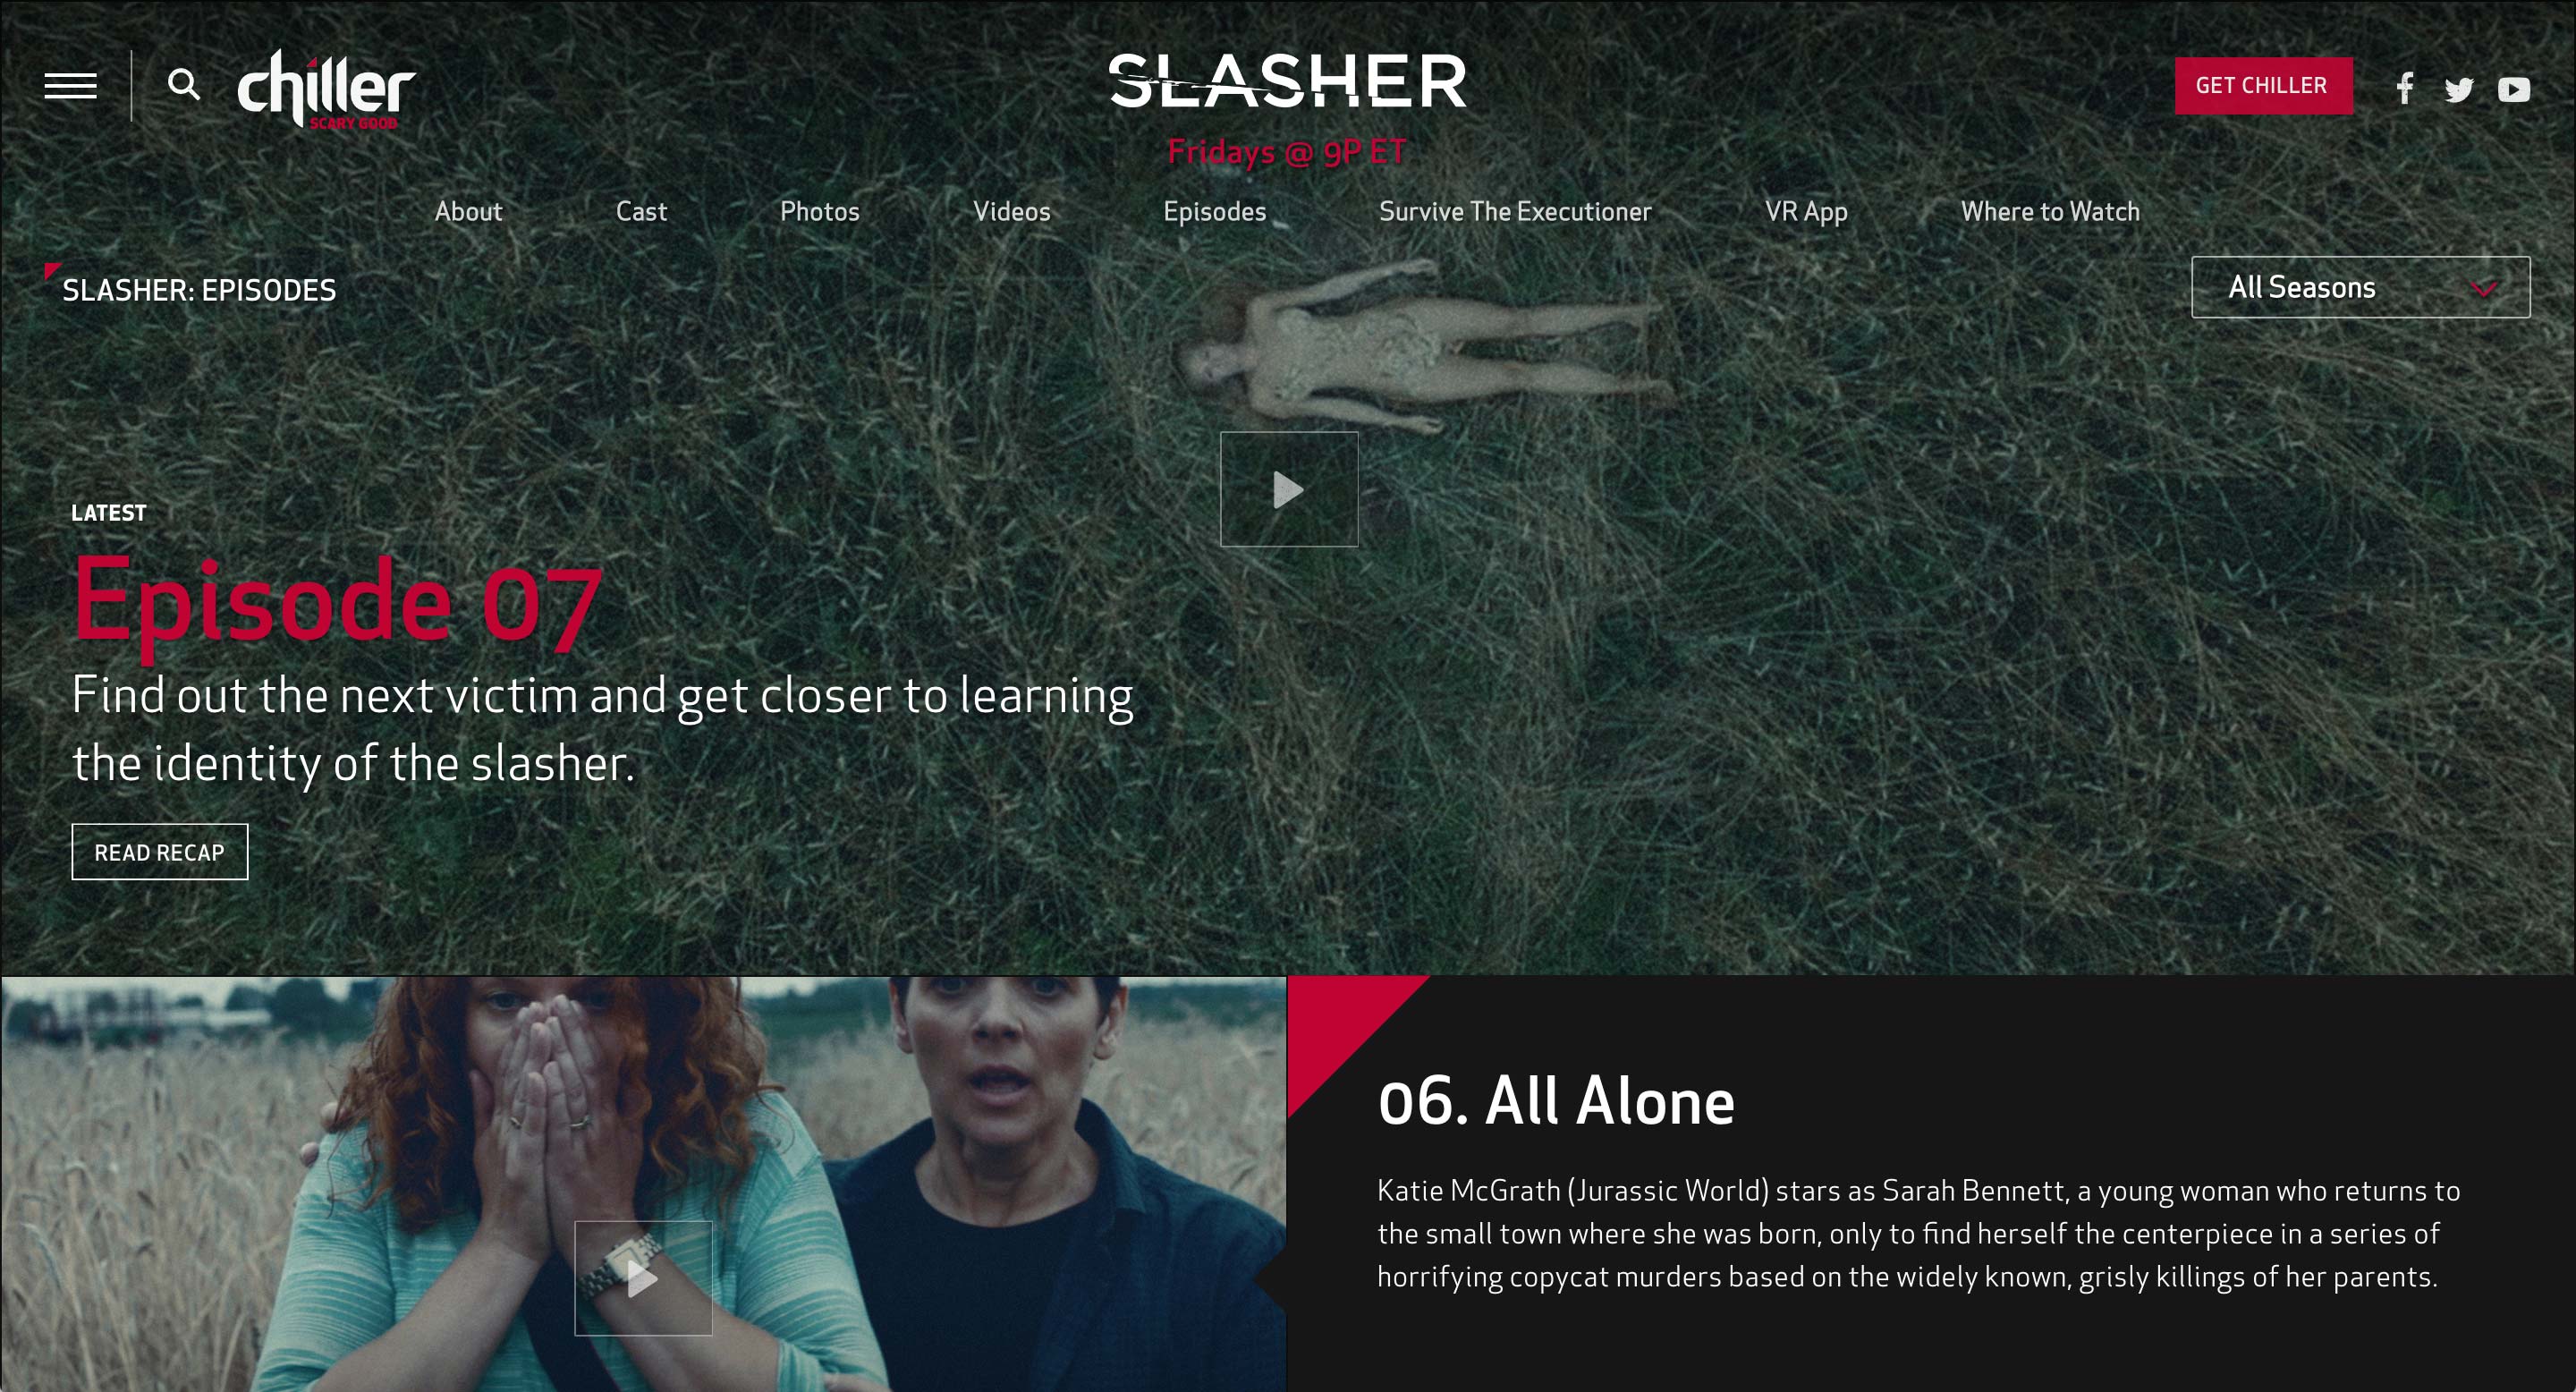
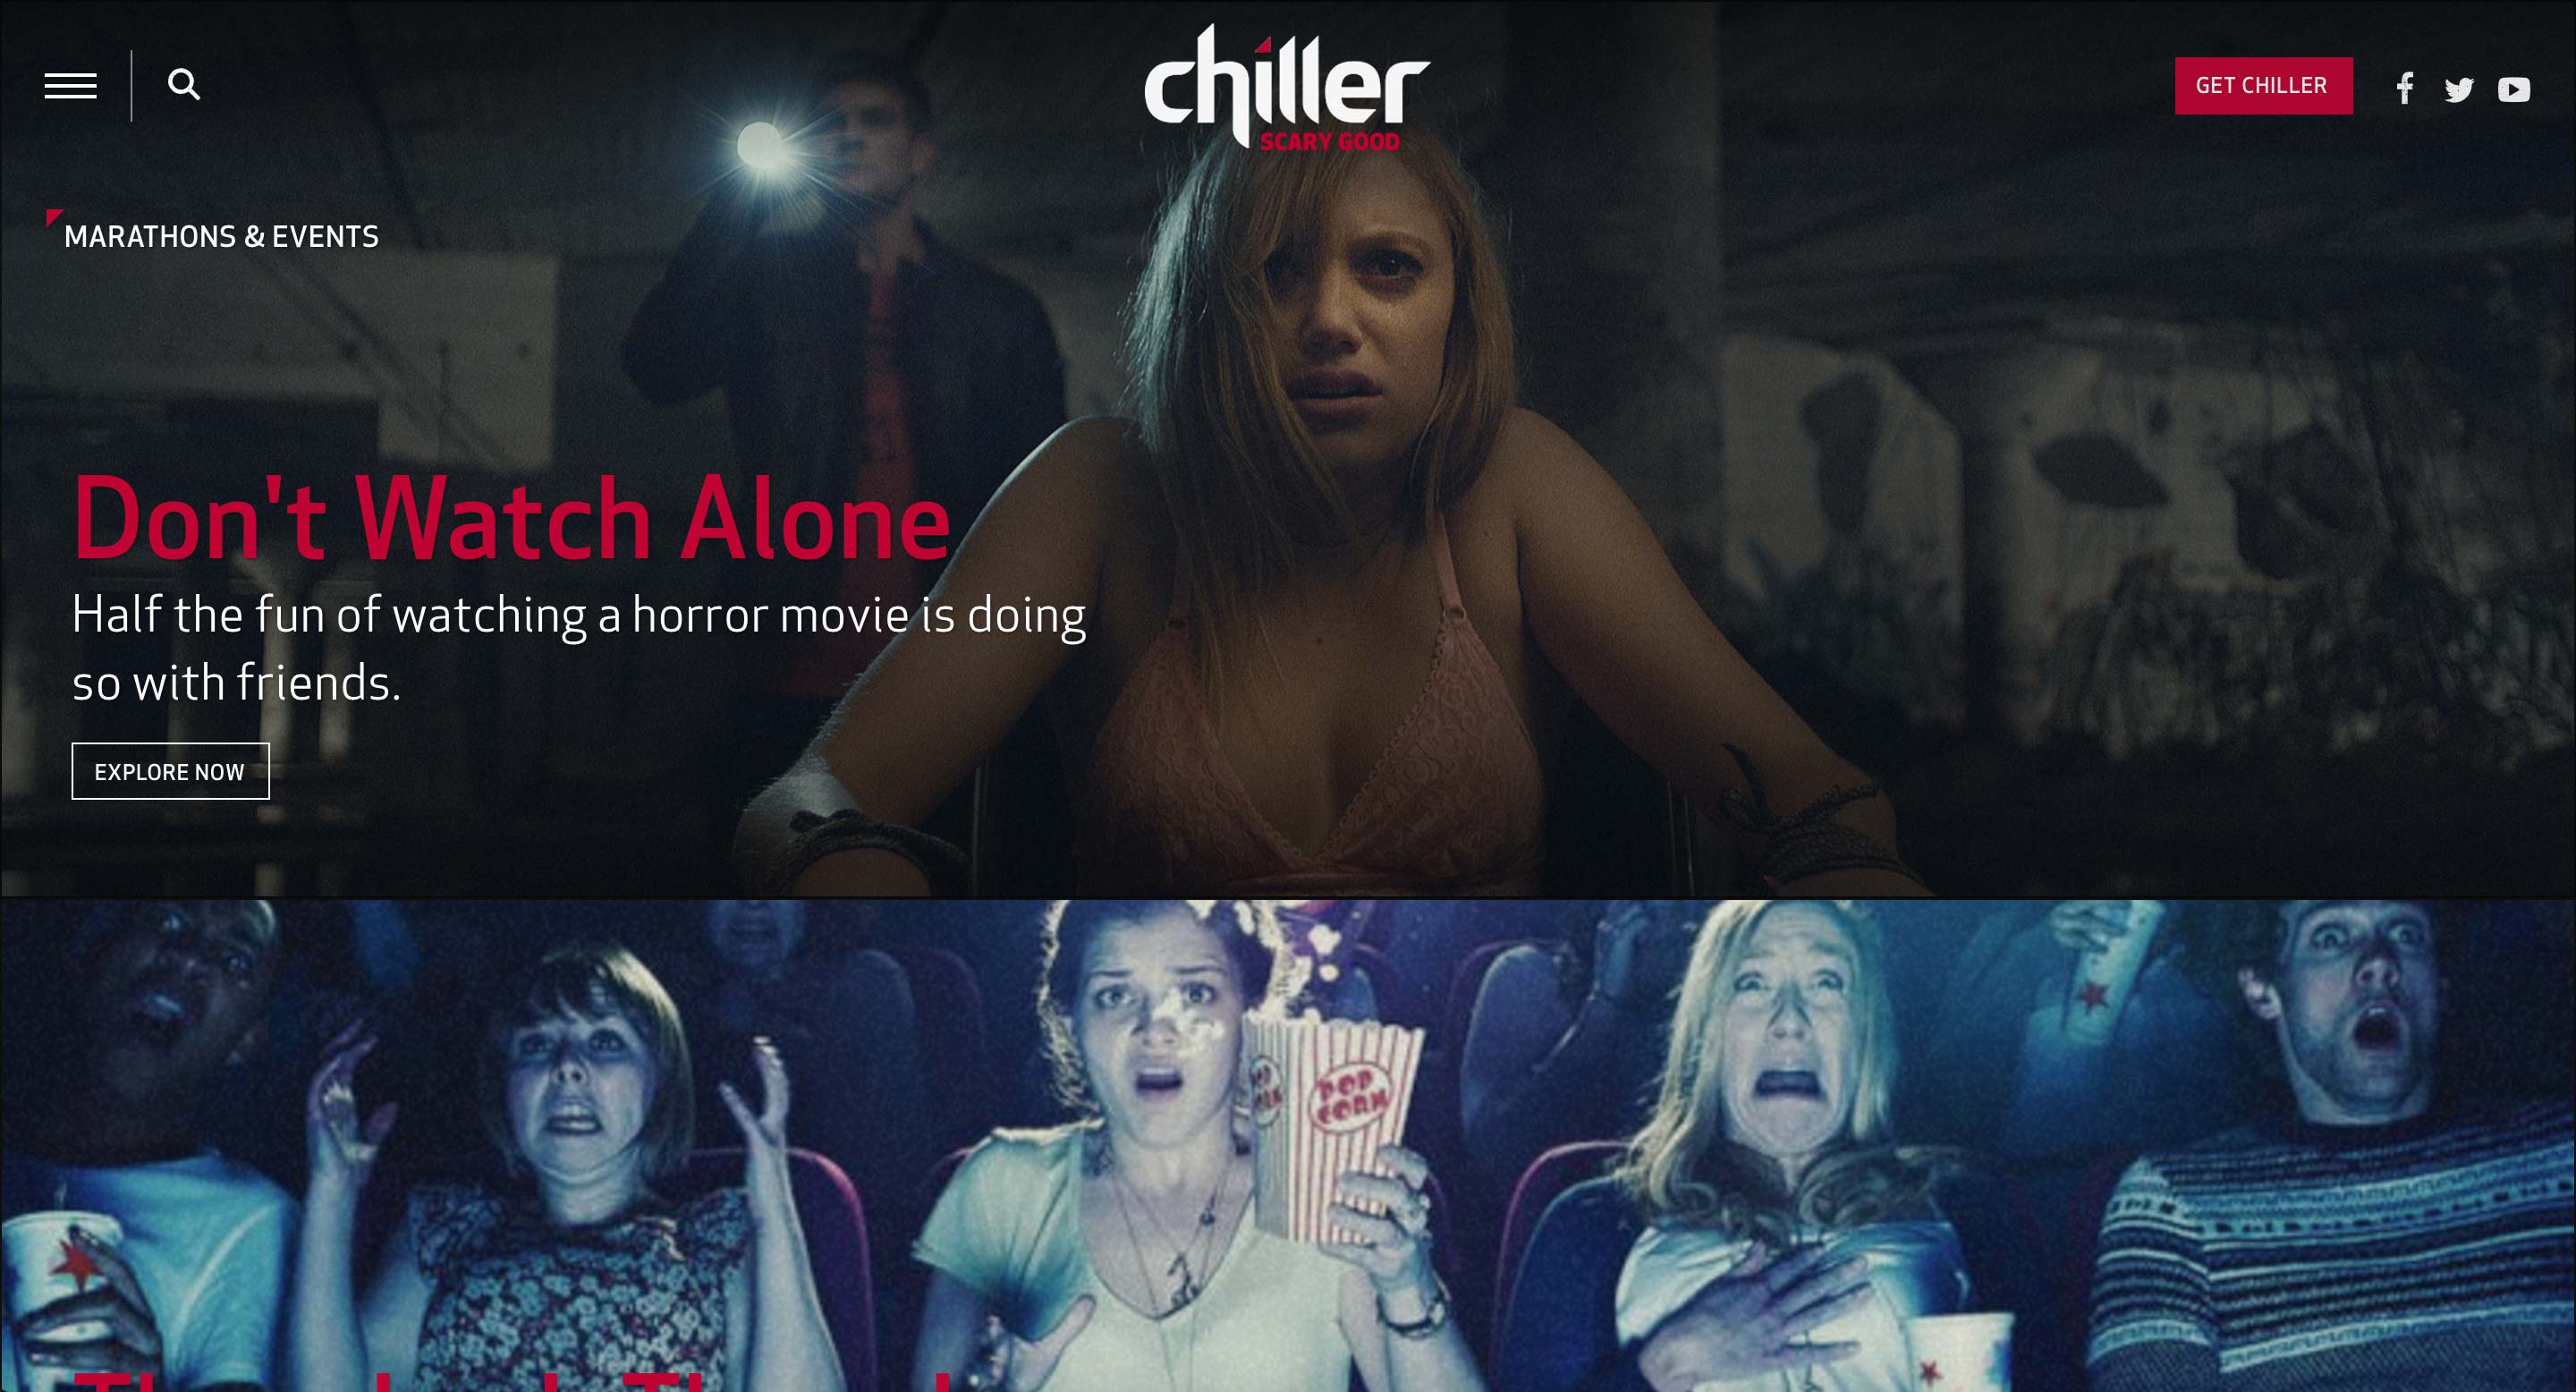
Open the Media card and upload or select the logo, main image, and the trailer. Set the usages to Logo, Primary, and Trailer, respectively. The Primary image will appear as the tile image of the Marathons & Events Landing page.
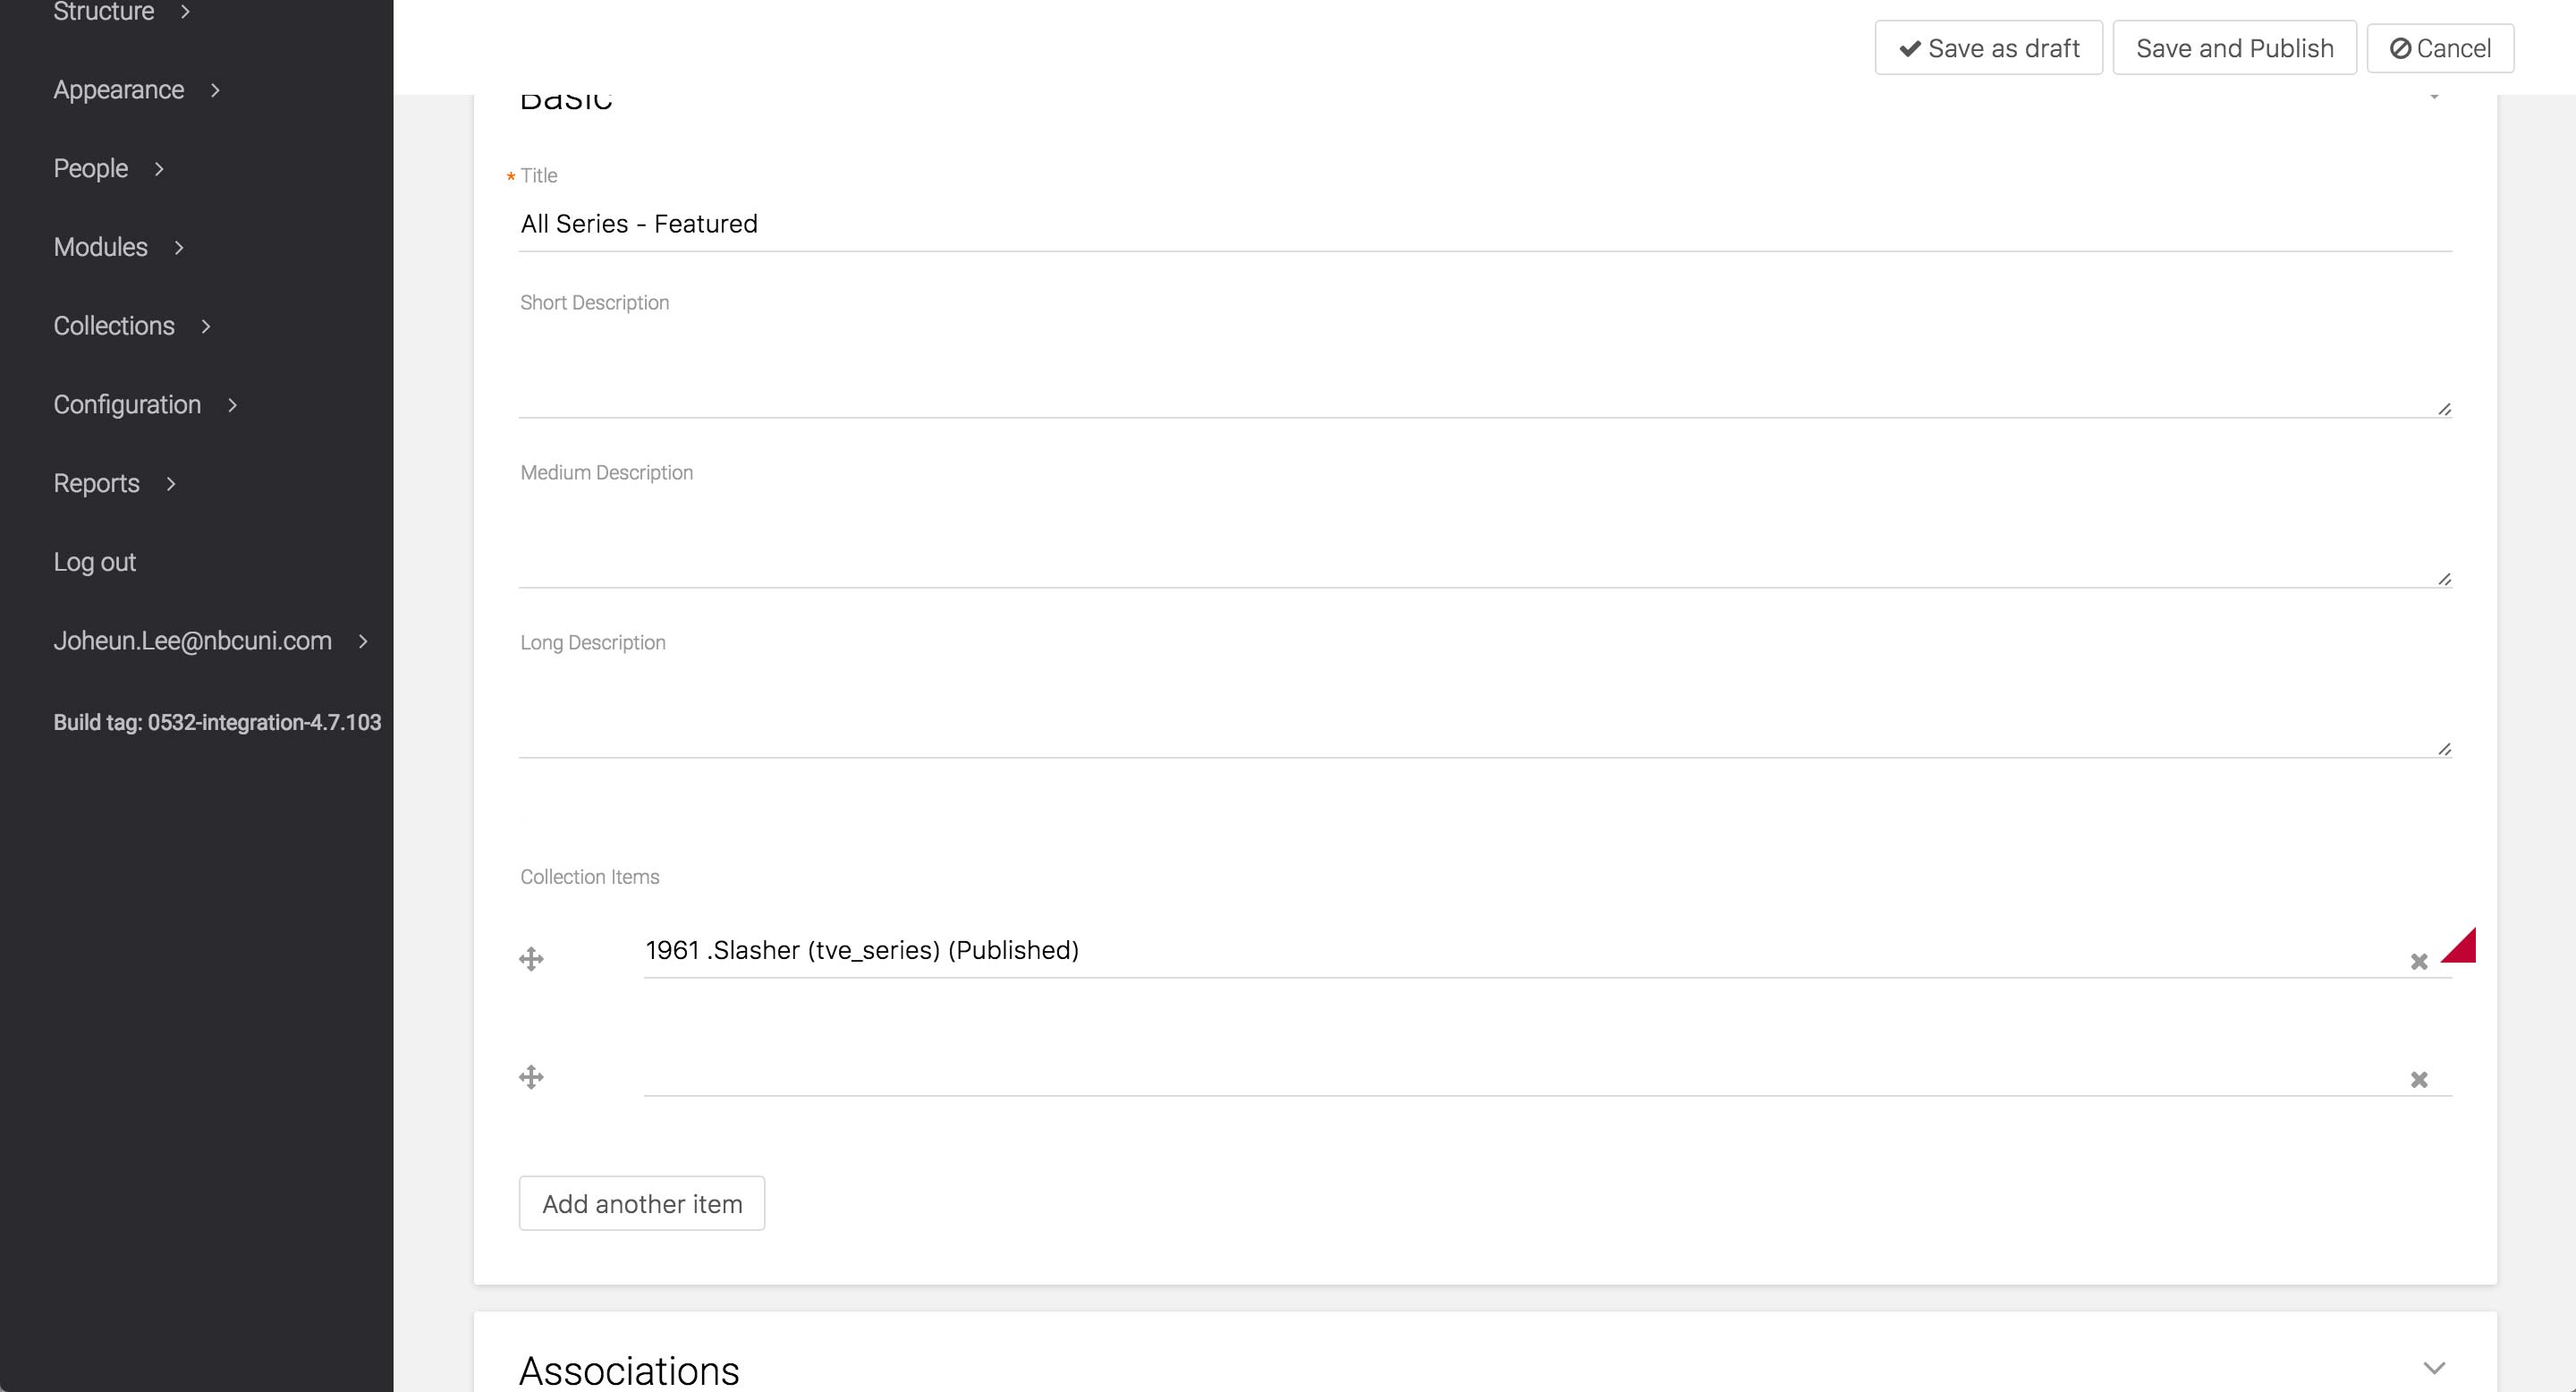
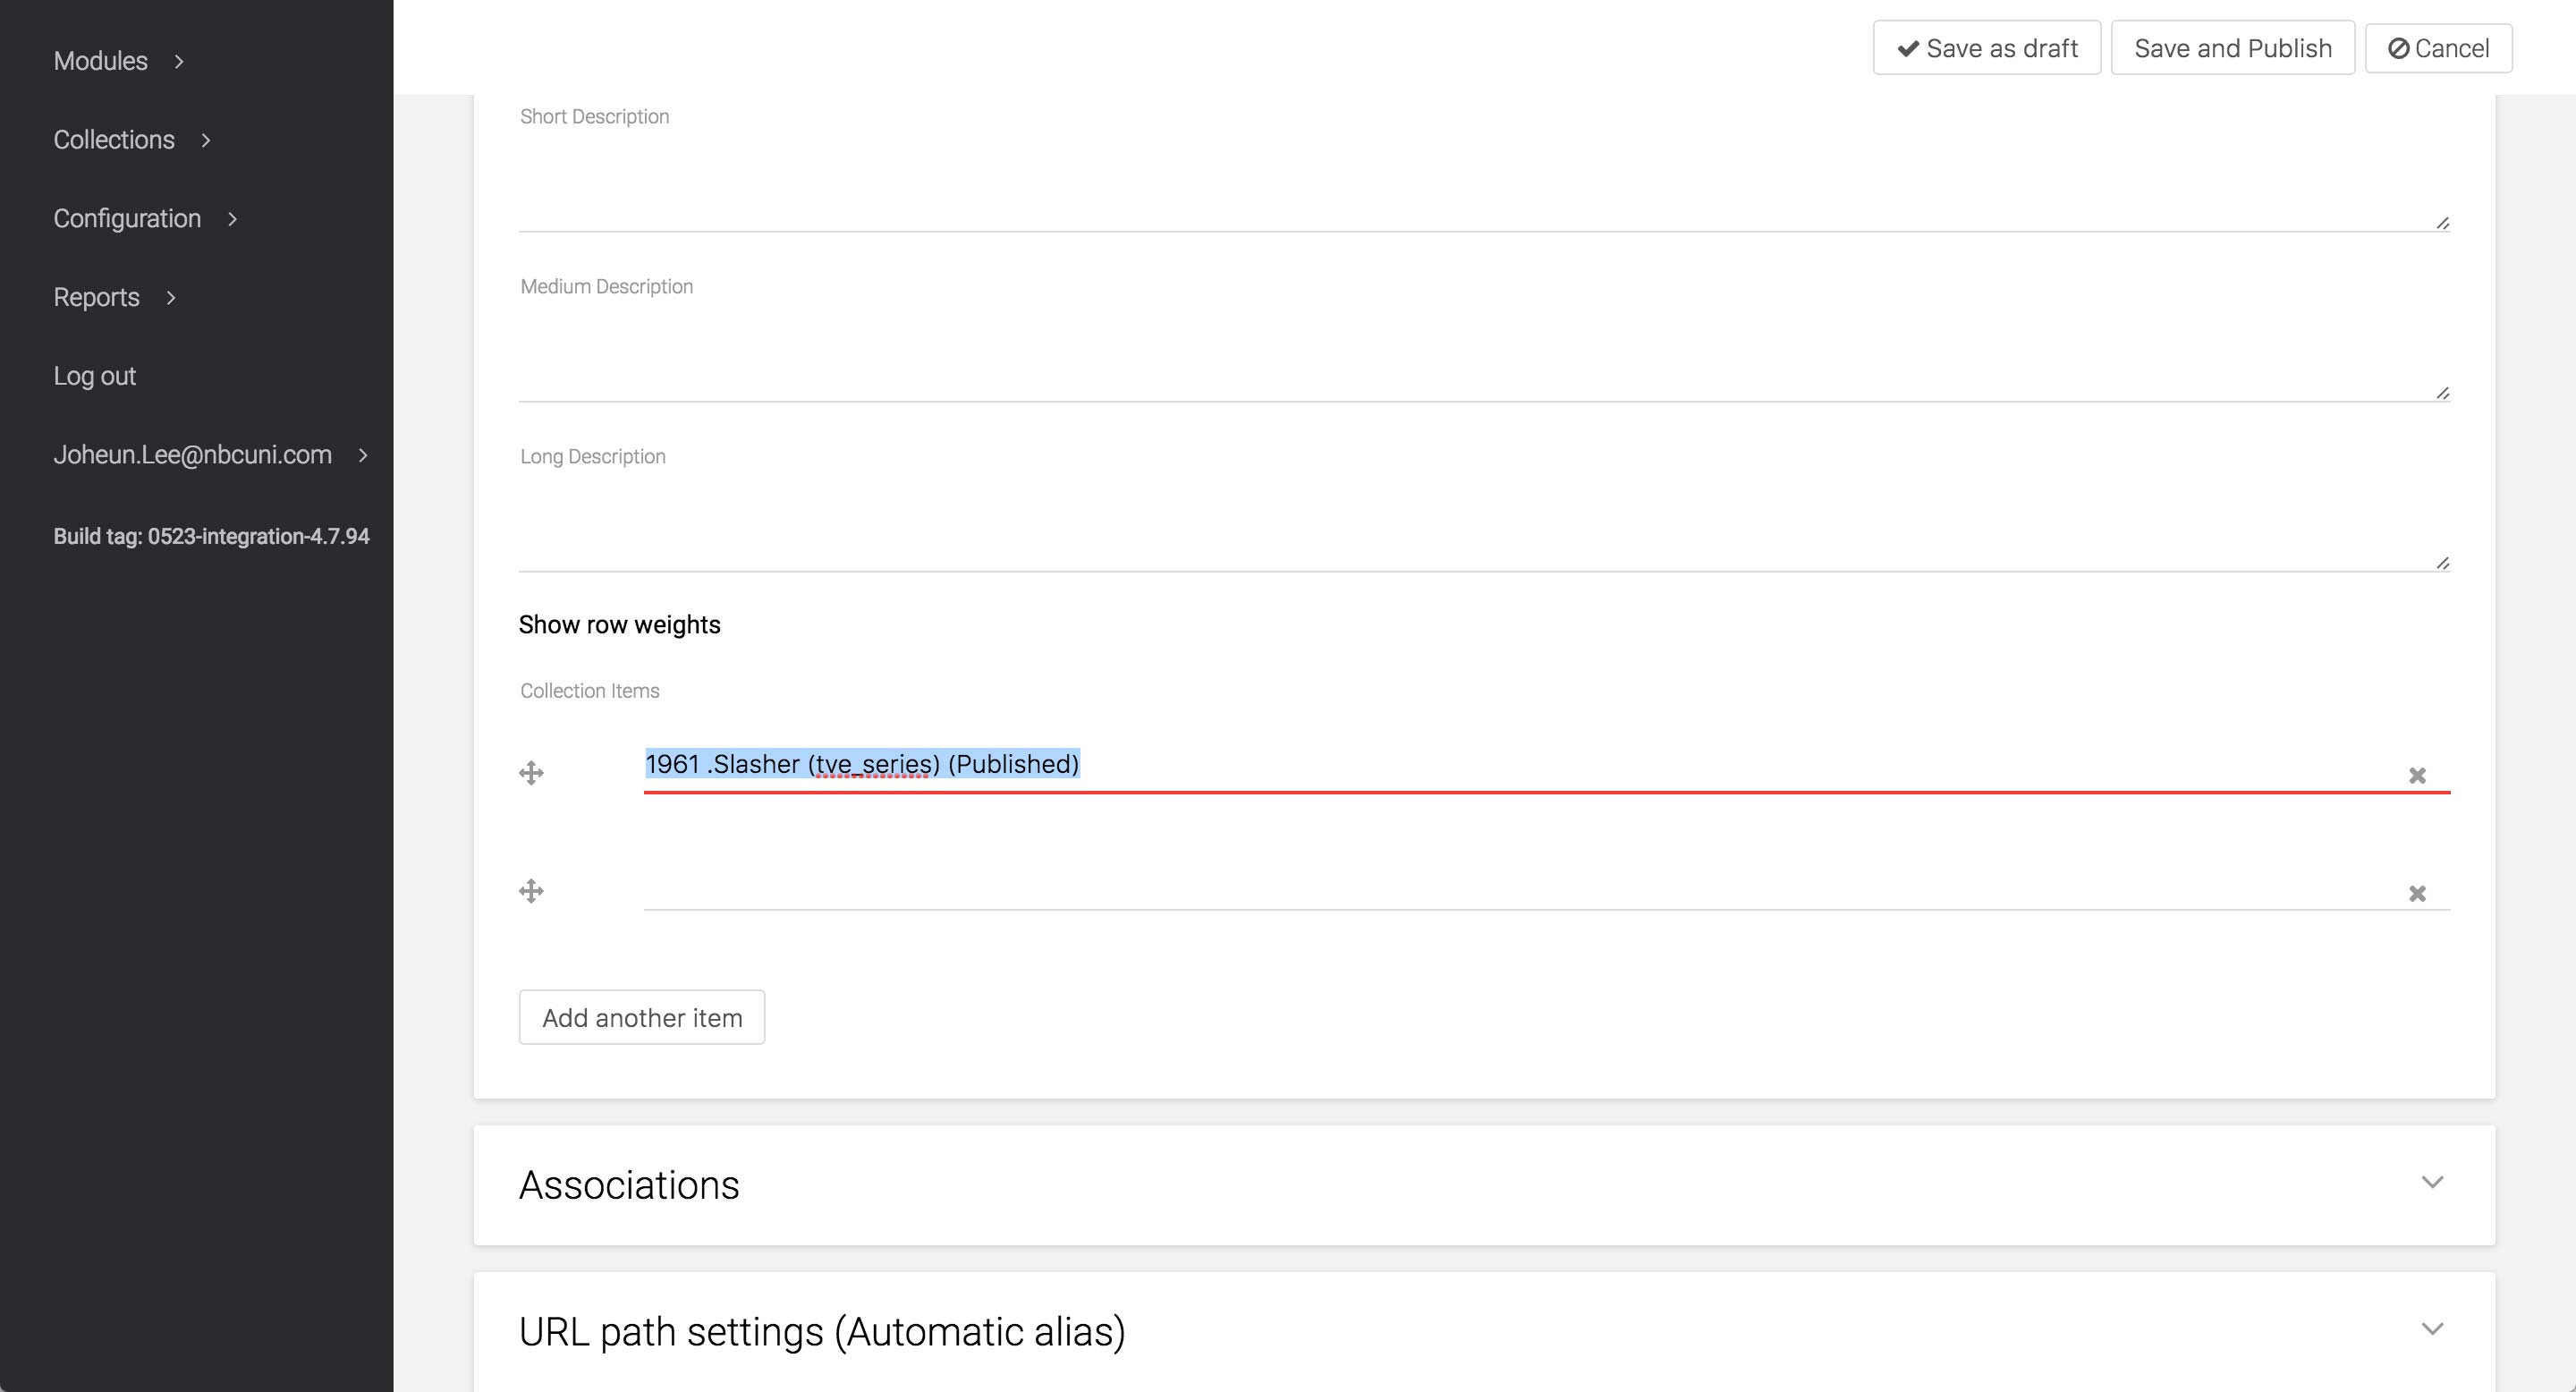
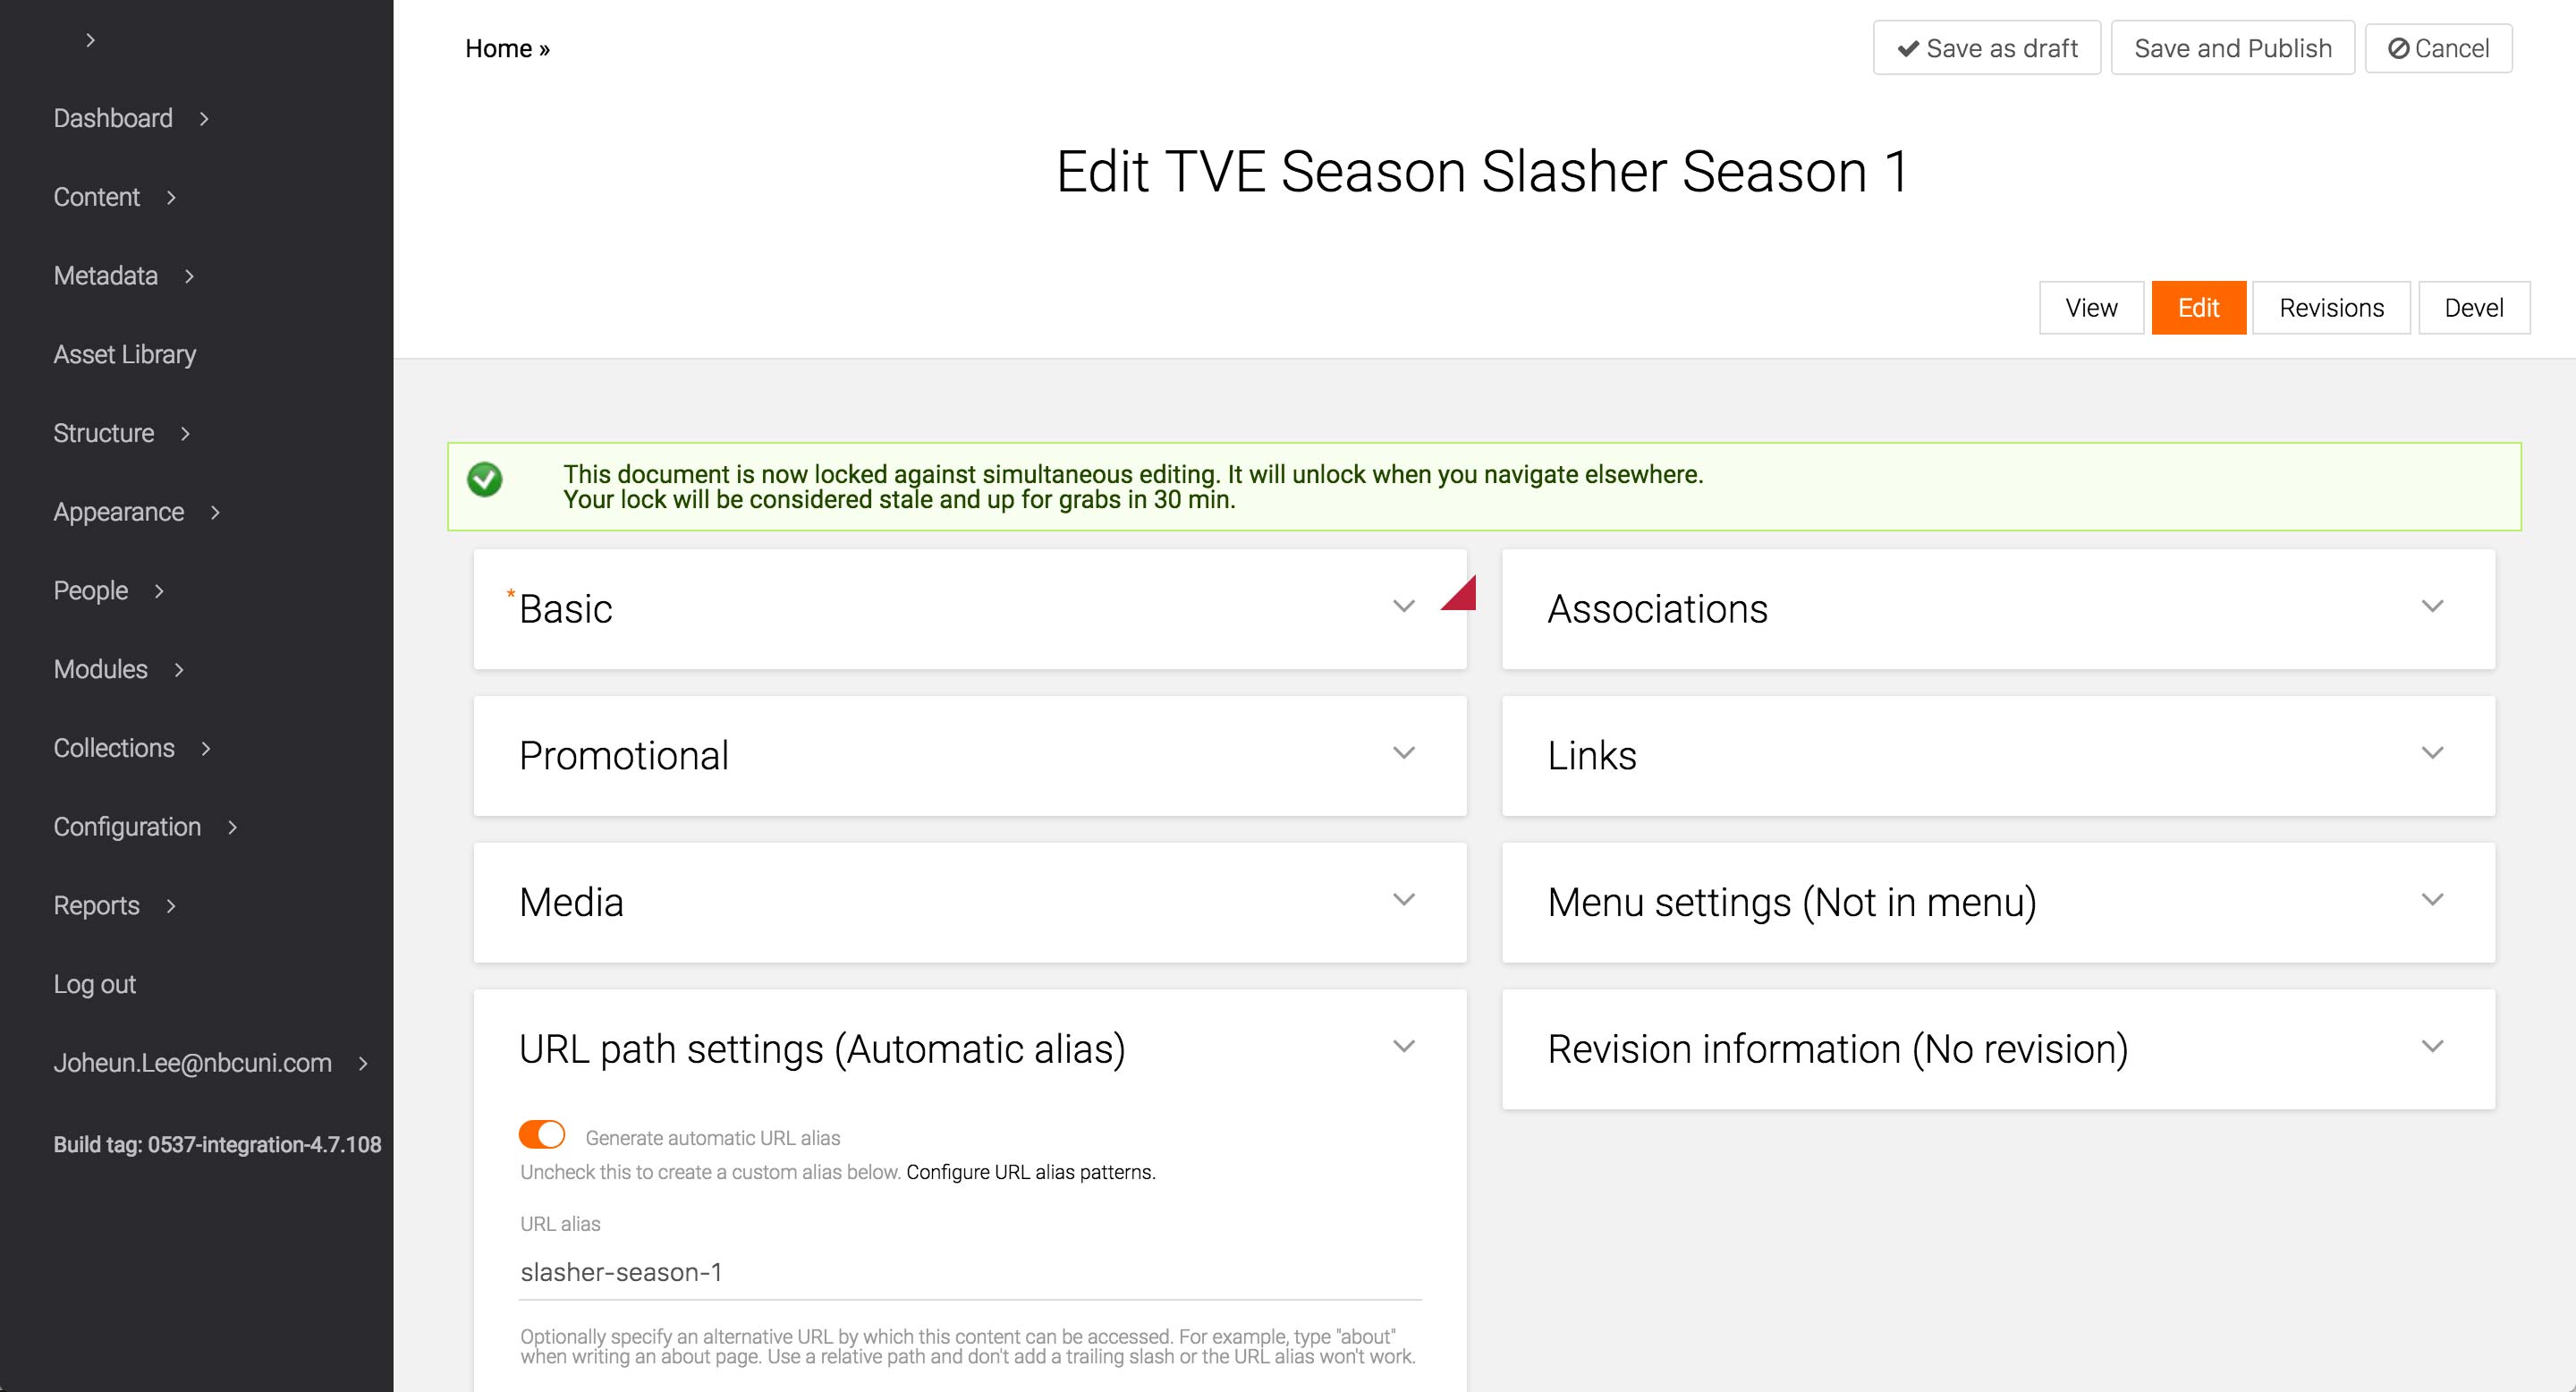
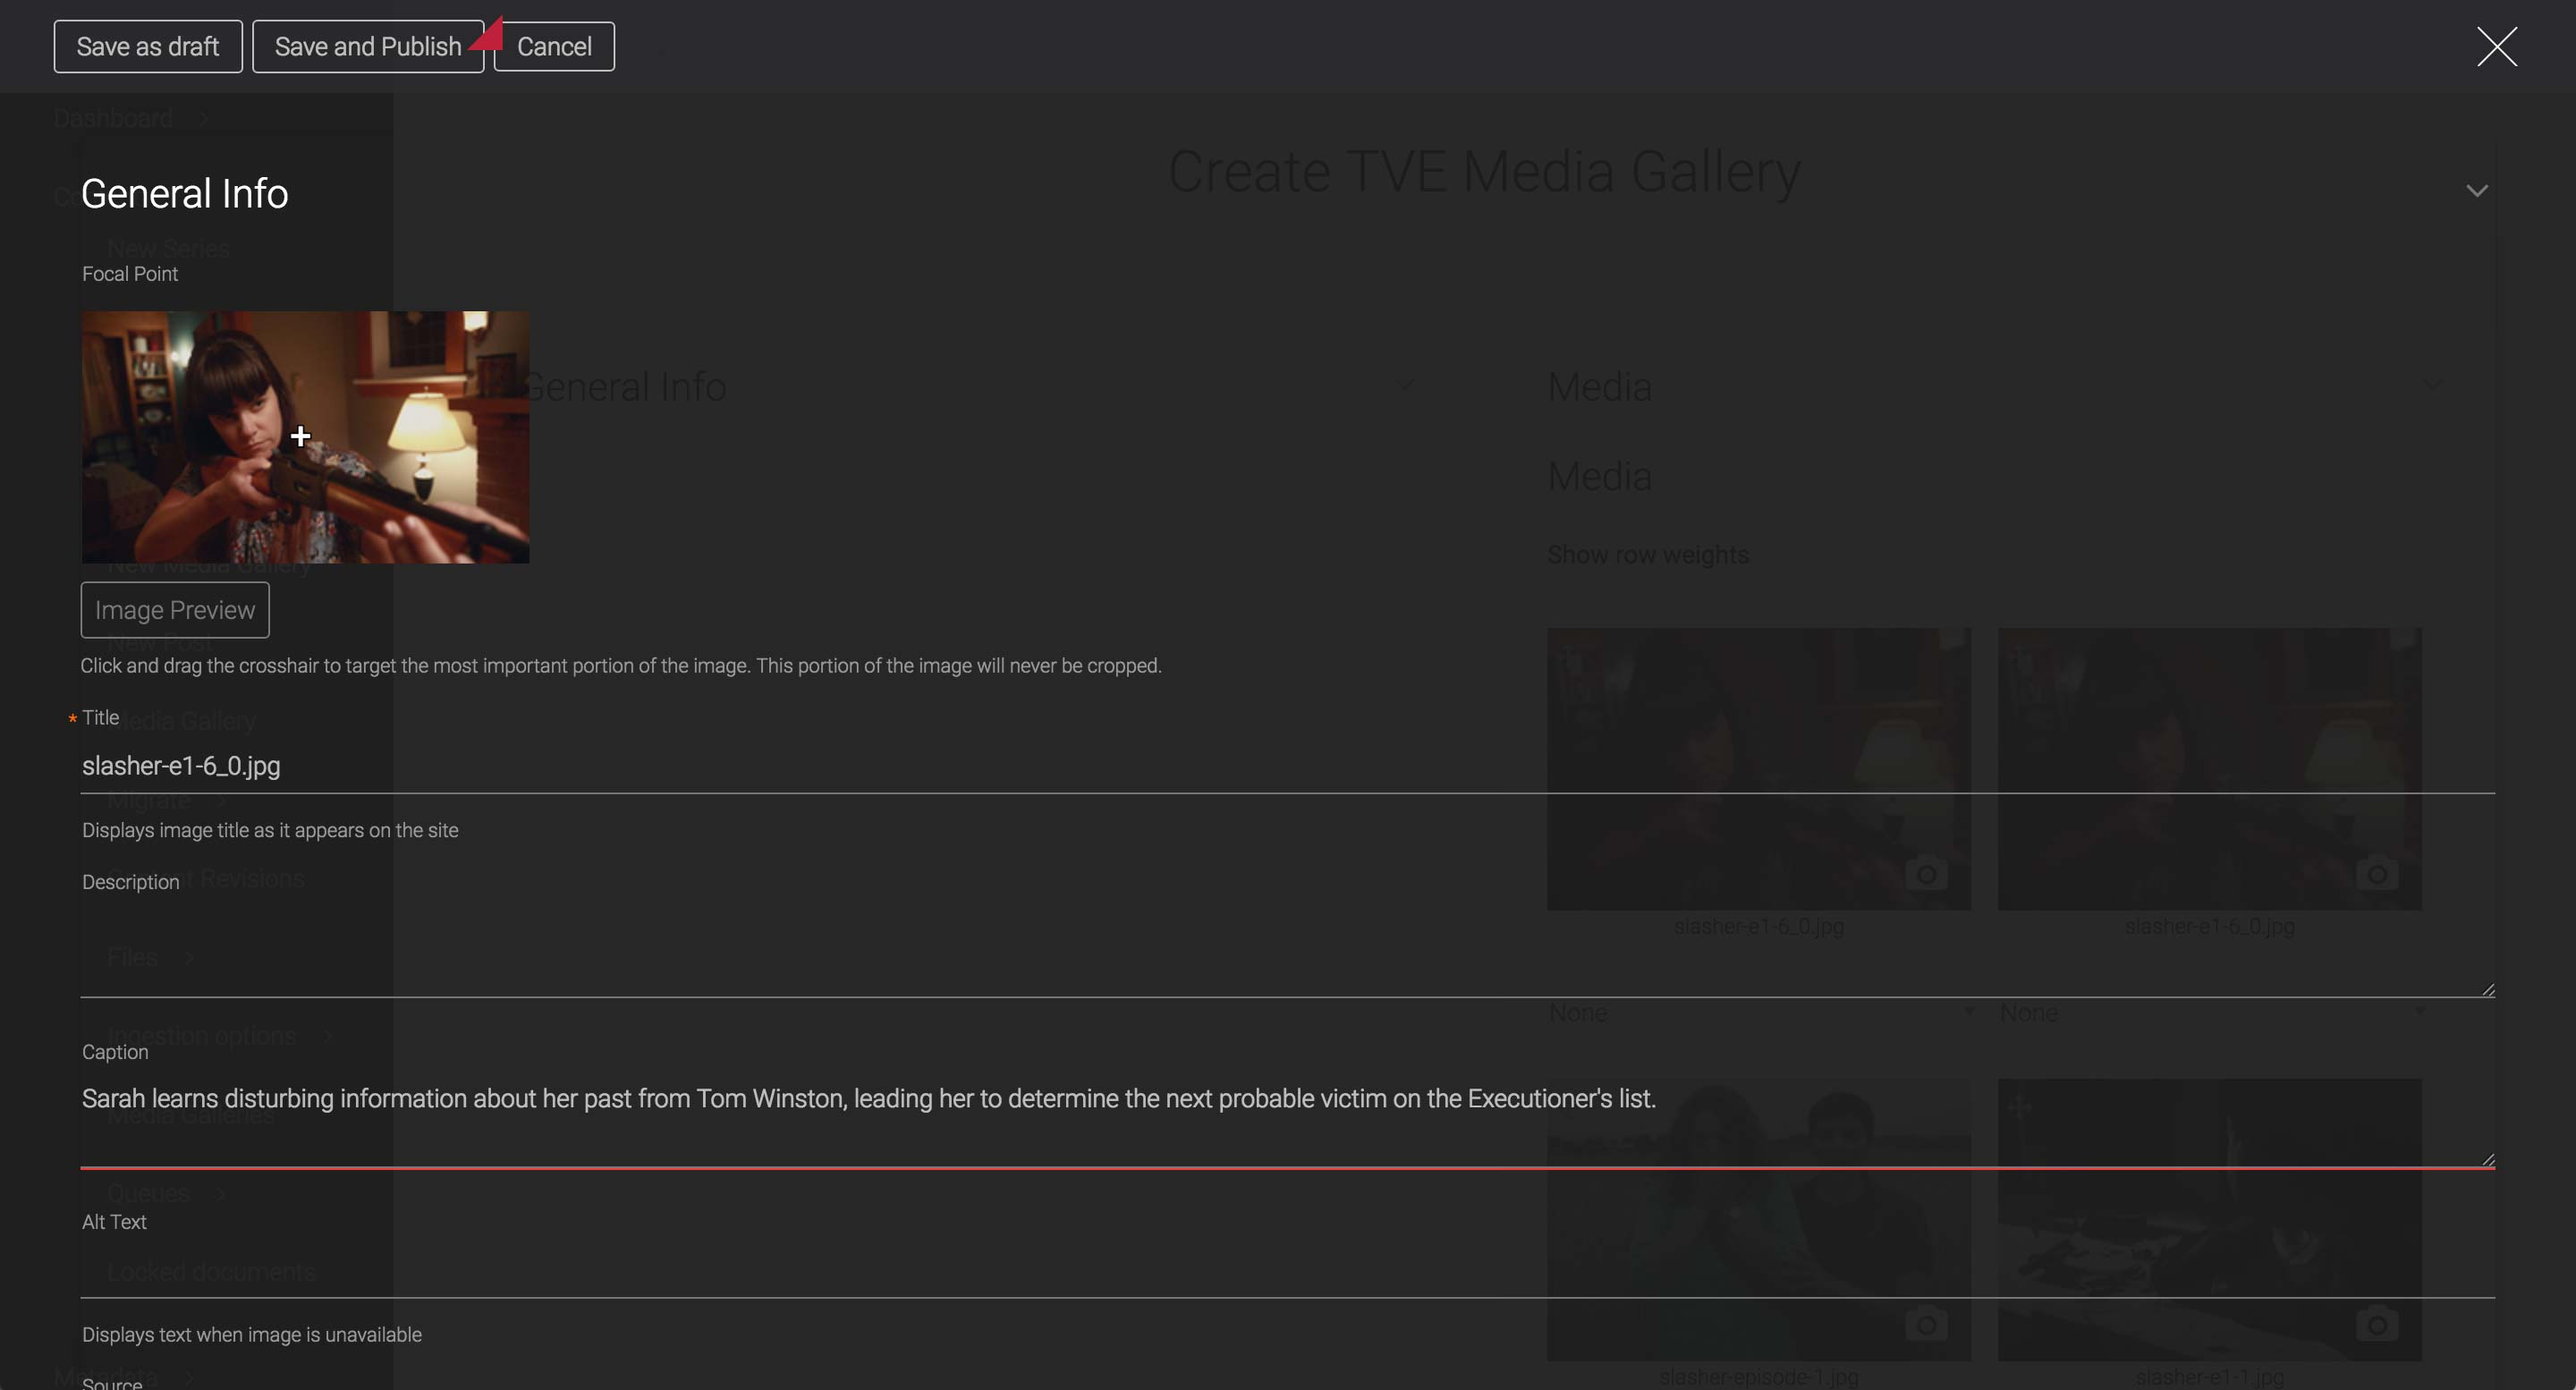
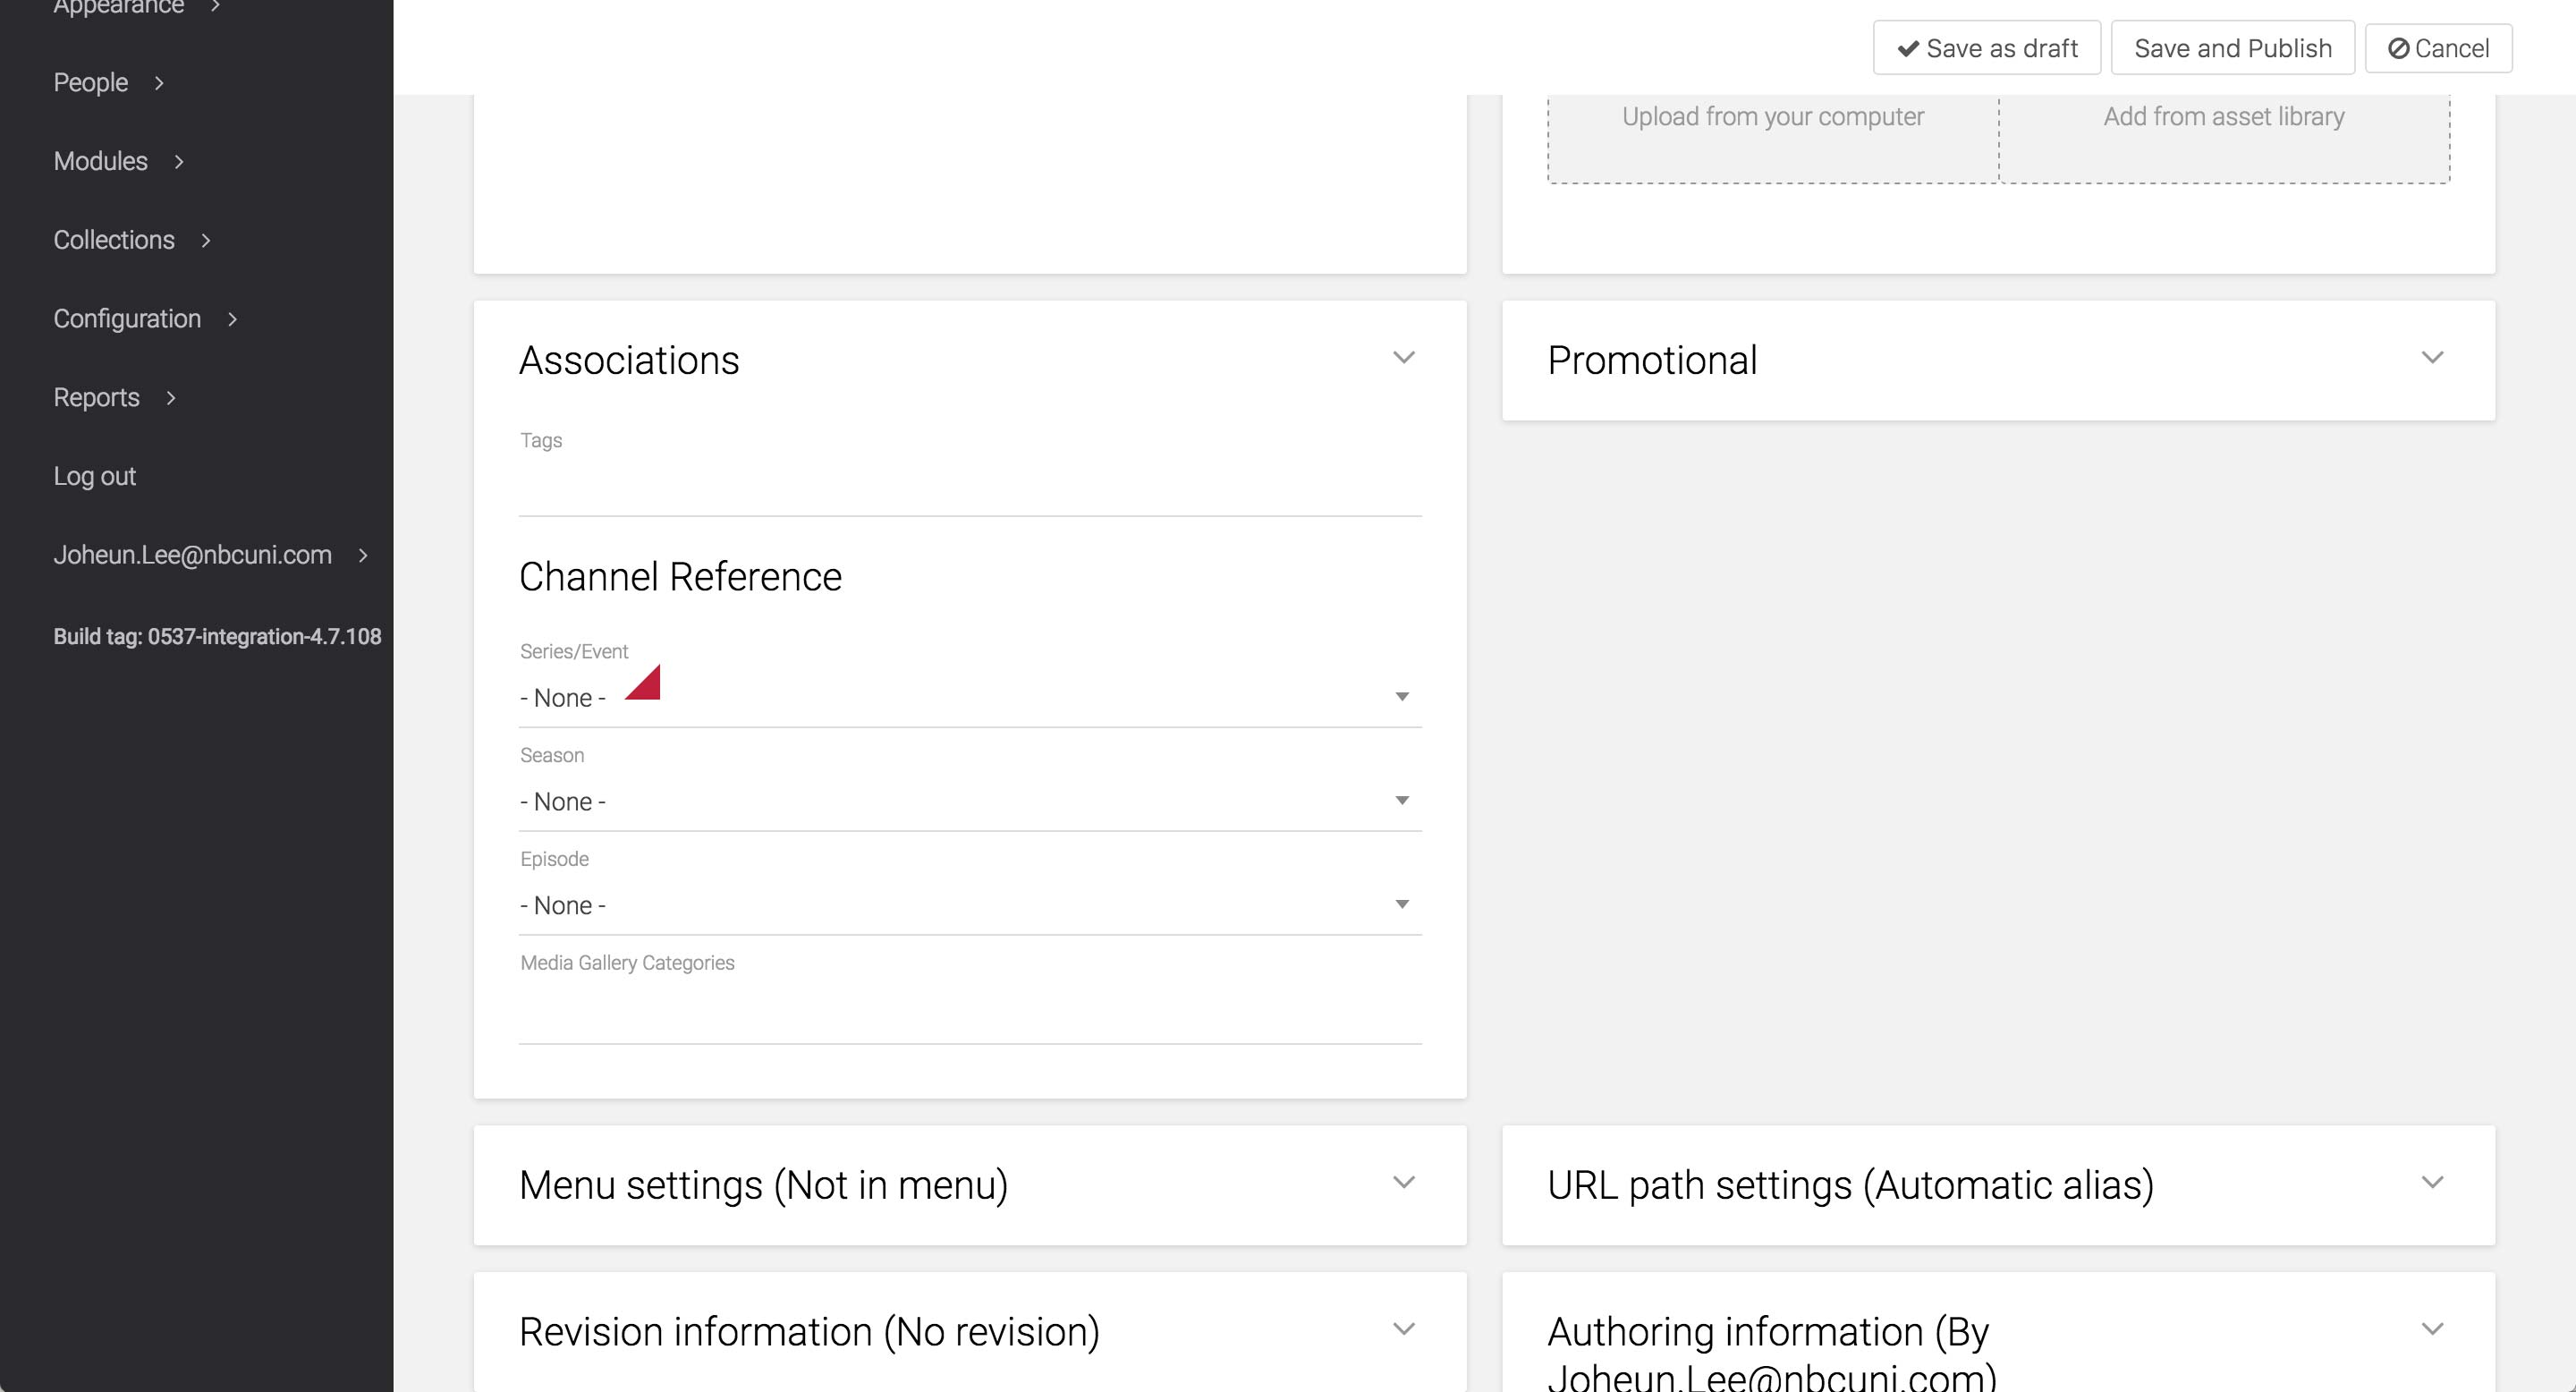
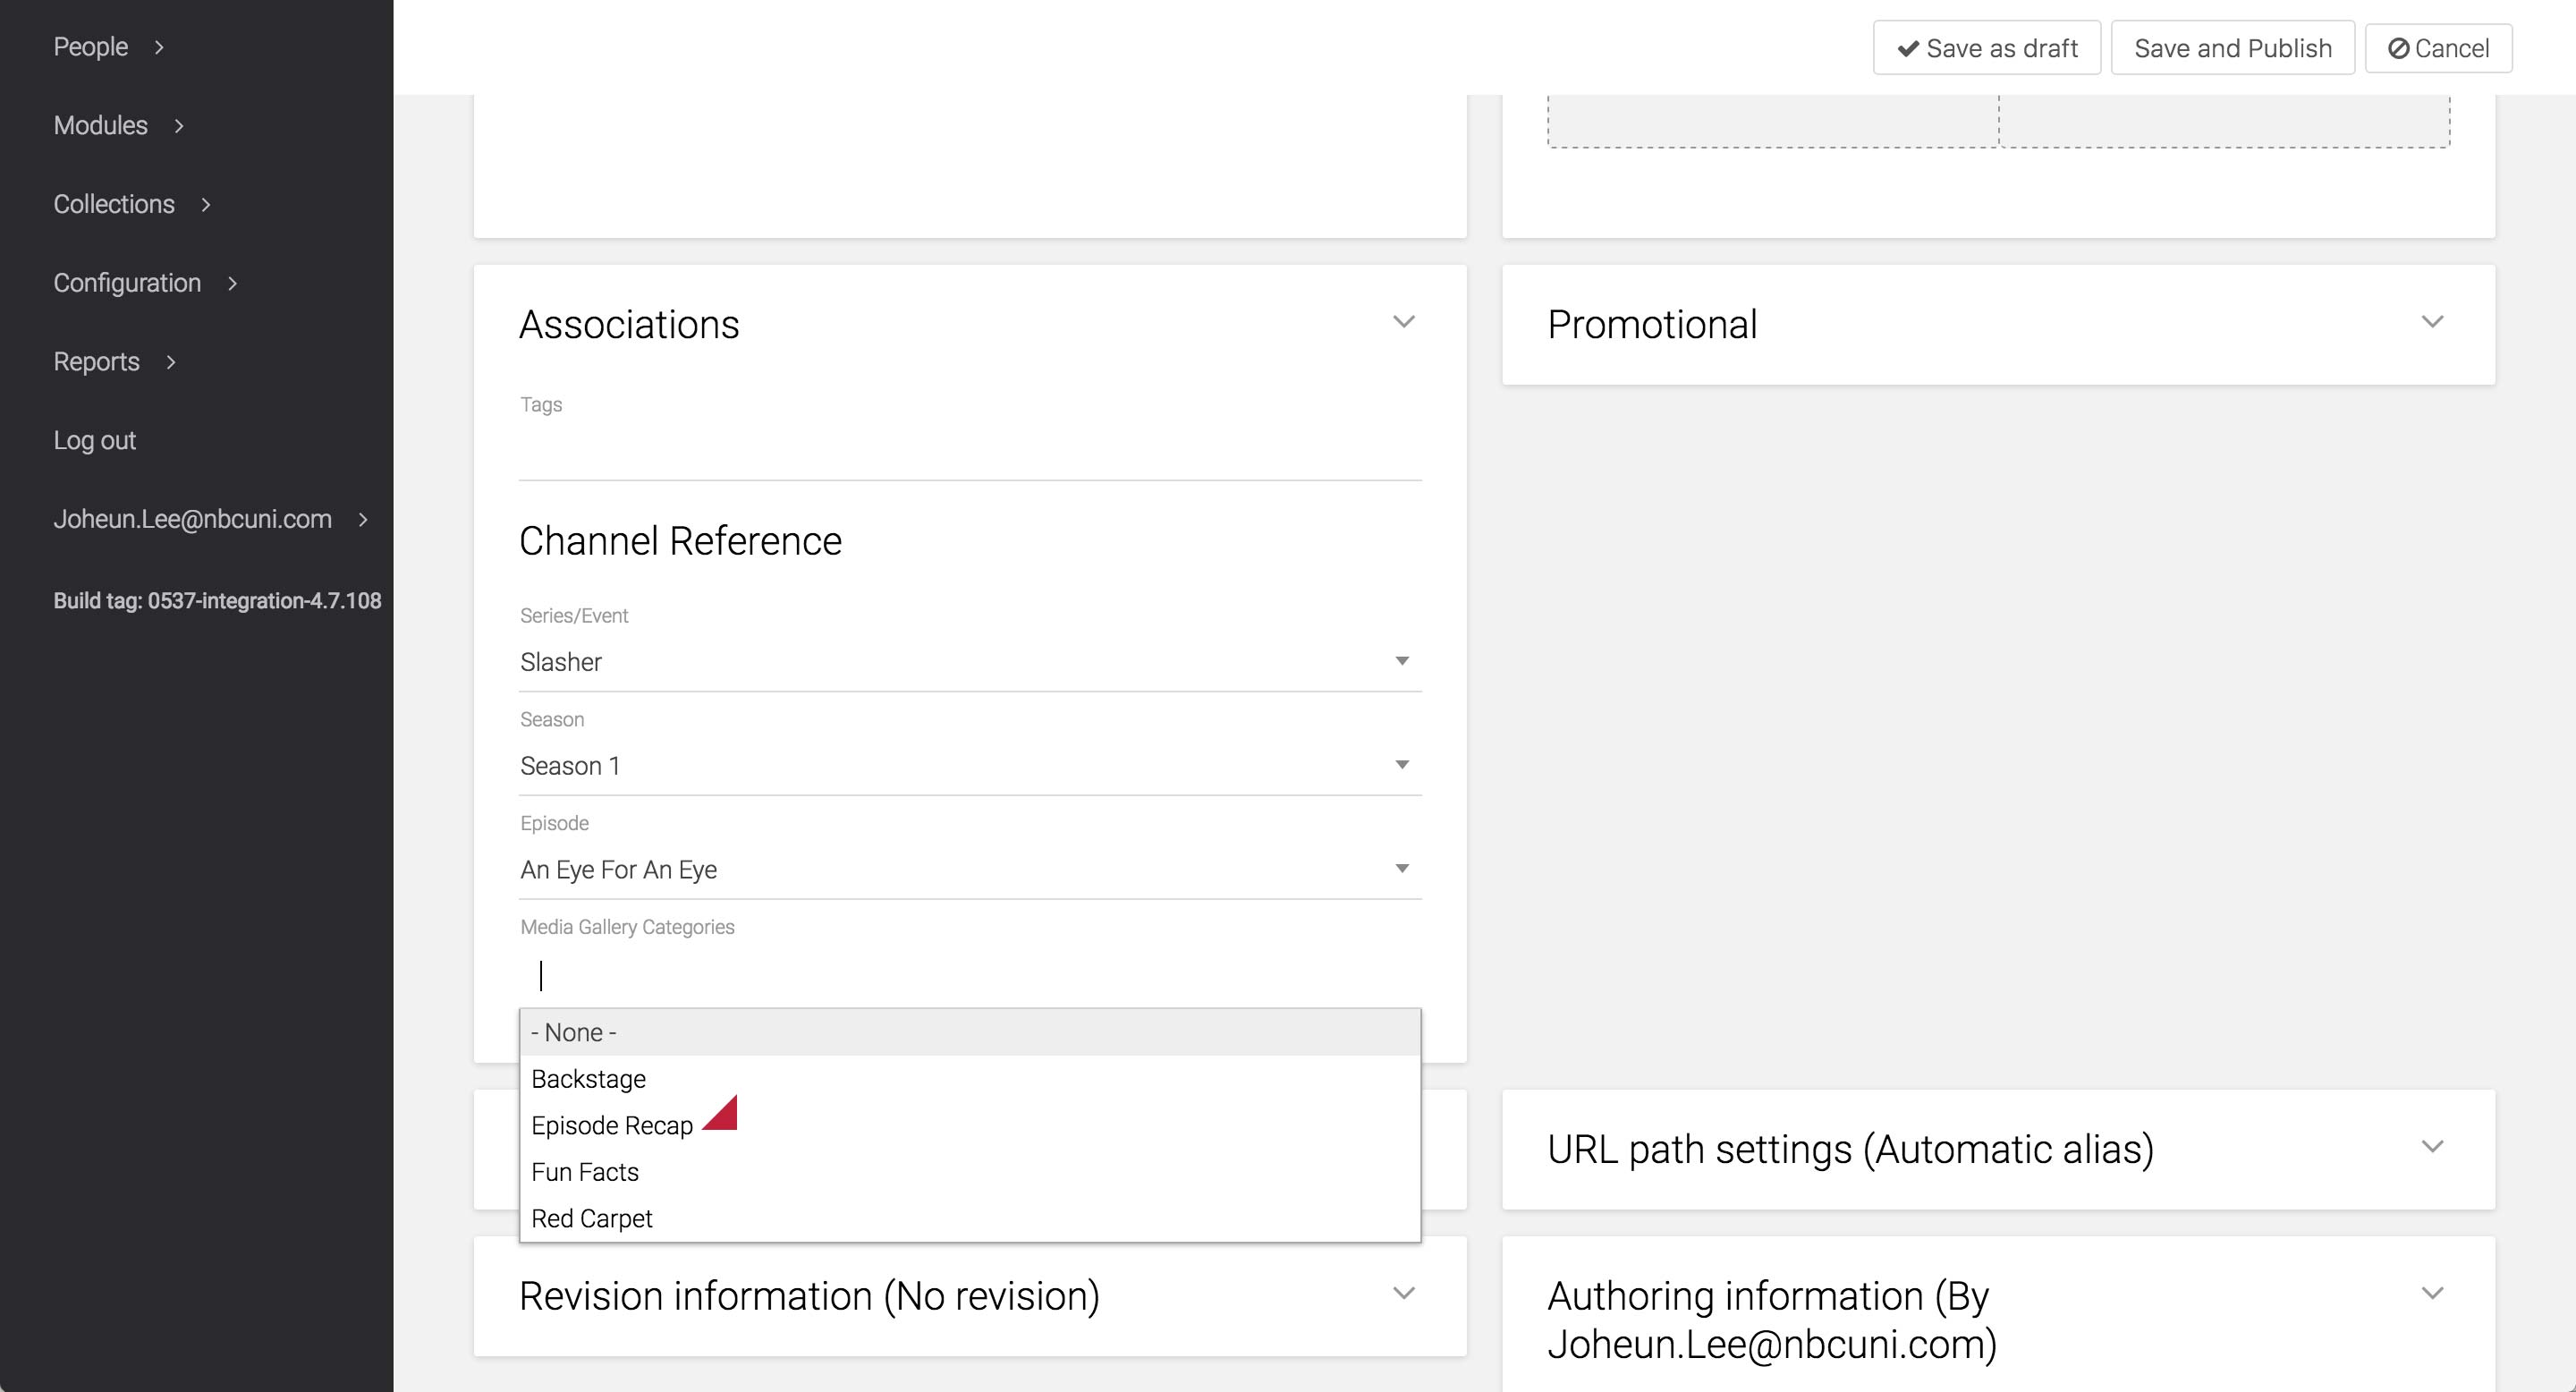
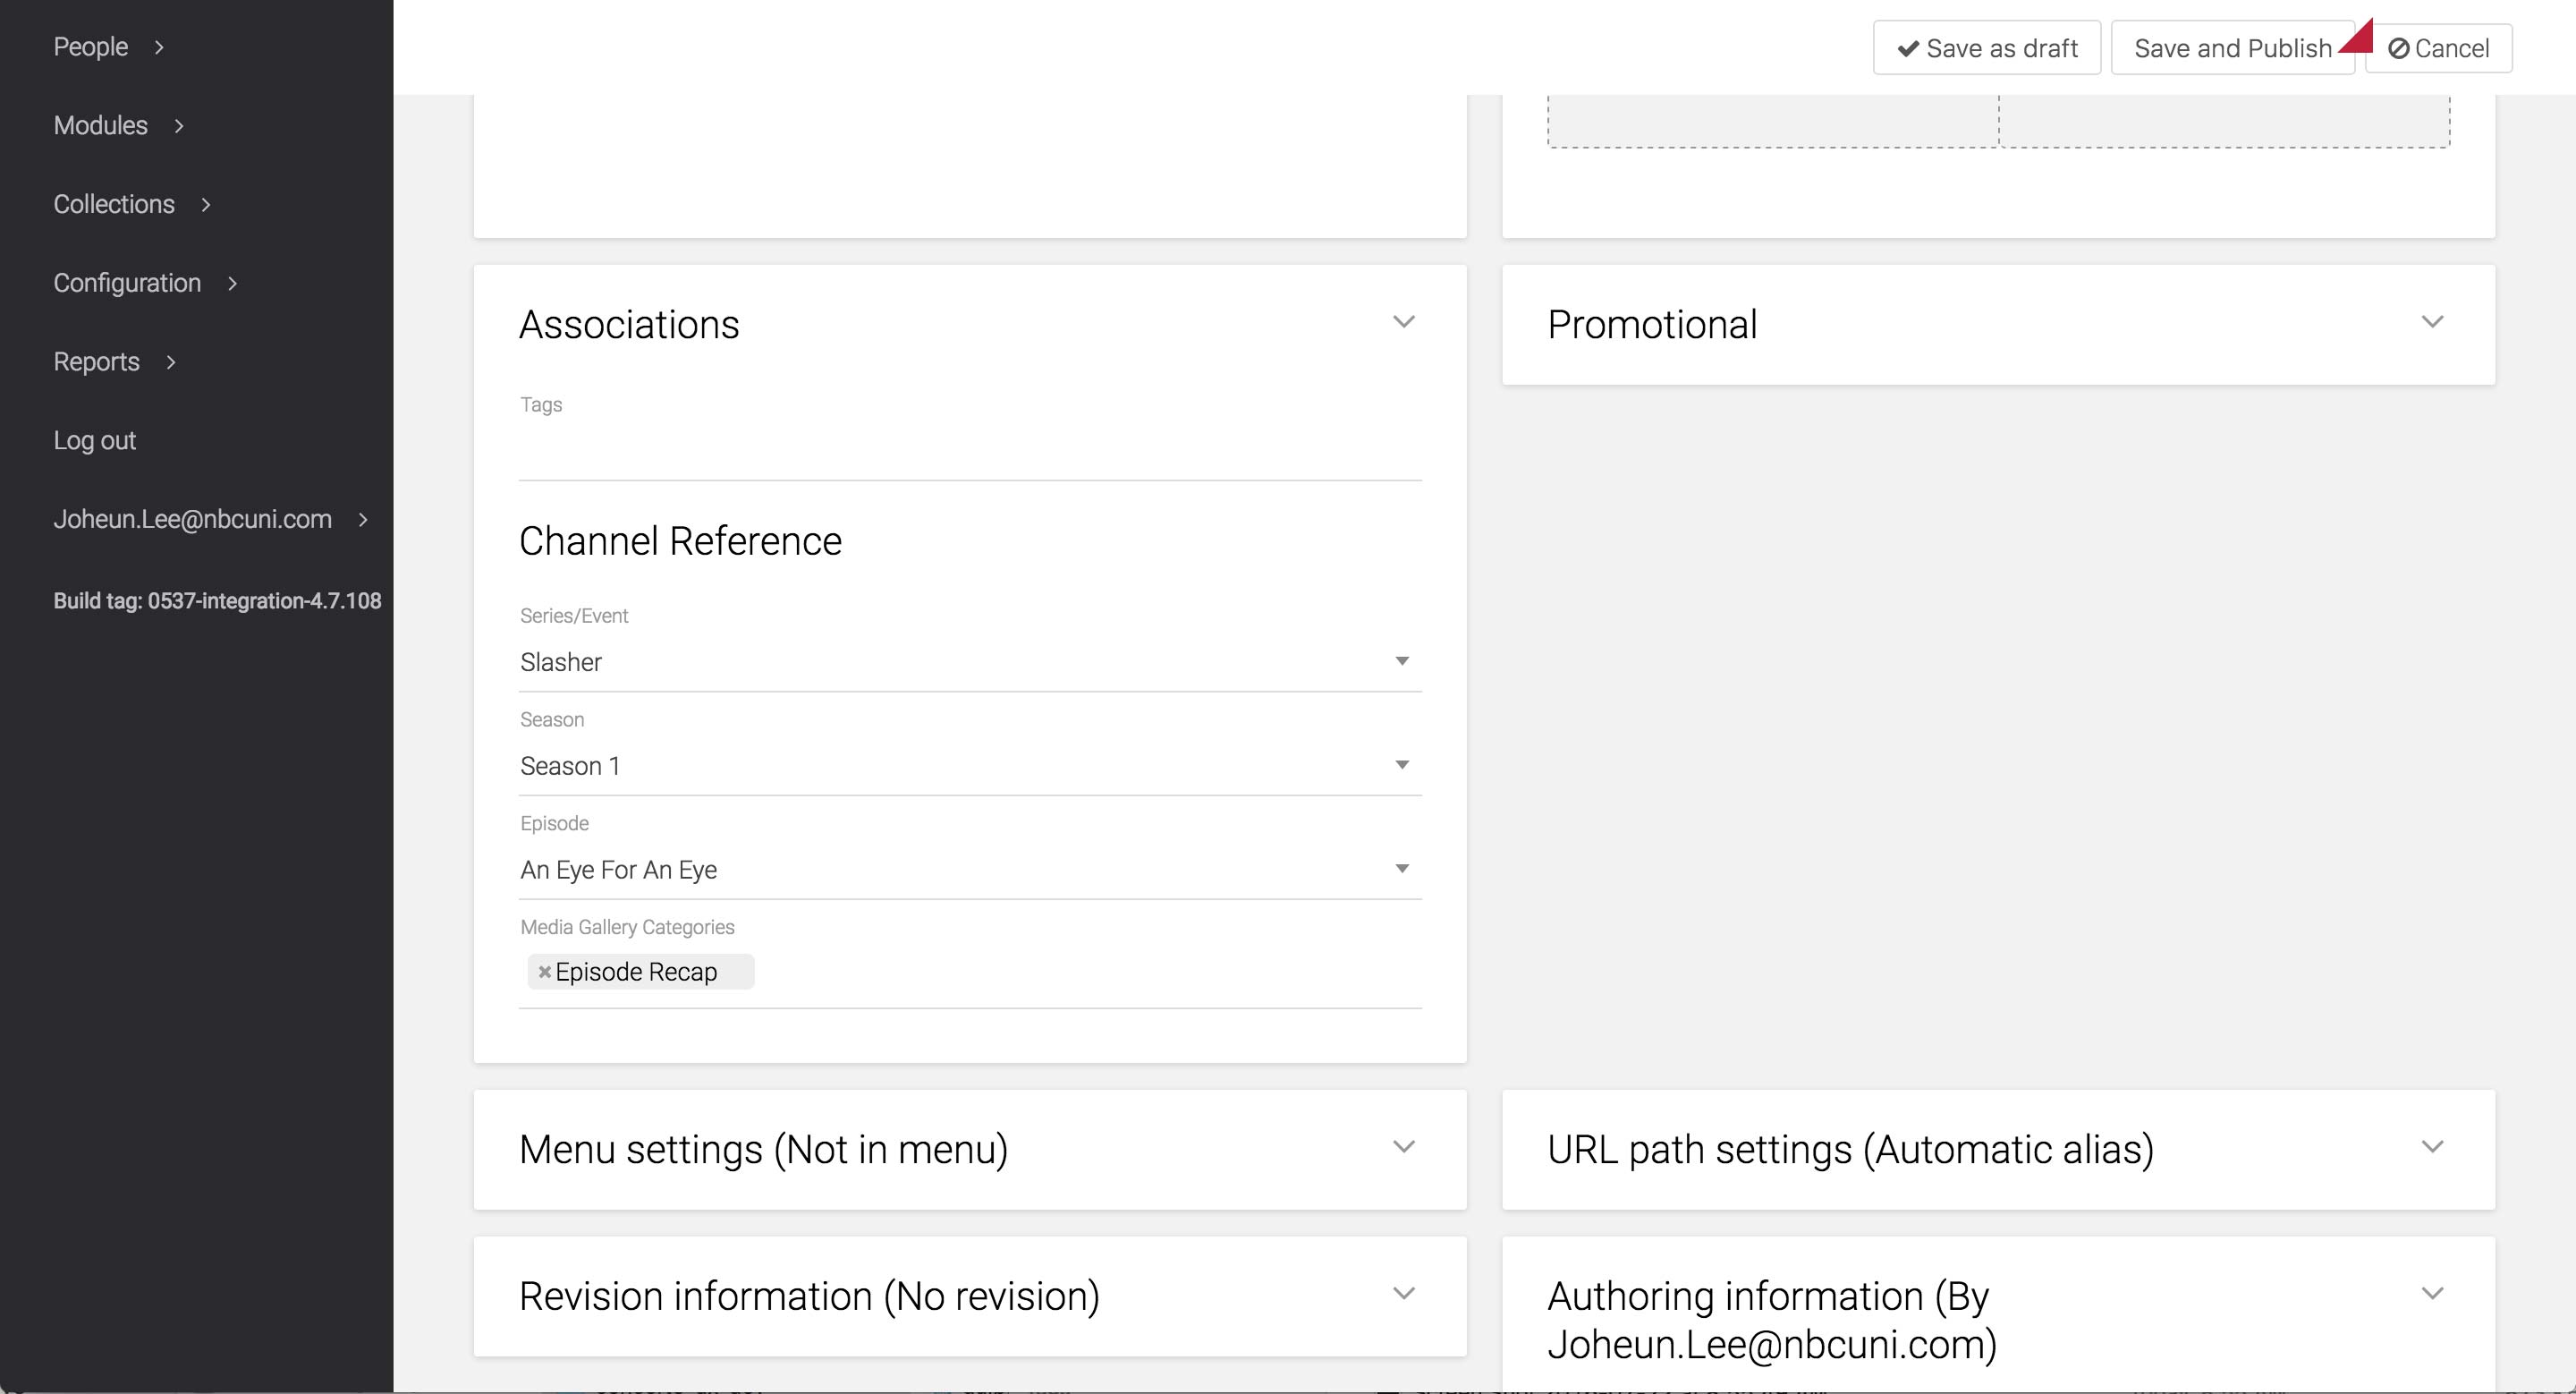
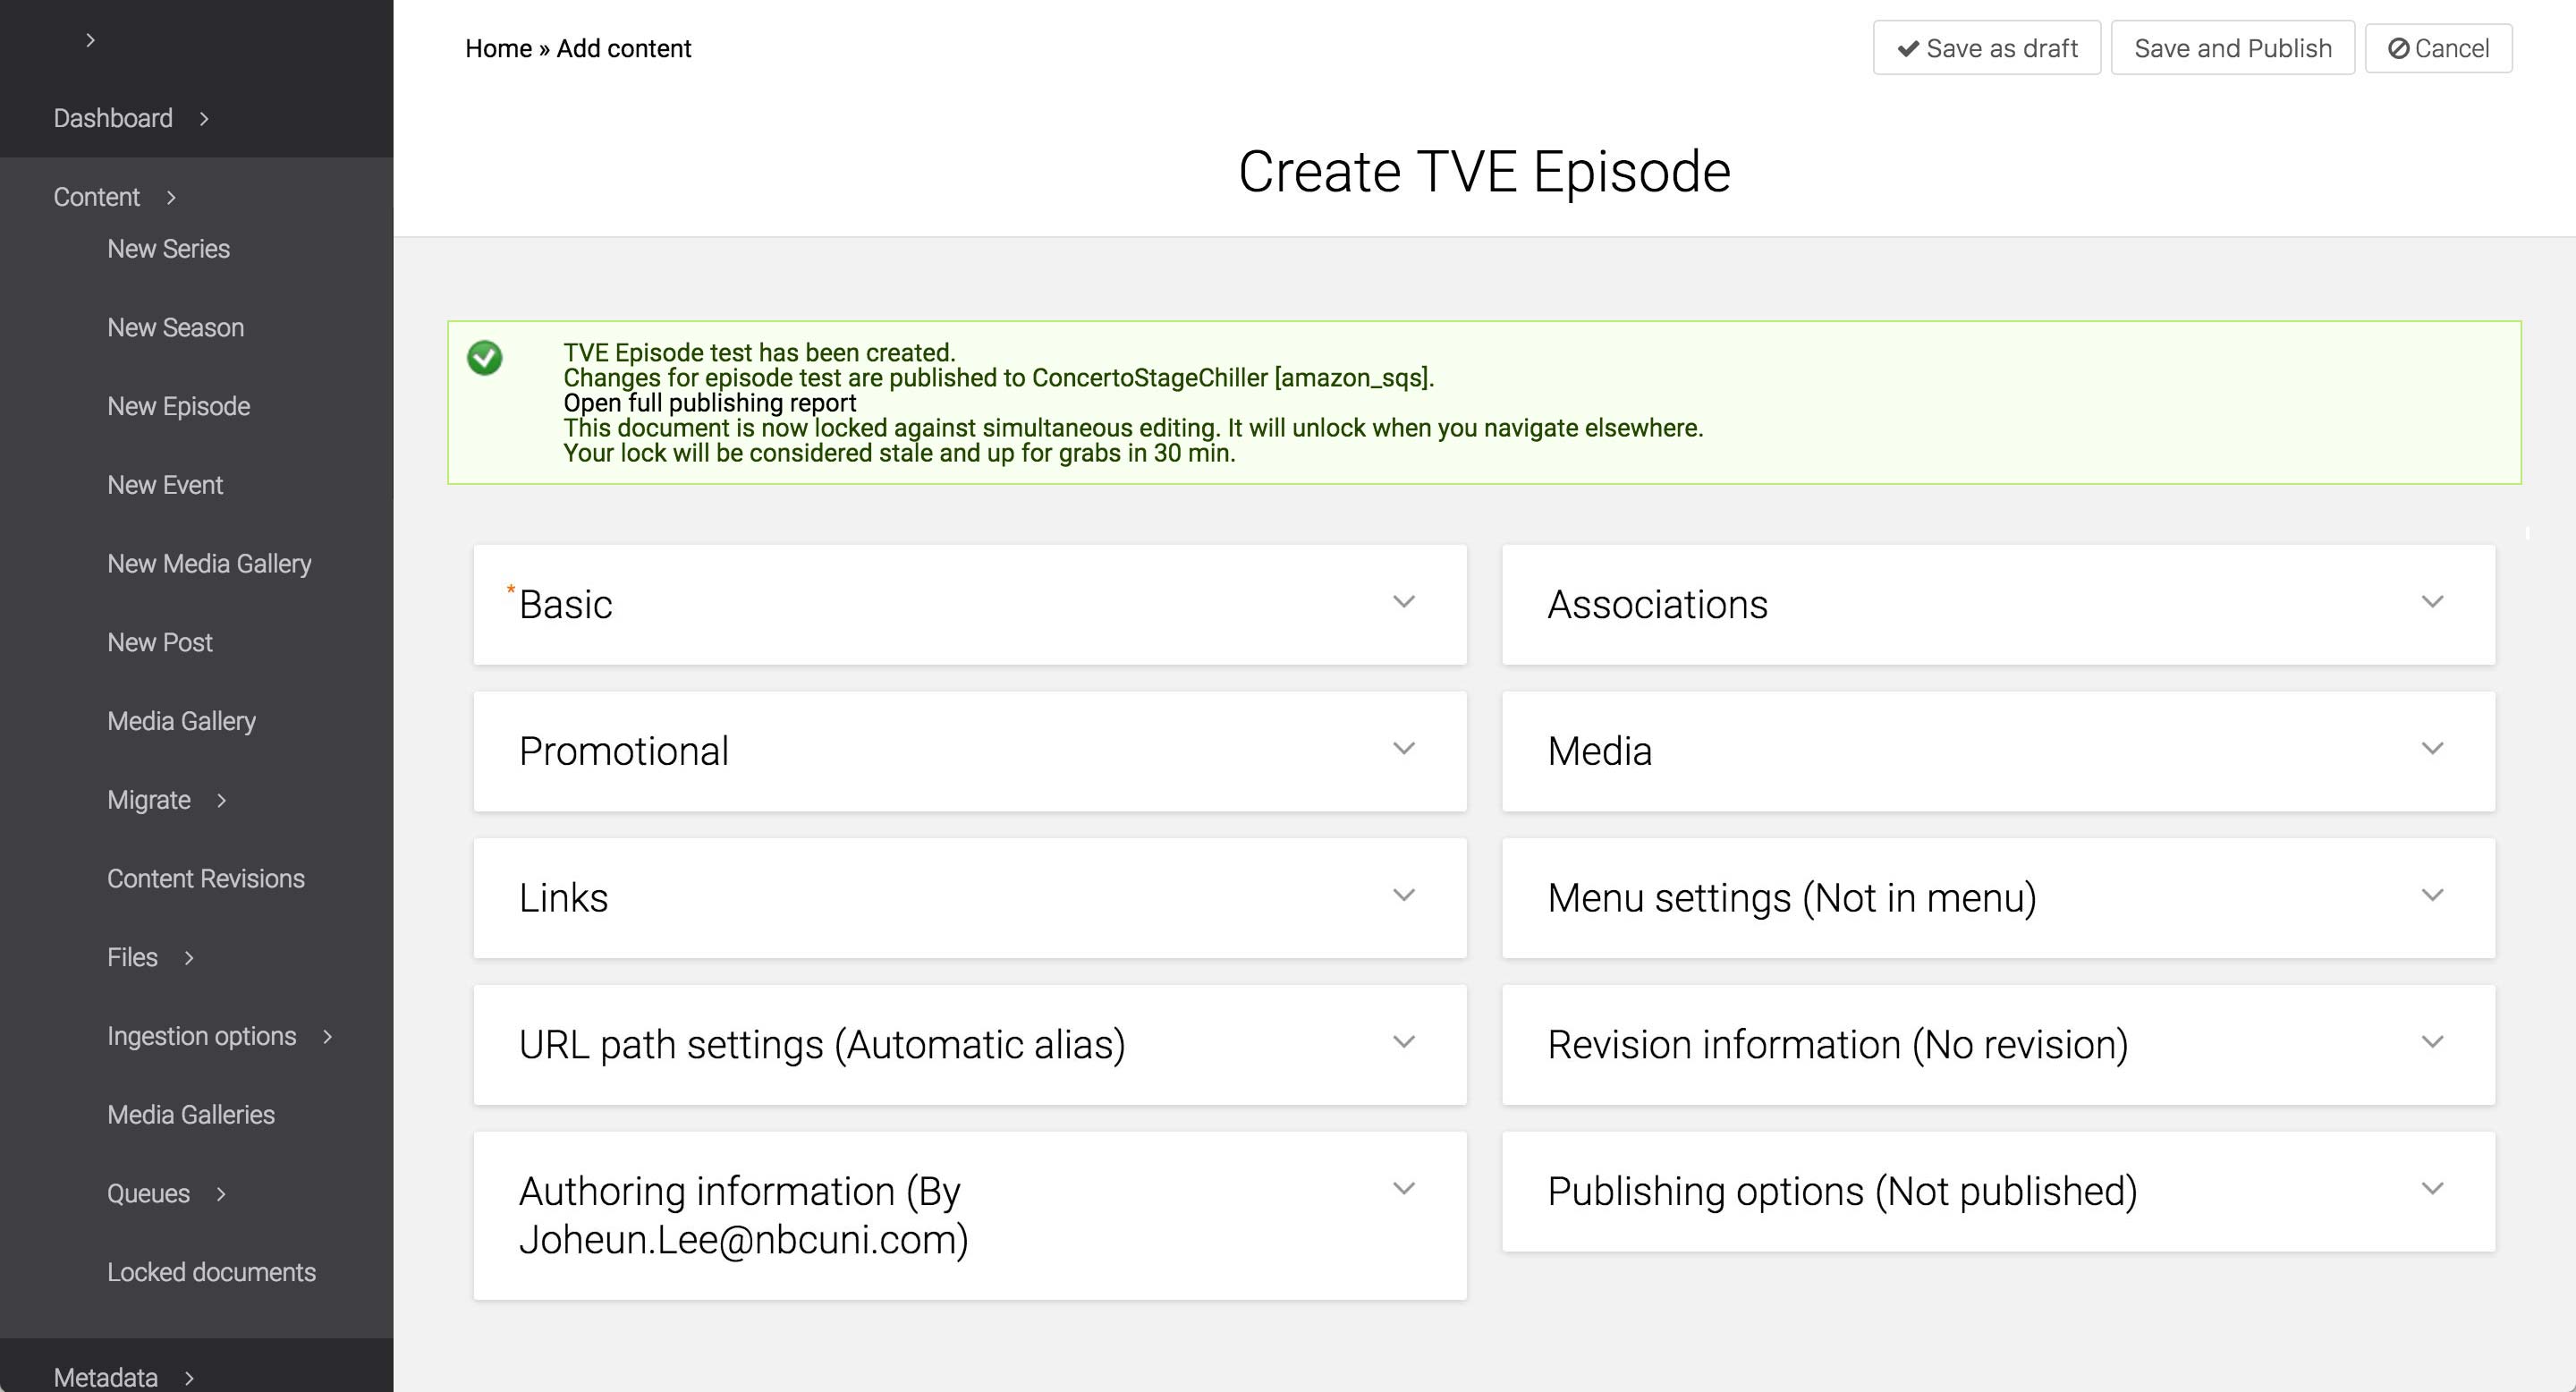
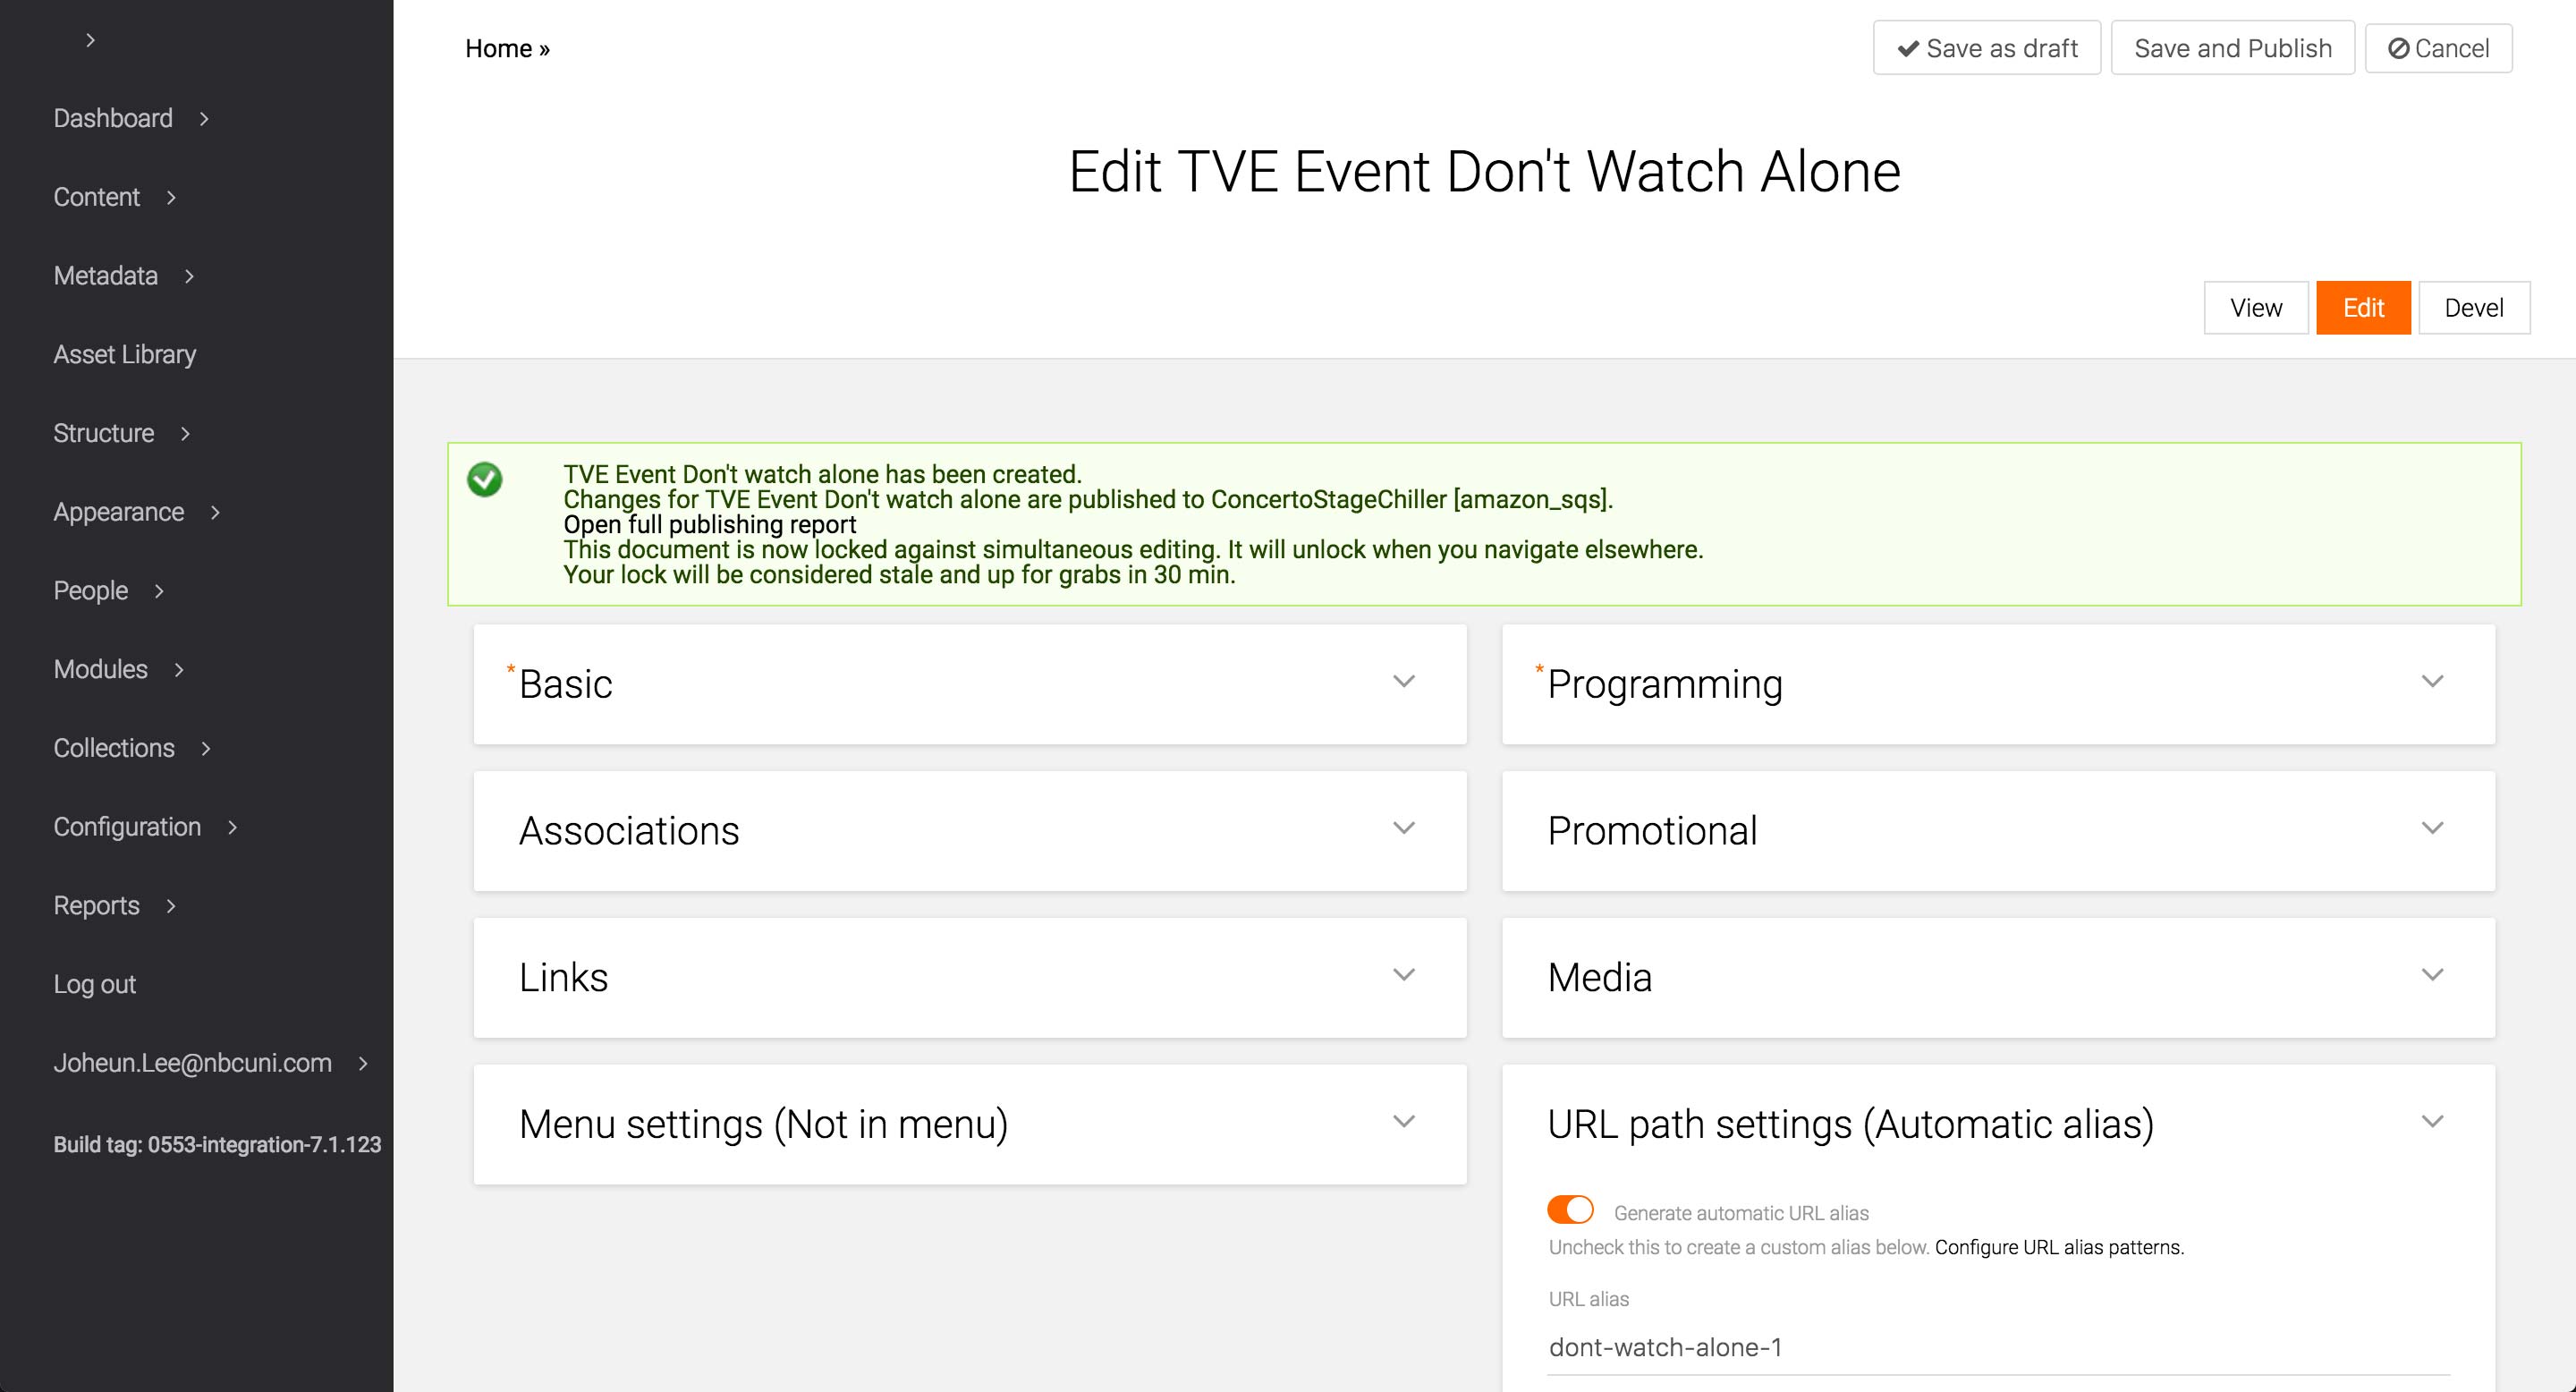
After you’re done, click on Save as draft or Save and Publish.